

This post contains affiliate links. As an Amazon Associate, I earn from qualifying purchases.
No-Bake Oreo Truffles with Espresso & White Chocolate Drizzle
Rich, Fudgy, and Perfectly Sweet: The Ultimate Espresso Oreo Truffles
If you are looking for a show-stopping, no-bake dessert that delivers maximum flavor, you have just found your new go-to recipe. These Espresso Oreo Truffles take the classic, beloved cream cheese and cookie combination to an entirely new level!
While traditional Oreo balls are undeniably delicious, adding a dash of espresso powder and a splash of vanilla extract transforms the humble cookie into a rich, bakery-worthy confection. The espresso beautifully enhances the cocoa notes in the Oreos without overpowering them, creating a deep, gourmet flavor profile.

The best part? These truffles are incredibly forgiving to make. After rolling our creamy, crushed-cookie mixture into perfect little spheres, we dip them in high-quality melted chocolate callets for a snappy, decadent coating. If your dipping technique isn’t flawless—don’t worry! We finish these beauties off with a graceful drizzle of melted white chocolate. Not only does this create a stunning, professional-looking contrast, but it’s the perfect baker’s secret to hiding any little bumps or imperfections from the dipping process.
Get ready to roll, dip, and devour the easiest, most elegant no-bake dessert you’ll make all year!
Try our other bite-sized dessert recipes:
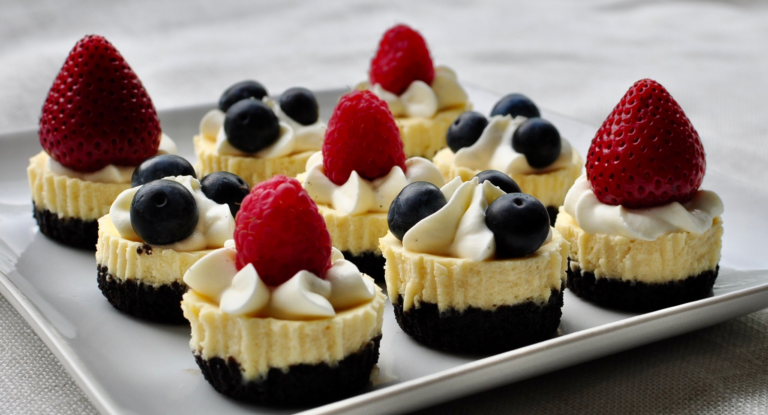
Mini Oreo Cheesecakes with Mascarpone Whipped Cream
Looking for the perfect bite-sized dessert? These beautiful Mini Cheesecakes feature a rich Oreo crust, a creamy filling, and a fluffy mascarpone whipped cream topping that never weeps. Crowned with fresh berries, this easy recipe yields 24 stunning mini treats perfect for parties.

Crispy and Chewy Shanghai UBE Mochi Tots
Meet your new favorite bite-sized UBE treat — Shanghai Ube Mochi Tots! These little purple gems are baked in a buttered-and-sugar-dusted mini muffin pan for a crispy golden shell with a chewy mochi center. Made with real baked ube puree, sweet rice flour, tapioca flour, whole milk, and sweetened condensed milk, every tot is packed with that signature earthy, vanilla-kissed ube flavor. Small but mighty — you won’t stop at one!
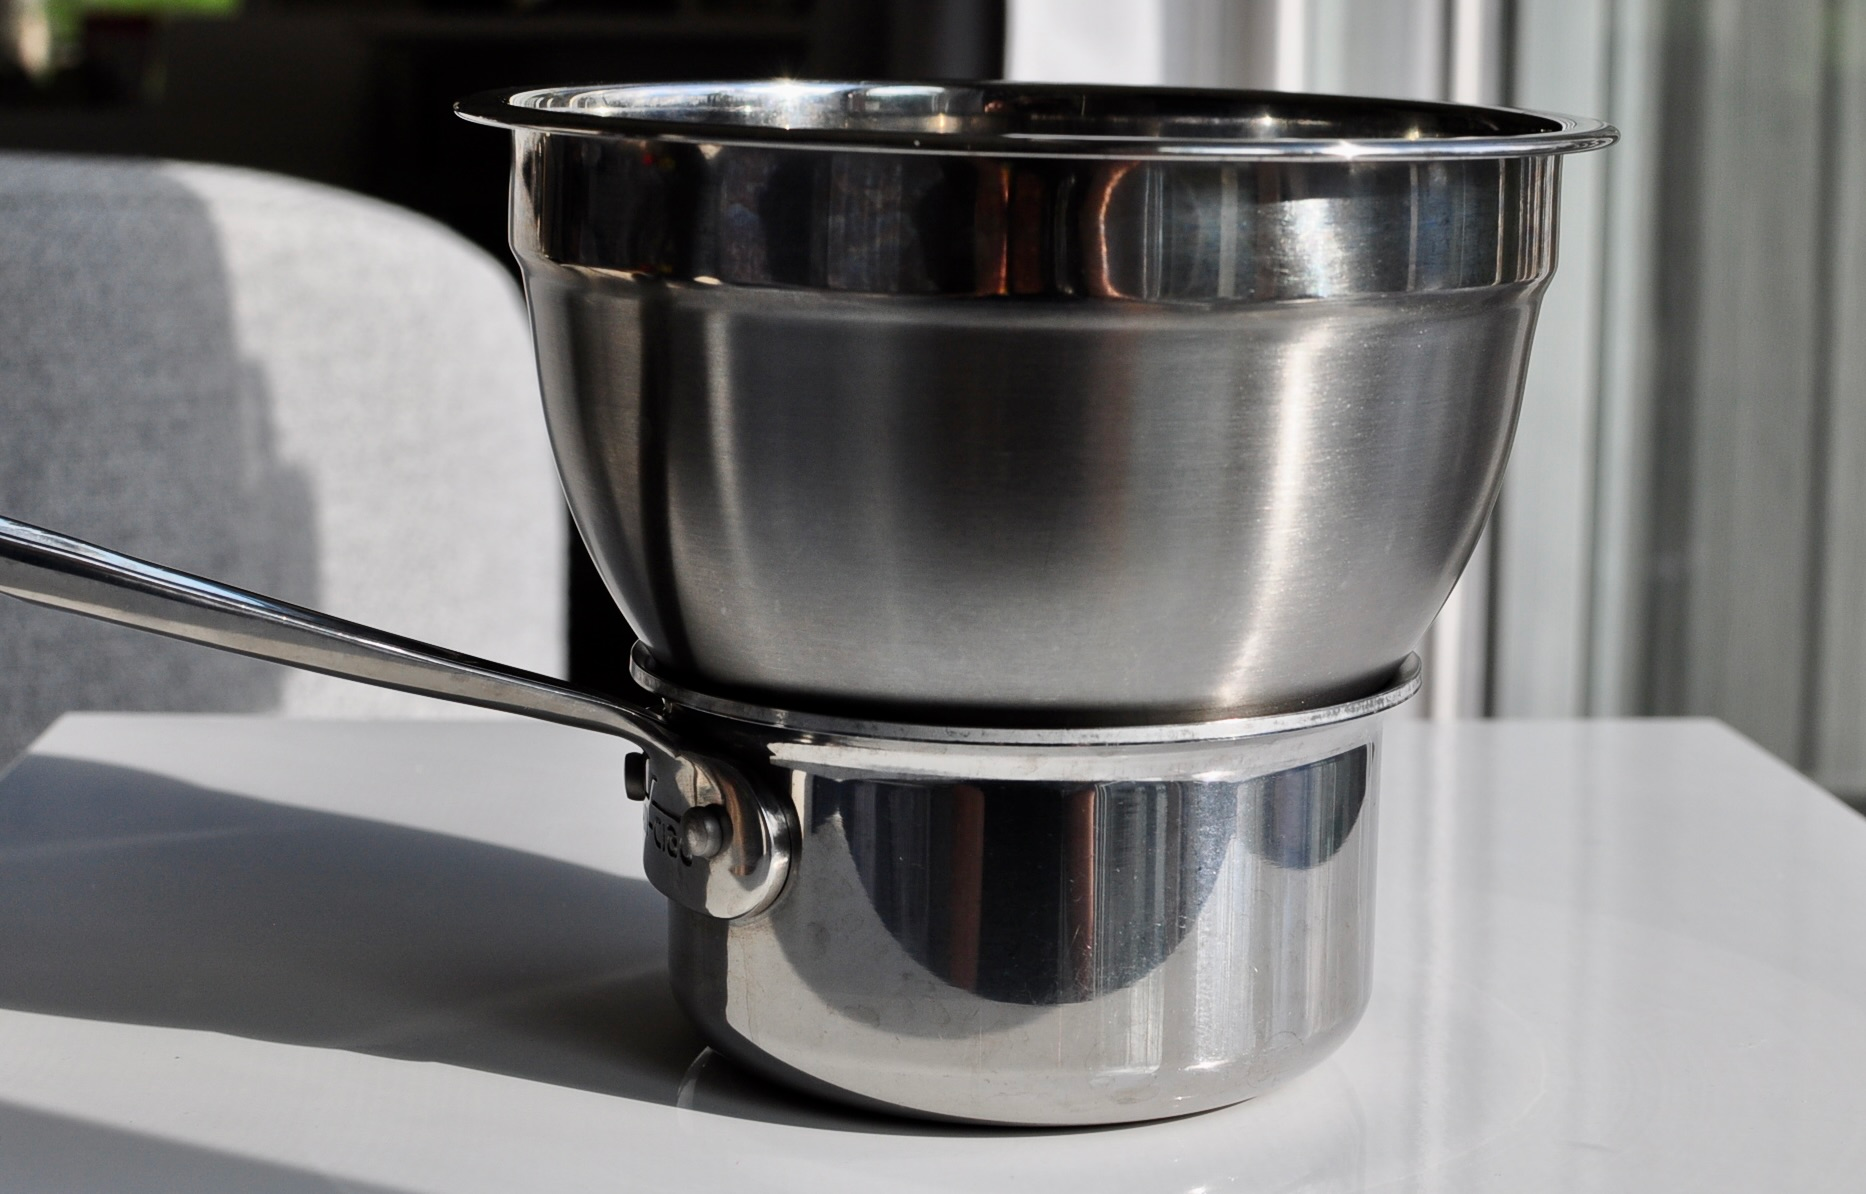
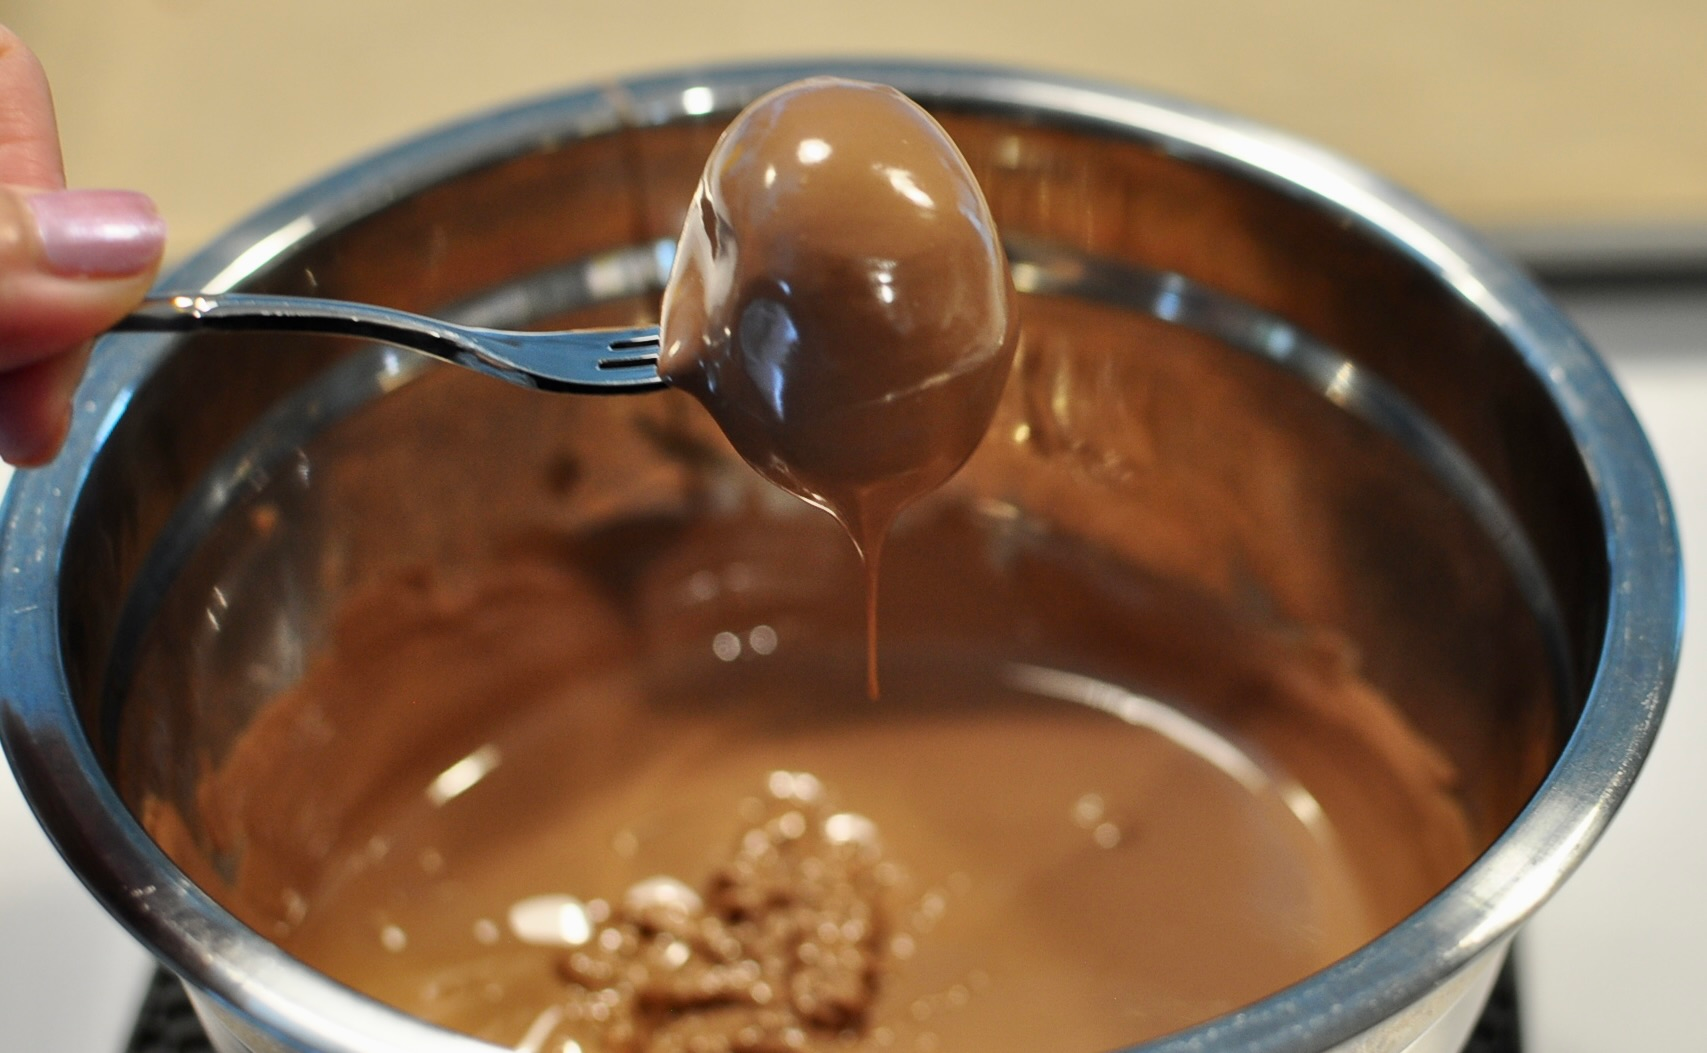
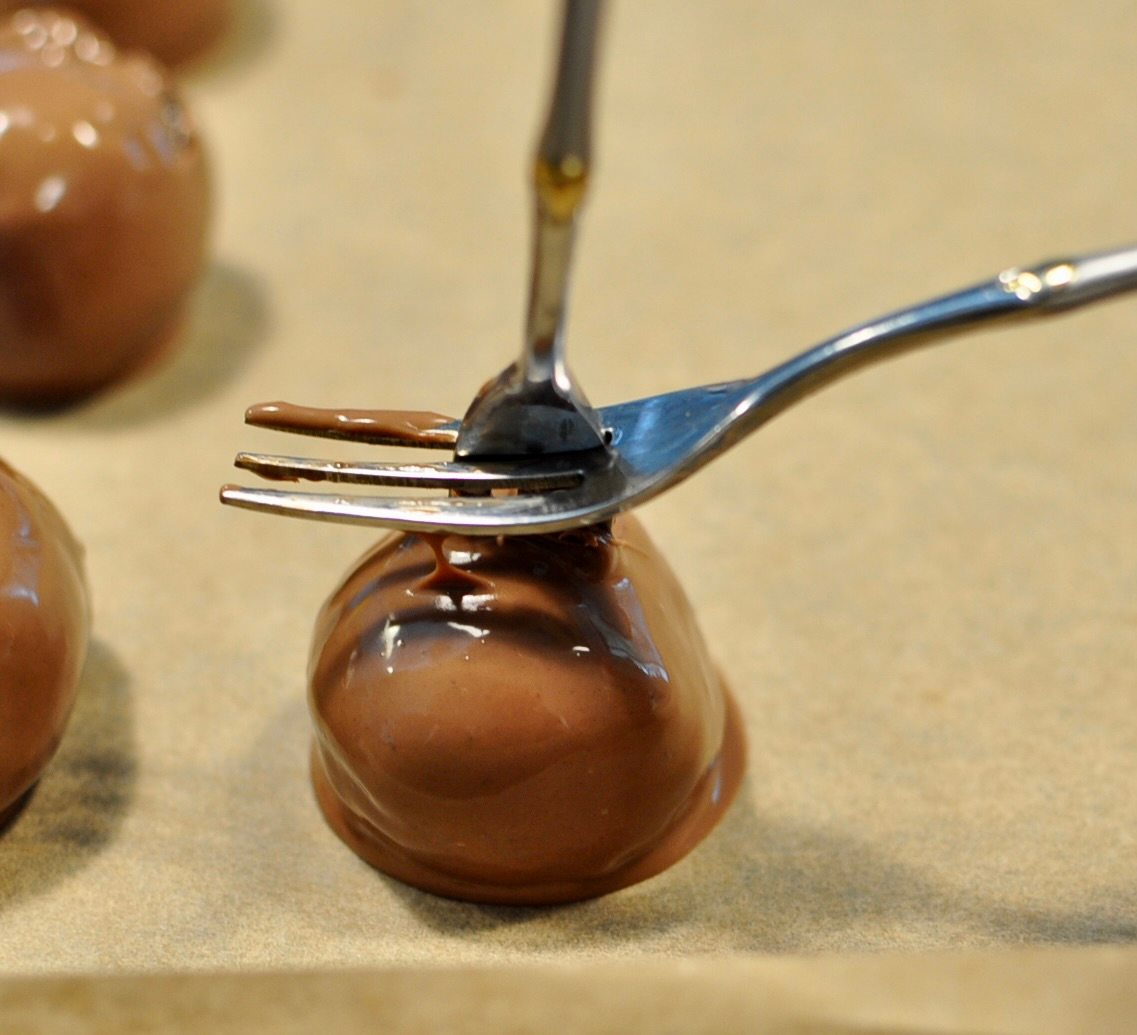
Visual Step-by-Step Guide for Making Espresso Oreo Truffles:



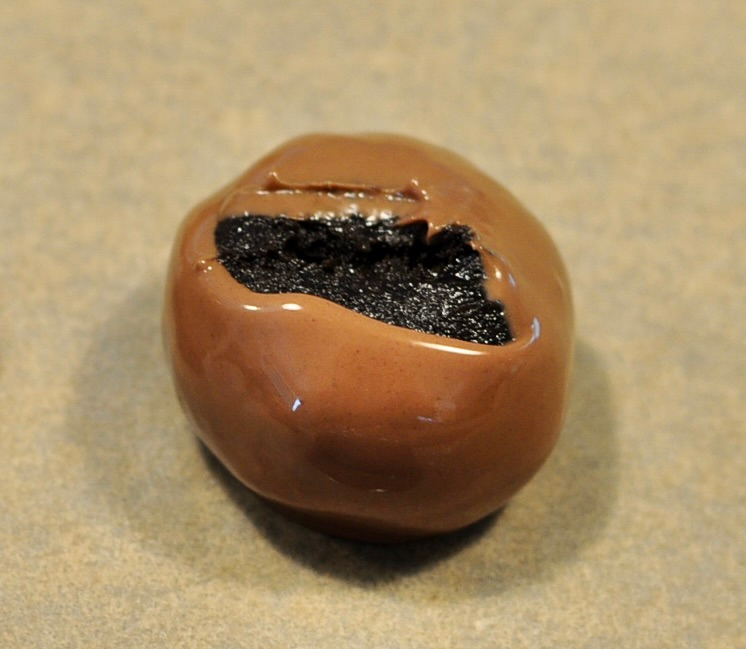
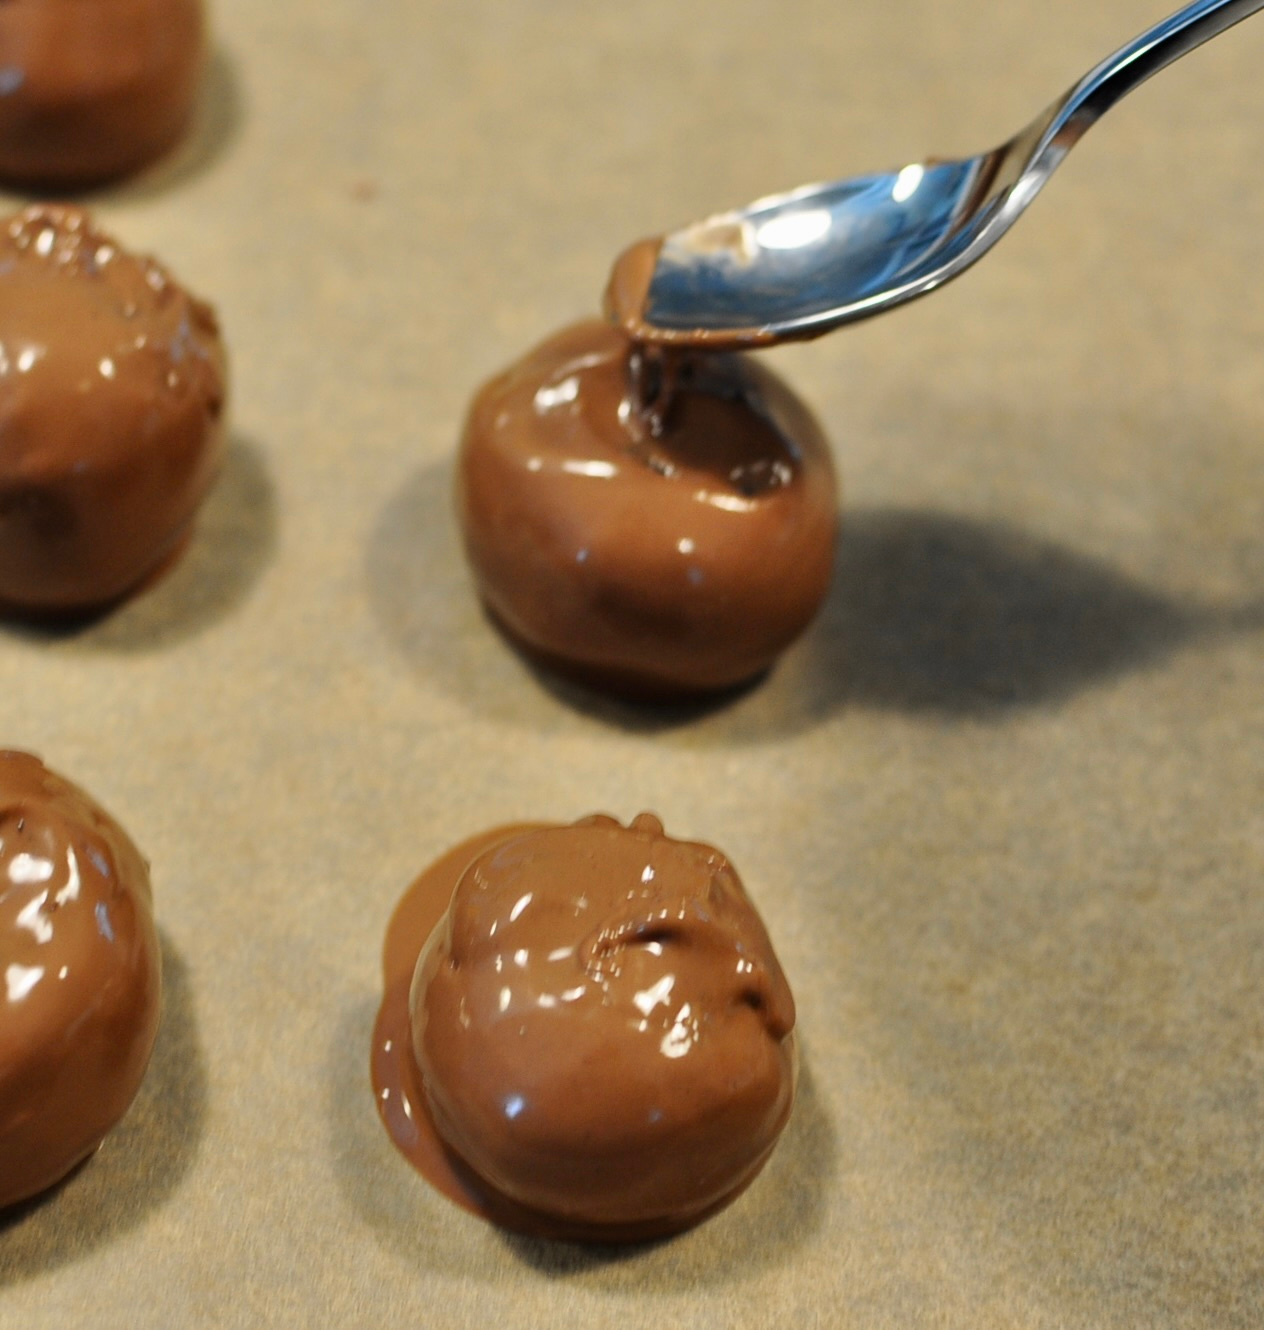
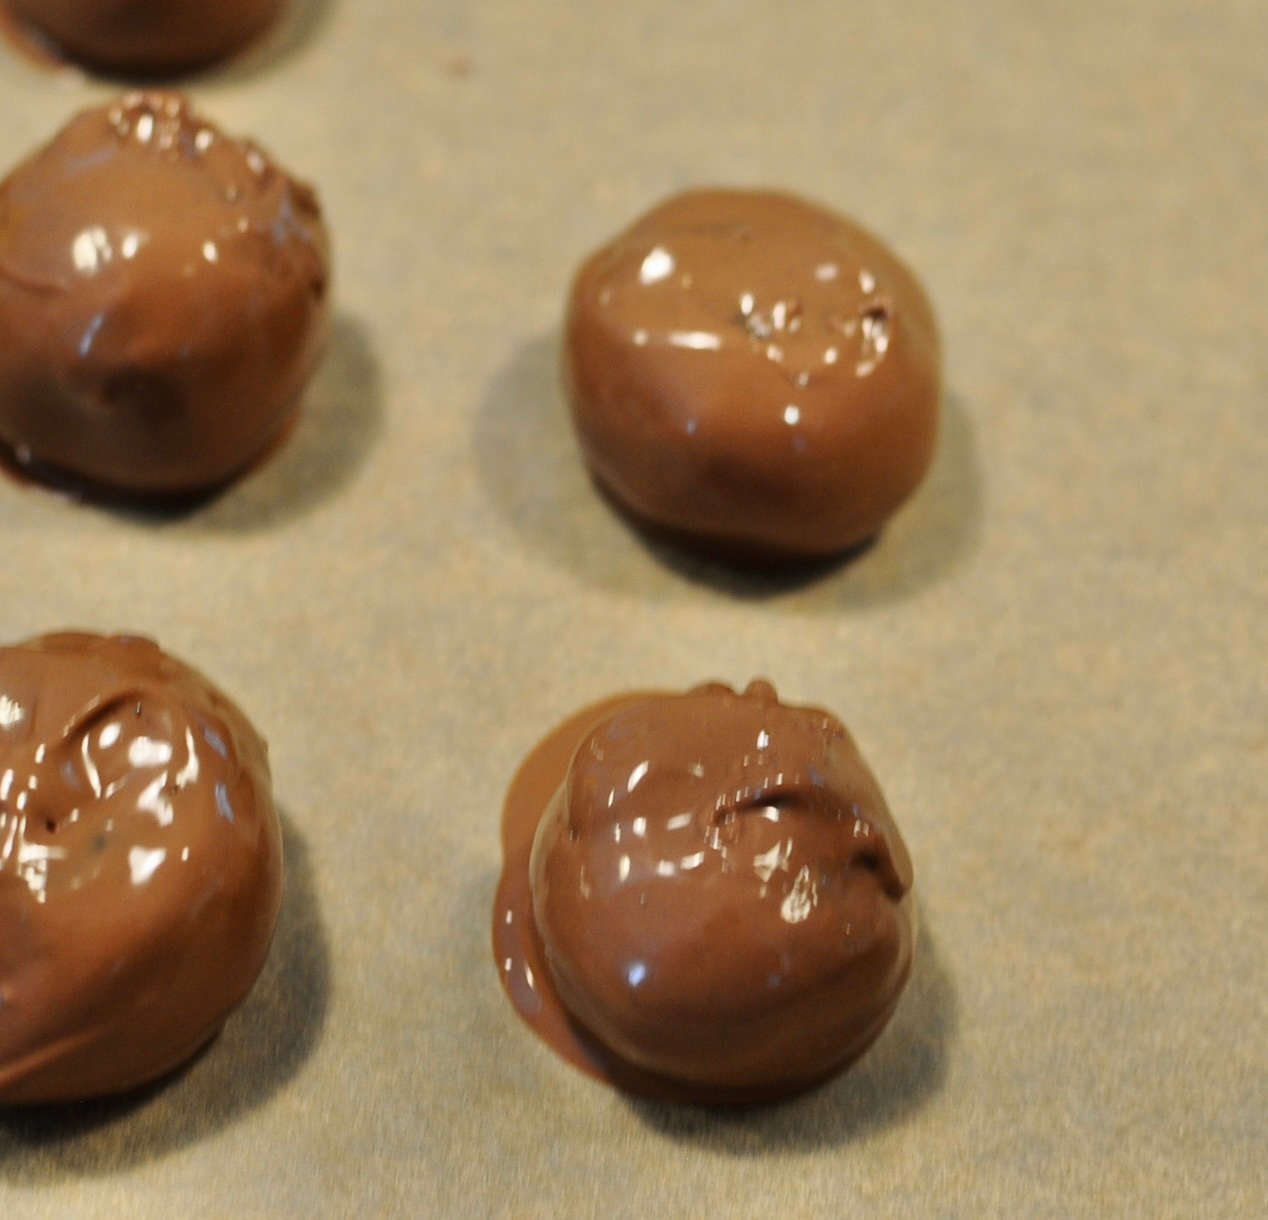

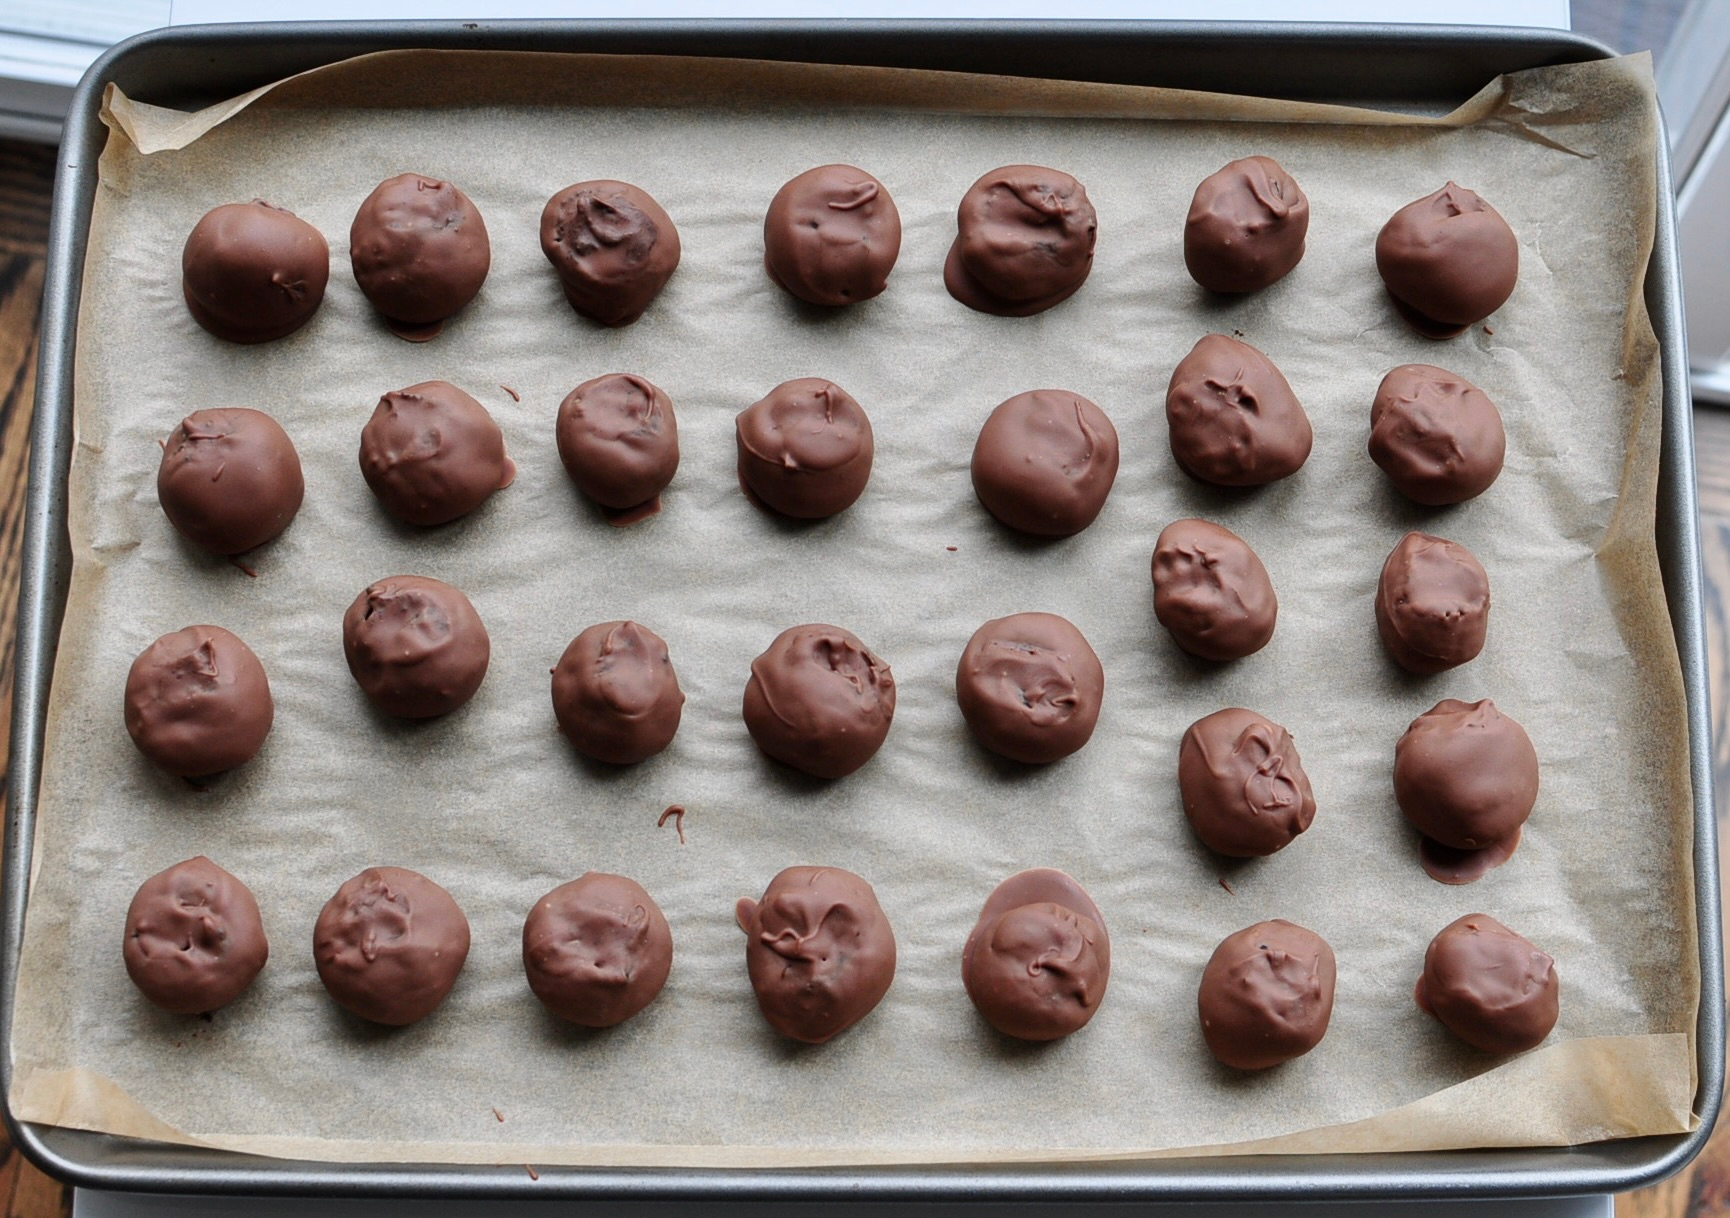


What’s in the oreo truffles?
- oreo cookiues
- cream cheese
- espresso powder
- vanilla extract
- chocolate and white chocolate callets

Vanilla Espresso Oreo Truffles

These easy Oreo truffles are made with crushed Oreos, cream cheese, espresso powder, and vanilla, then dipped in melted chocolate and drizzled with white chocolate. A rich, no-bake dessert perfect for holidays, parties, gifting, or anytime you need a bite-sized chocolate treat.
- Prep Time: 45 minutes
- Cook Time: 10 minutes
- Total Time: 2 hours 25 minutes (includes 1 hour 30 minutes chilling time)
- Yield: 36 servings 1x
- Category: Dessert
- Method: No-Bake / No Cook
- Cuisine: American
- Diet: Vegetarian
Ingredients
- 38 oreos
- 1 8 ounce package of cream cheese, room temperature
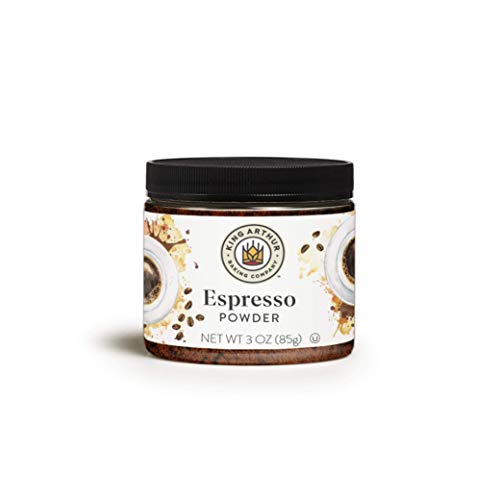
- 1 teaspoon espresso powder
- 1 teaspoon vanilla extract
- 12 ounces (~350 grams) chocolate callets (milk, semi-sweet or dark)
- 2 ounces (~55 grams) white chocolate callets
Instructions
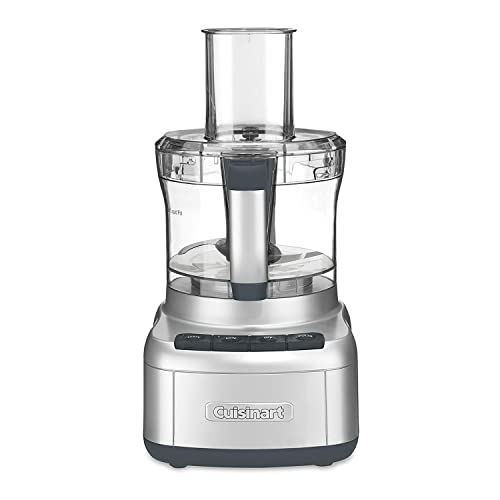
- Line a large baking sheet with parchment paper. In a food processor, add oreos and pulse until it turns into fine crumbs.
- Add the cream cheese, espresso powder and vanilla extract. Pulse until combined. The mixture will look like a sticky glob of dough.
- Scoop a heaping 1 tablespoon of mixture and form them into 1 inch balls. The mixture will feel sticky and soft. These do not need to be formed smoothly yet. Place them on your lined baking sheet and line them up so the balls are not touching each other. Depending on the size of your oreo truffle balls, you should have 30 to 36 balls. Place the baking sheet in your fridge and let the cream cheese start to chill again, about 30 minutes to 1 hour.
- When the oreo mixture is almost done chilling, melt the chocolate callets in a double boiler over very low heat. Stir until just melted and smooth. Remove the chocolate from the heat and let that cool slightly.
- Remove the chilled oreo balls from the fridge. Roll each ball between the palms of your hand to make a smooth round ball. Put half of the balls back into the fridge to keep them chilled. The balls are easier to handle when they are cold.
- Line another baking sheet with parchment paper. With a small cocktail fork or a dipper spoon, dip each ball into the melted chocolate. Gently tap to remove any excess chocolate and let that drip off the oreo balls for a few seconds. Be patient and let as much chocolate drip off as possible. This will prevent chocolate from pooling around the balls after you set them down. If using a fork, use another fork to help you release the ball on to the lined sheet pan. There will be a “crater” where the fork was inserted in the ball. Using a small spoon, touch the back of the spoon in the melted chocolate, just enough to get coat the back of the spoon slightly. Then gently tap the back of the spoon on the crater of the ball to fill in the crater with chocolate and smooth out the surface of the ball. Repeat for the other balls. Remove the remaining half of the oreo balls chilling the the fridge and repeat.
- Place the baking sheet of dipped oreo balls back into the fridge to let the chocolate set, about 30 minutes.
- When the dipped oreo balls are almost done chilling, set up another double boiler and melt the white chocolate. If using a squeeze bottle for drizzling, transfer the melted chocolate into the squeeze bottle. Otherwise, you can use a small spoon to make your drizzle. Drizzle away! You can be as neat or free-handed as you like. The drizzle will help cover any parts of the dipped oreo balls that are not smooth and will provide a gorgeous color contrast to the dark chocolate. Refrigerate about 30 minutes to let that set.
Notes
Variations and Customization Ideas
These Oreo Truffles are incredibly versatile. Feel free to get creative!
-
Different Oreo Flavors: Experiment with mint, golden, peanut butter, or seasonal Oreo varieties for unique twists.
-
Alternative Coatings: Dip in milk chocolate, dark chocolate, or even flavored candy melts for a different look and taste.
-
Topping Extravaganza: Before the chocolate sets, sprinkle with sea salt, crushed nuts, colorful sprinkles, or extra crushed Oreo crumbs.
-
Holiday Oreo Dessert: Use red and green sprinkles for Christmas, pastel sprinkles for Easter, or heart sprinkles for Valentine’s Day. The white chocolate drizzle also makes them look festive!
-
Spiced Truffles: A pinch of cinnamon or a tiny dash of cayenne pepper could add a surprising warmth.
Storage and Make-Ahead Instructions
One of the best things about these Easy Oreo Truffles is how well they store, making them ideal for prepping in advance!
-
Storage: Because they contain cream cheese, Oreo Truffles must be stored in an airtight container in the refrigerator. They will stay fresh and delicious for up to 1-2 weeks.
-
Make-Ahead: You can make the truffle mixture and roll the balls a day or two in advance, storing them tightly covered in the refrigerator before dipping. For longer storage, see freezing instructions below.
-
Freezing: Yes, you can freeze Oreo Truffles! Place the fully coated and set truffles in a single layer in an airtight freezer-safe container, separating layers with parchment paper. They can be frozen for up to 2-3 months. Thaw in the refrigerator for a few hours or at room temperature for about 20-30 minutes before serving.
Nutrition
- Serving Size: 1 truffle
- Calories: 132 kcal
- Sugar: 10.9 g
- Sodium: 70 mg
- Fat: 8 g
- Saturated Fat: 4.1 g
- Unsaturated Fat: 3.9 g
- Trans Fat: 0 g
- Carbohydrates: 15.8 g
- Fiber: 1.1 g
- Protein: 1.3 g
- Cholesterol: 7 mg
Frequently Asked Questions (FAQs) About Oreo Truffles
Q: What are Oreo truffles made of? A: Traditional Oreo Truffles are made from crushed Oreo cookies, cream cheese, and a chocolate coating. Our special recipe adds espresso powder and vanilla extract to the mix for an extra layer of gourmet flavor.
Q: Do Oreo truffles need to be refrigerated? A: Yes! Due to the cream cheese in the filling, Oreo Truffles should always be stored in an airtight container in the refrigerator to maintain freshness and food safety. They can sit out at room temperature for up to 2 hours when serving.
Q: How long do Oreo truffles last? A: When stored properly in an airtight container in the refrigerator, Oreo Truffles will last for 1 to 2 weeks. They can also be frozen for up to 3 months.
Q: Can you freeze Oreo truffles? A: Absolutely! Freeze fully set chocolate covered Oreo truffles in an airtight container for up to 3 months. Thaw in the refrigerator or at room temperature before enjoying.
Q: What’s the best way to dip Oreo truffles? A: Chilling the truffle balls well is key. Use a fork or a candy dipping tool to submerge each ball, allowing excess chocolate to drip off. Gently tapping the fork on the side of the bowl helps create a smooth, even coating.
Q: What kind of chocolate should I use for dipping? A: High-quality chocolate callets (like Ghirardelli, Guittard or Callebaut) are recommended for a smooth melt and shiny finish. Good quality chocolate chips or baking chocolate also work well. For the white chocolate drizzle, use white chocolate callets for the best results.
Q: Can I use different Oreo flavors for this recipe? A: Yes! This recipe is very adaptable. Feel free to experiment with any flavor of Oreo cookies to create your unique Oreo Truffle Recipe variations.
SHOP FOR THIS RECIPE




 Strawberry Mochi Squares
 Easy Blanched Shanghai Bok Choy
 Strawberry Chia Seed Jam
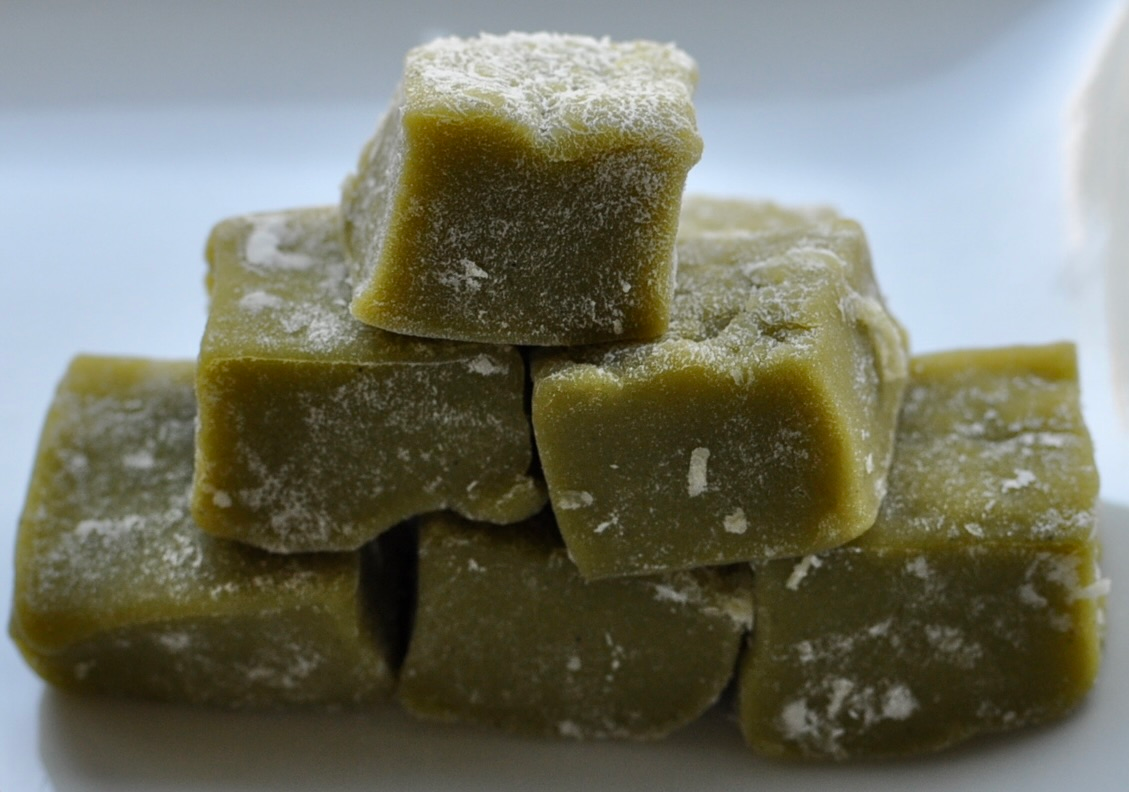 Matcha Mochi Squares
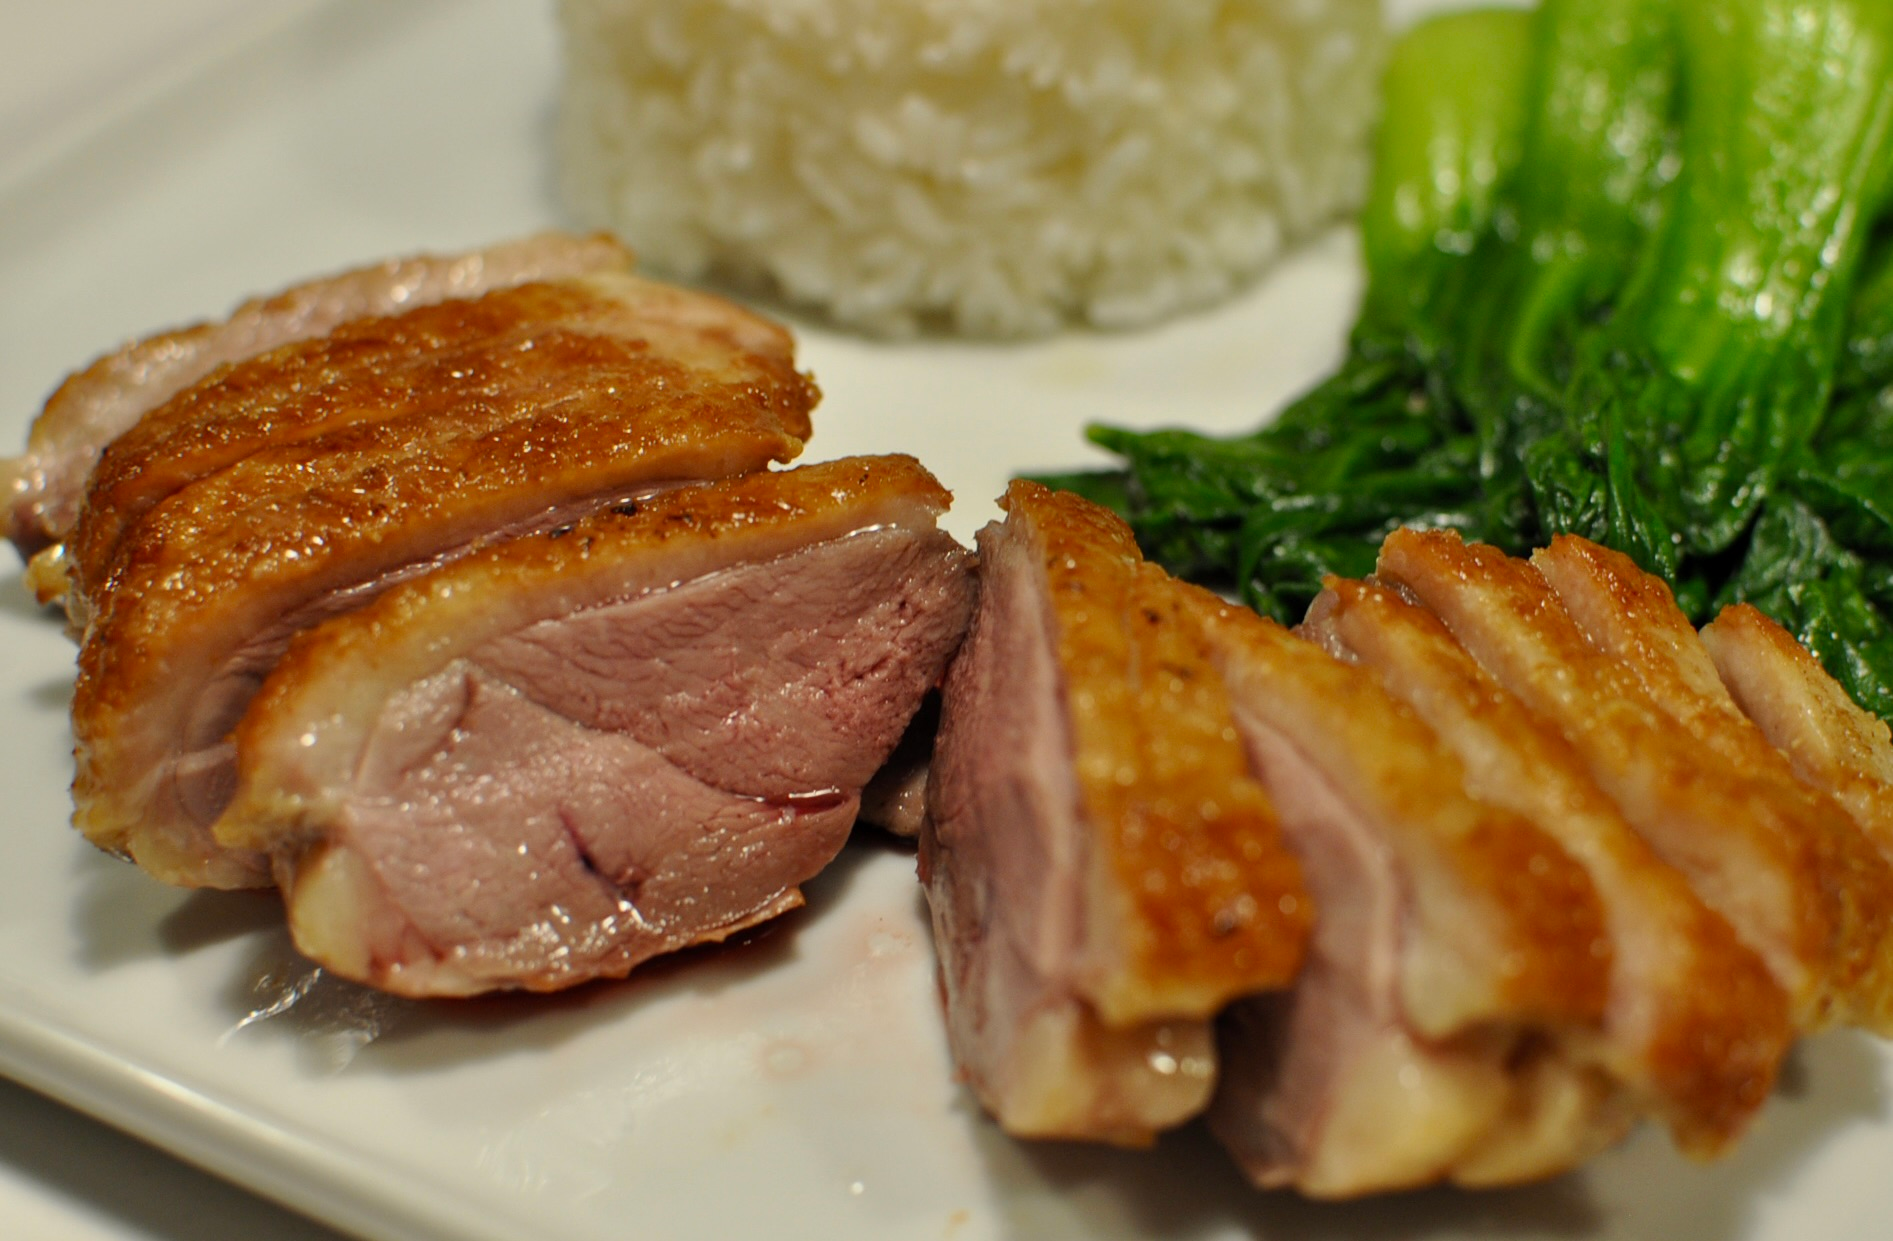 Pan-Seared Oven-Finished Duck Breasts
 Counter Culture: What to Keep Out of Your Fridge
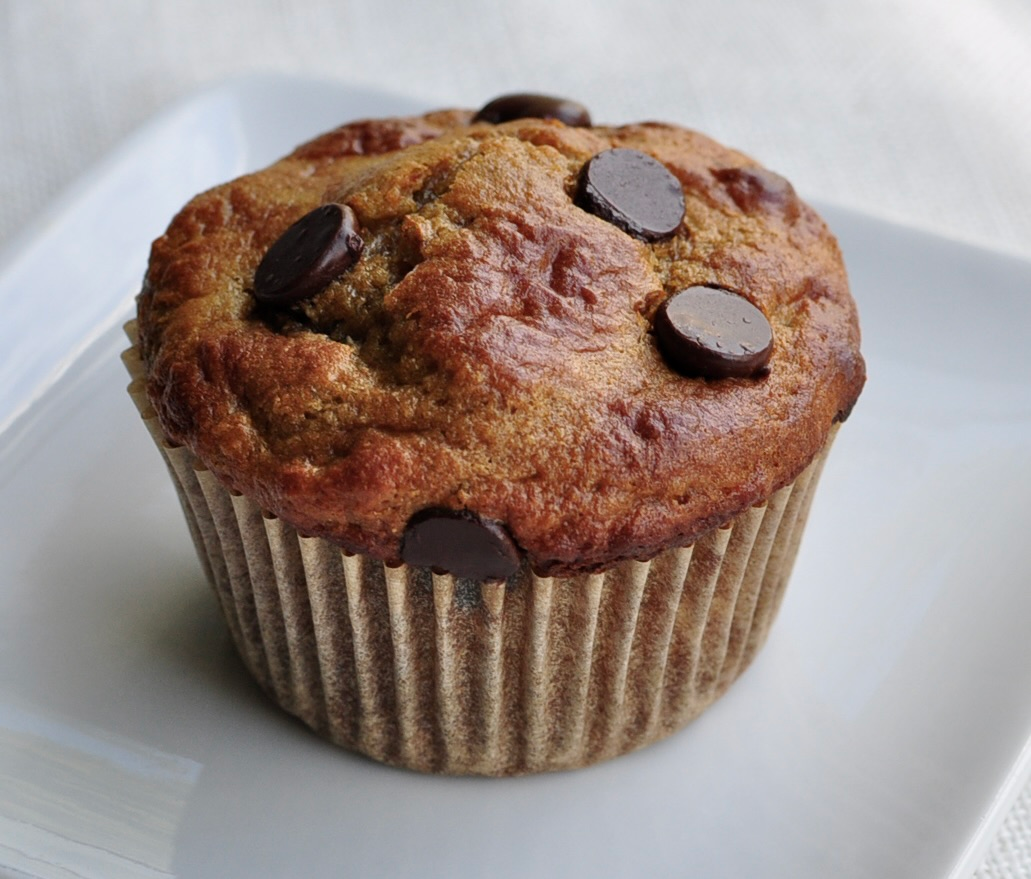 Banana Protein Muffins
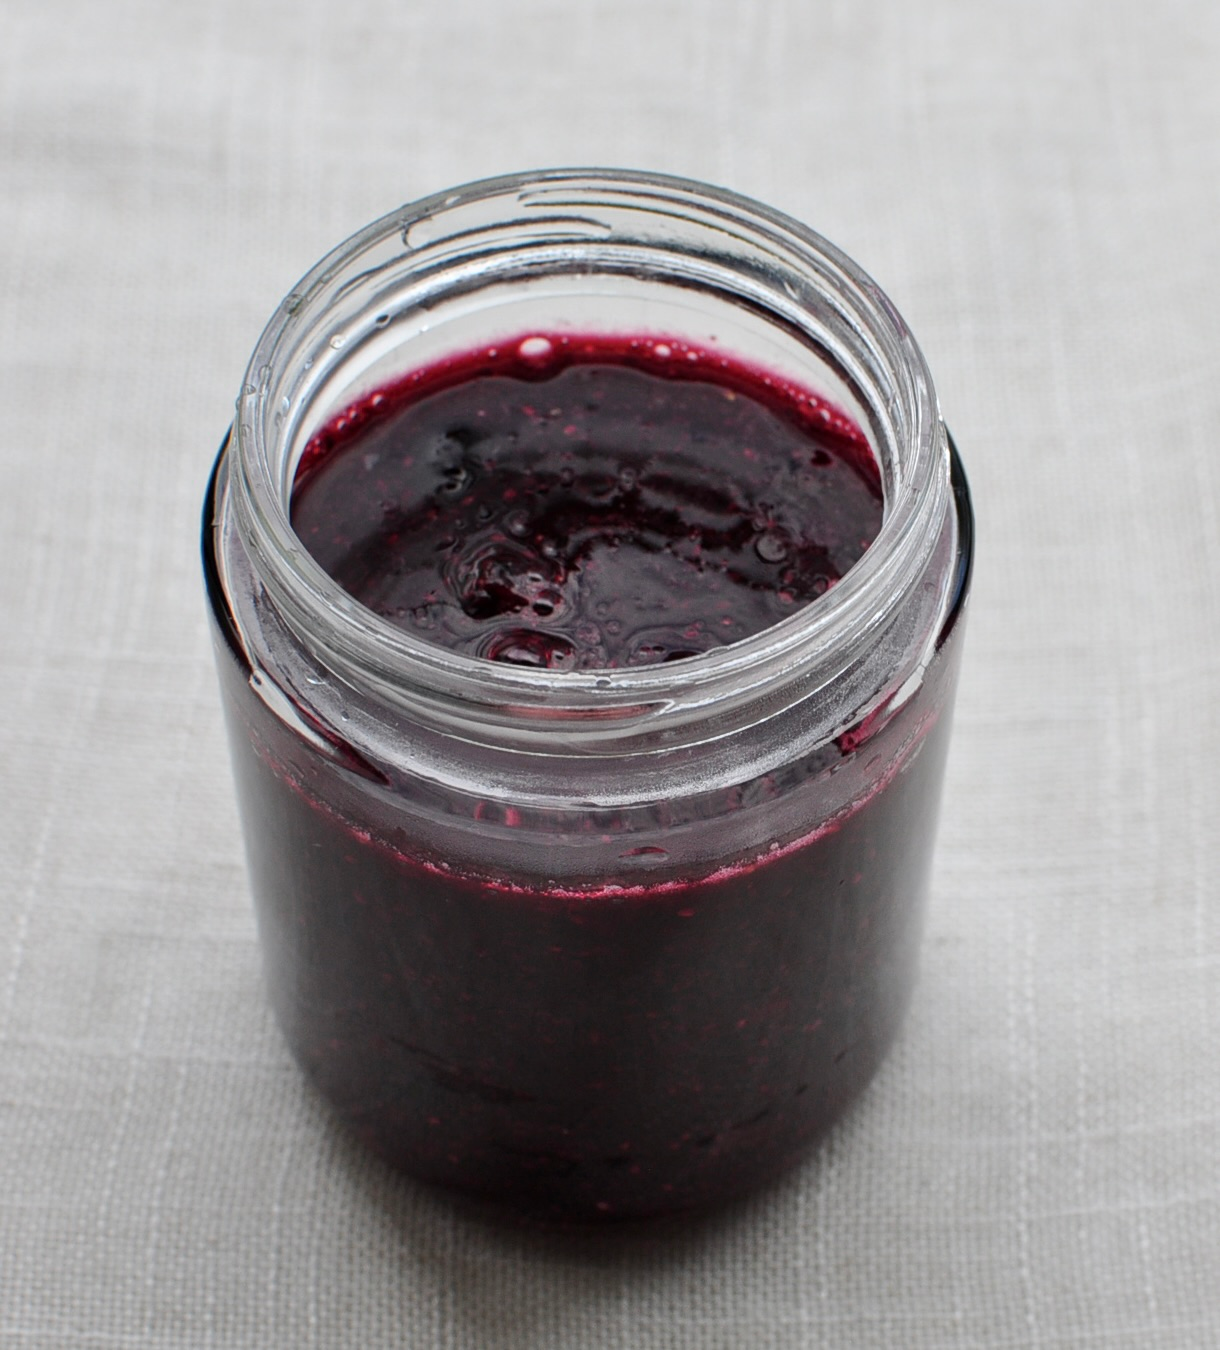 Blueberry Chia Seed Jam
 Chocolate Cupcakes
 Vanilla Cupcakes