

This post contains affiliate links. As an Amazon Associate, I earn from qualifying purchases.
Easy Black Sesame Daifuku Mochi (Steamed, Not Microwaved!)
Let’s be real: mochi is a gift from the dessert gods, but wrestling with a sticky blob of hot sweet rice flour? Not exactly my idea of a relaxing afternoon. Enter my ultimate hack for the easiest, most addictive Black Sesame Daifuku Mochi you will ever make.
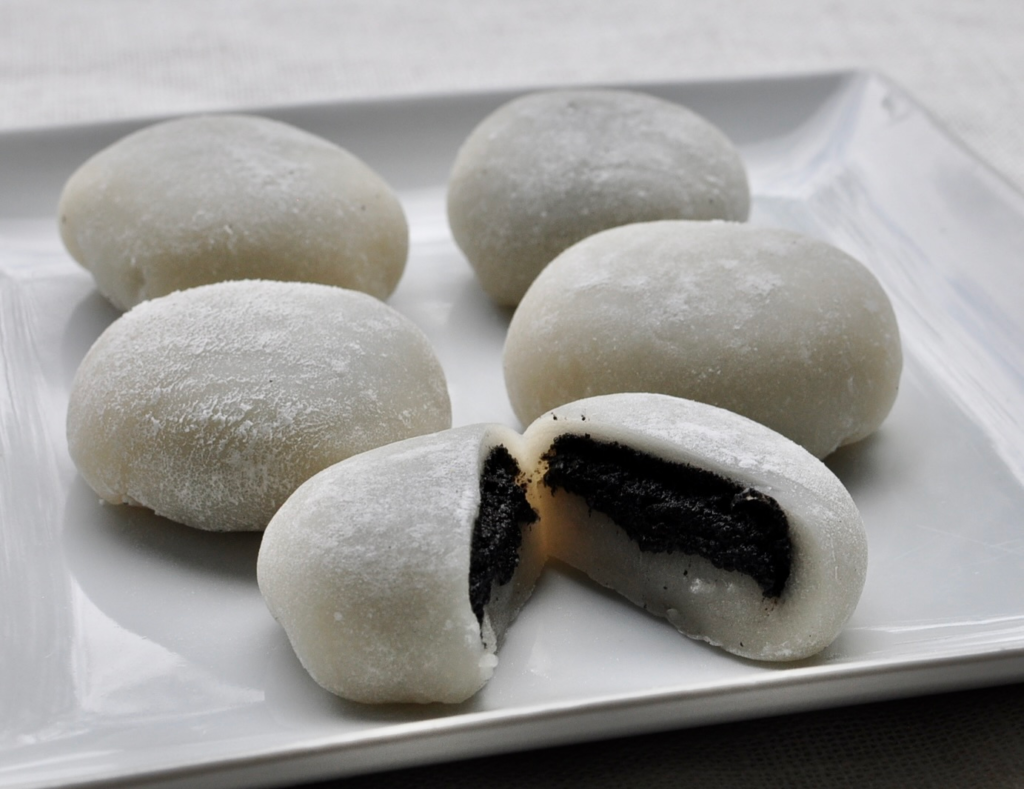
This Black Sesame Daifuku Mochi recipe is everything you want in a Japanese-inspired sweet: soft, stretchy, chewy, and stuffed with a rich, nutty black sesame paste that tastes like toasted heaven. The mochi itself is made from just three humble ingredients — sweet rice flour, granulated sugar, and water — but the magic is all in the technique.
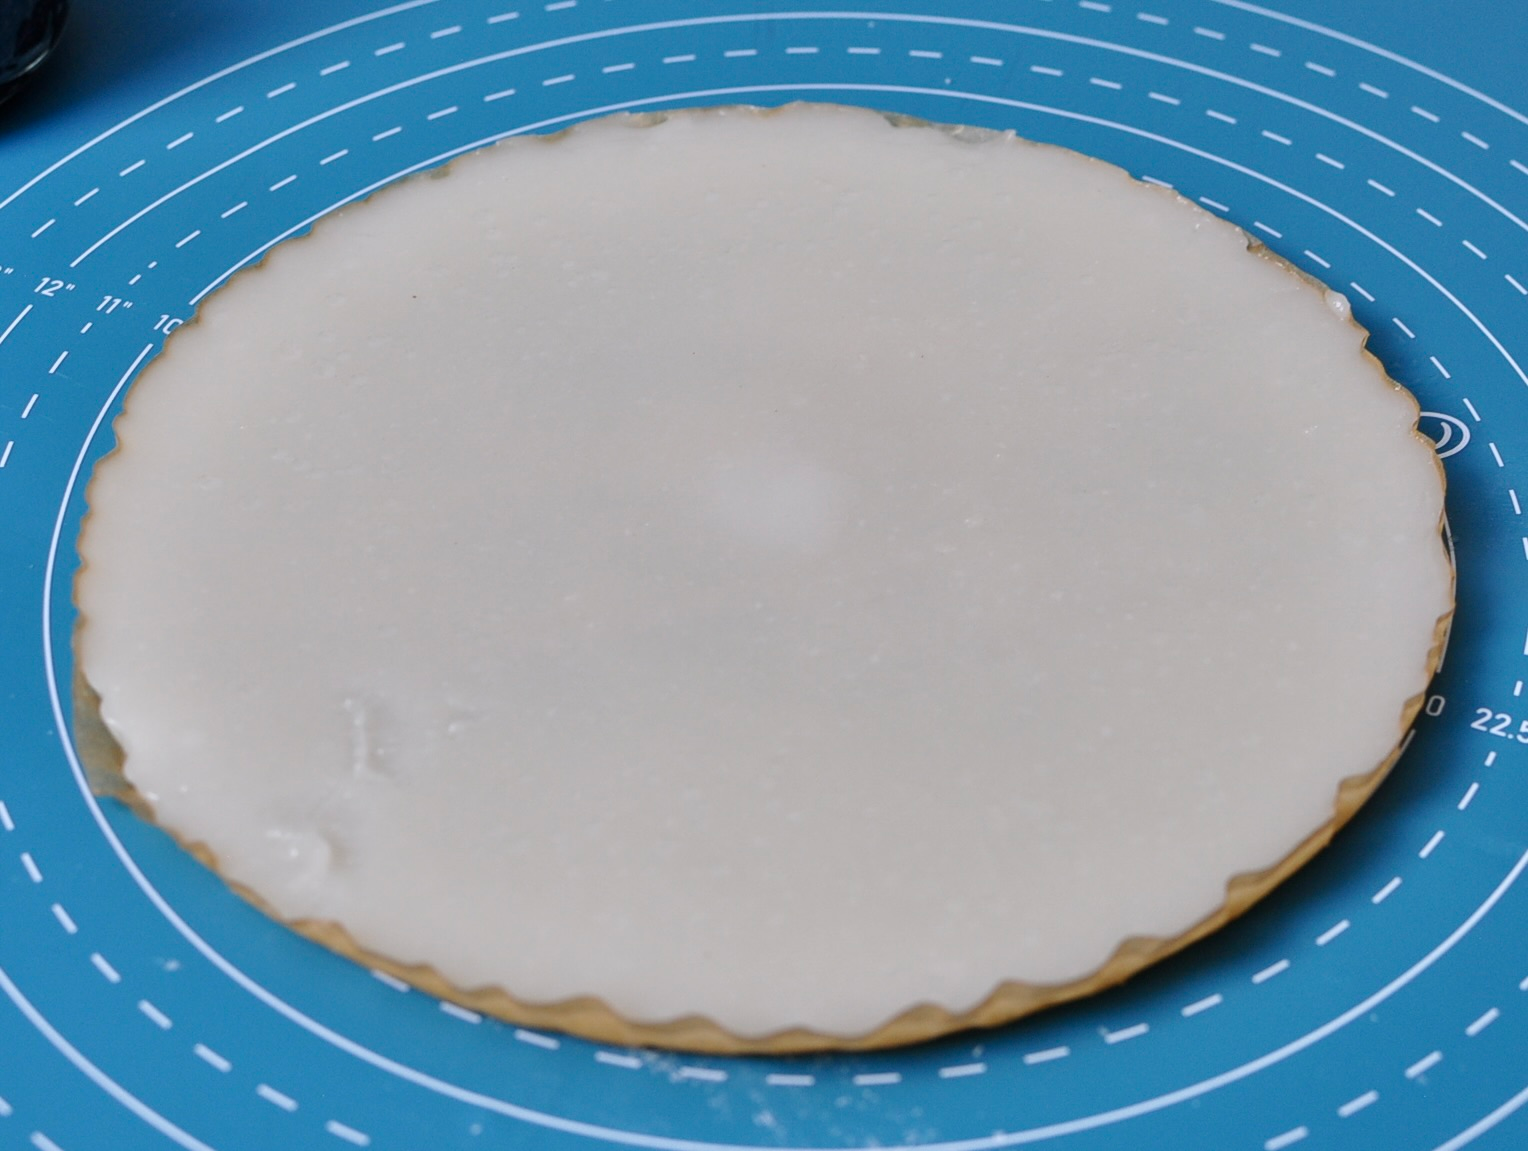
Here’s my secret: skip the microwave. I know, I know — every internet recipe screams “microwave it!” But I steam my mochi in a parchment-lined 9-inch pie pan, and it cooks up at the perfect thickness. No rolling out sticky dough. No second-guessing how thin is too thin. No mochi disasters stuck to your countertop like edible cement.
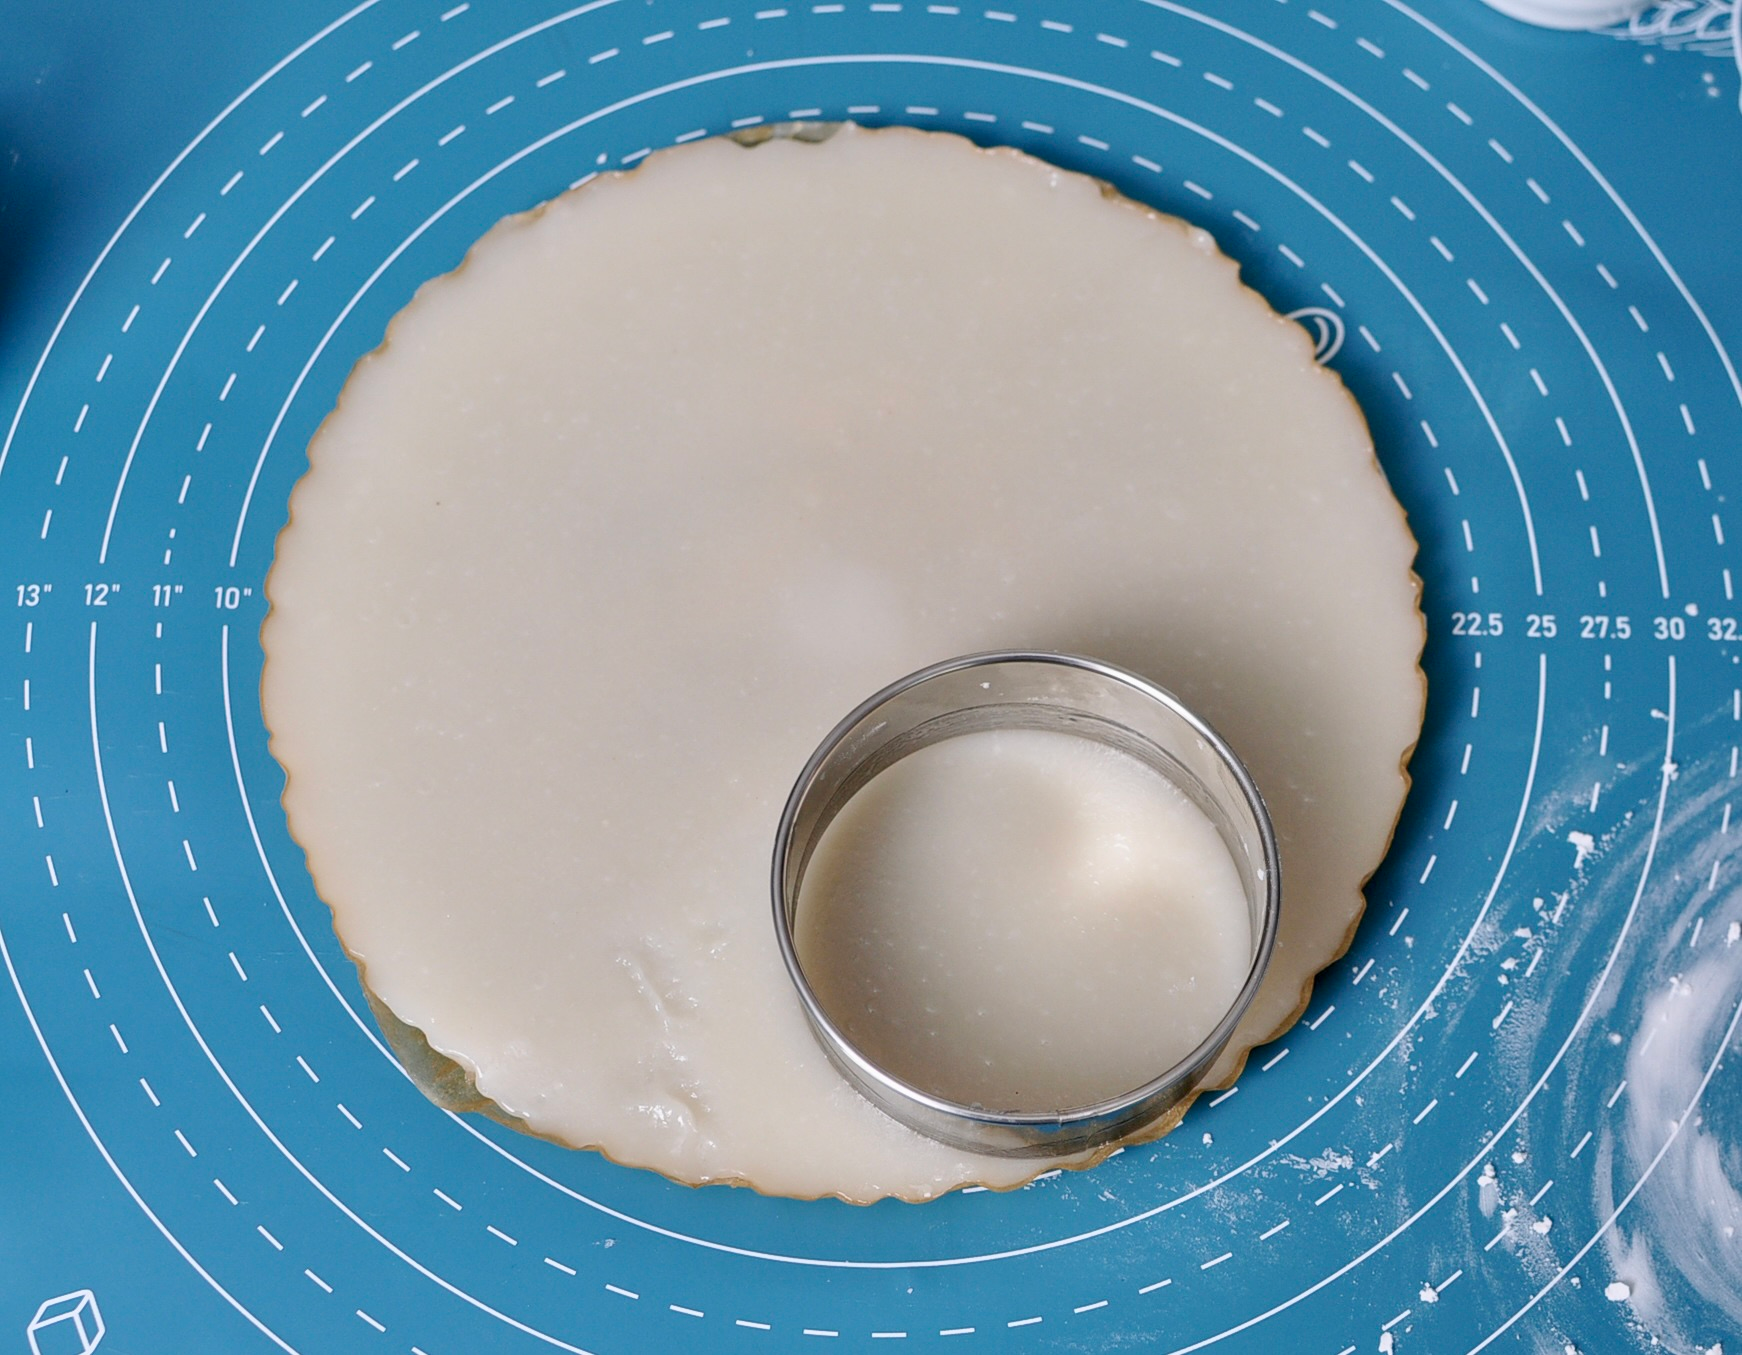
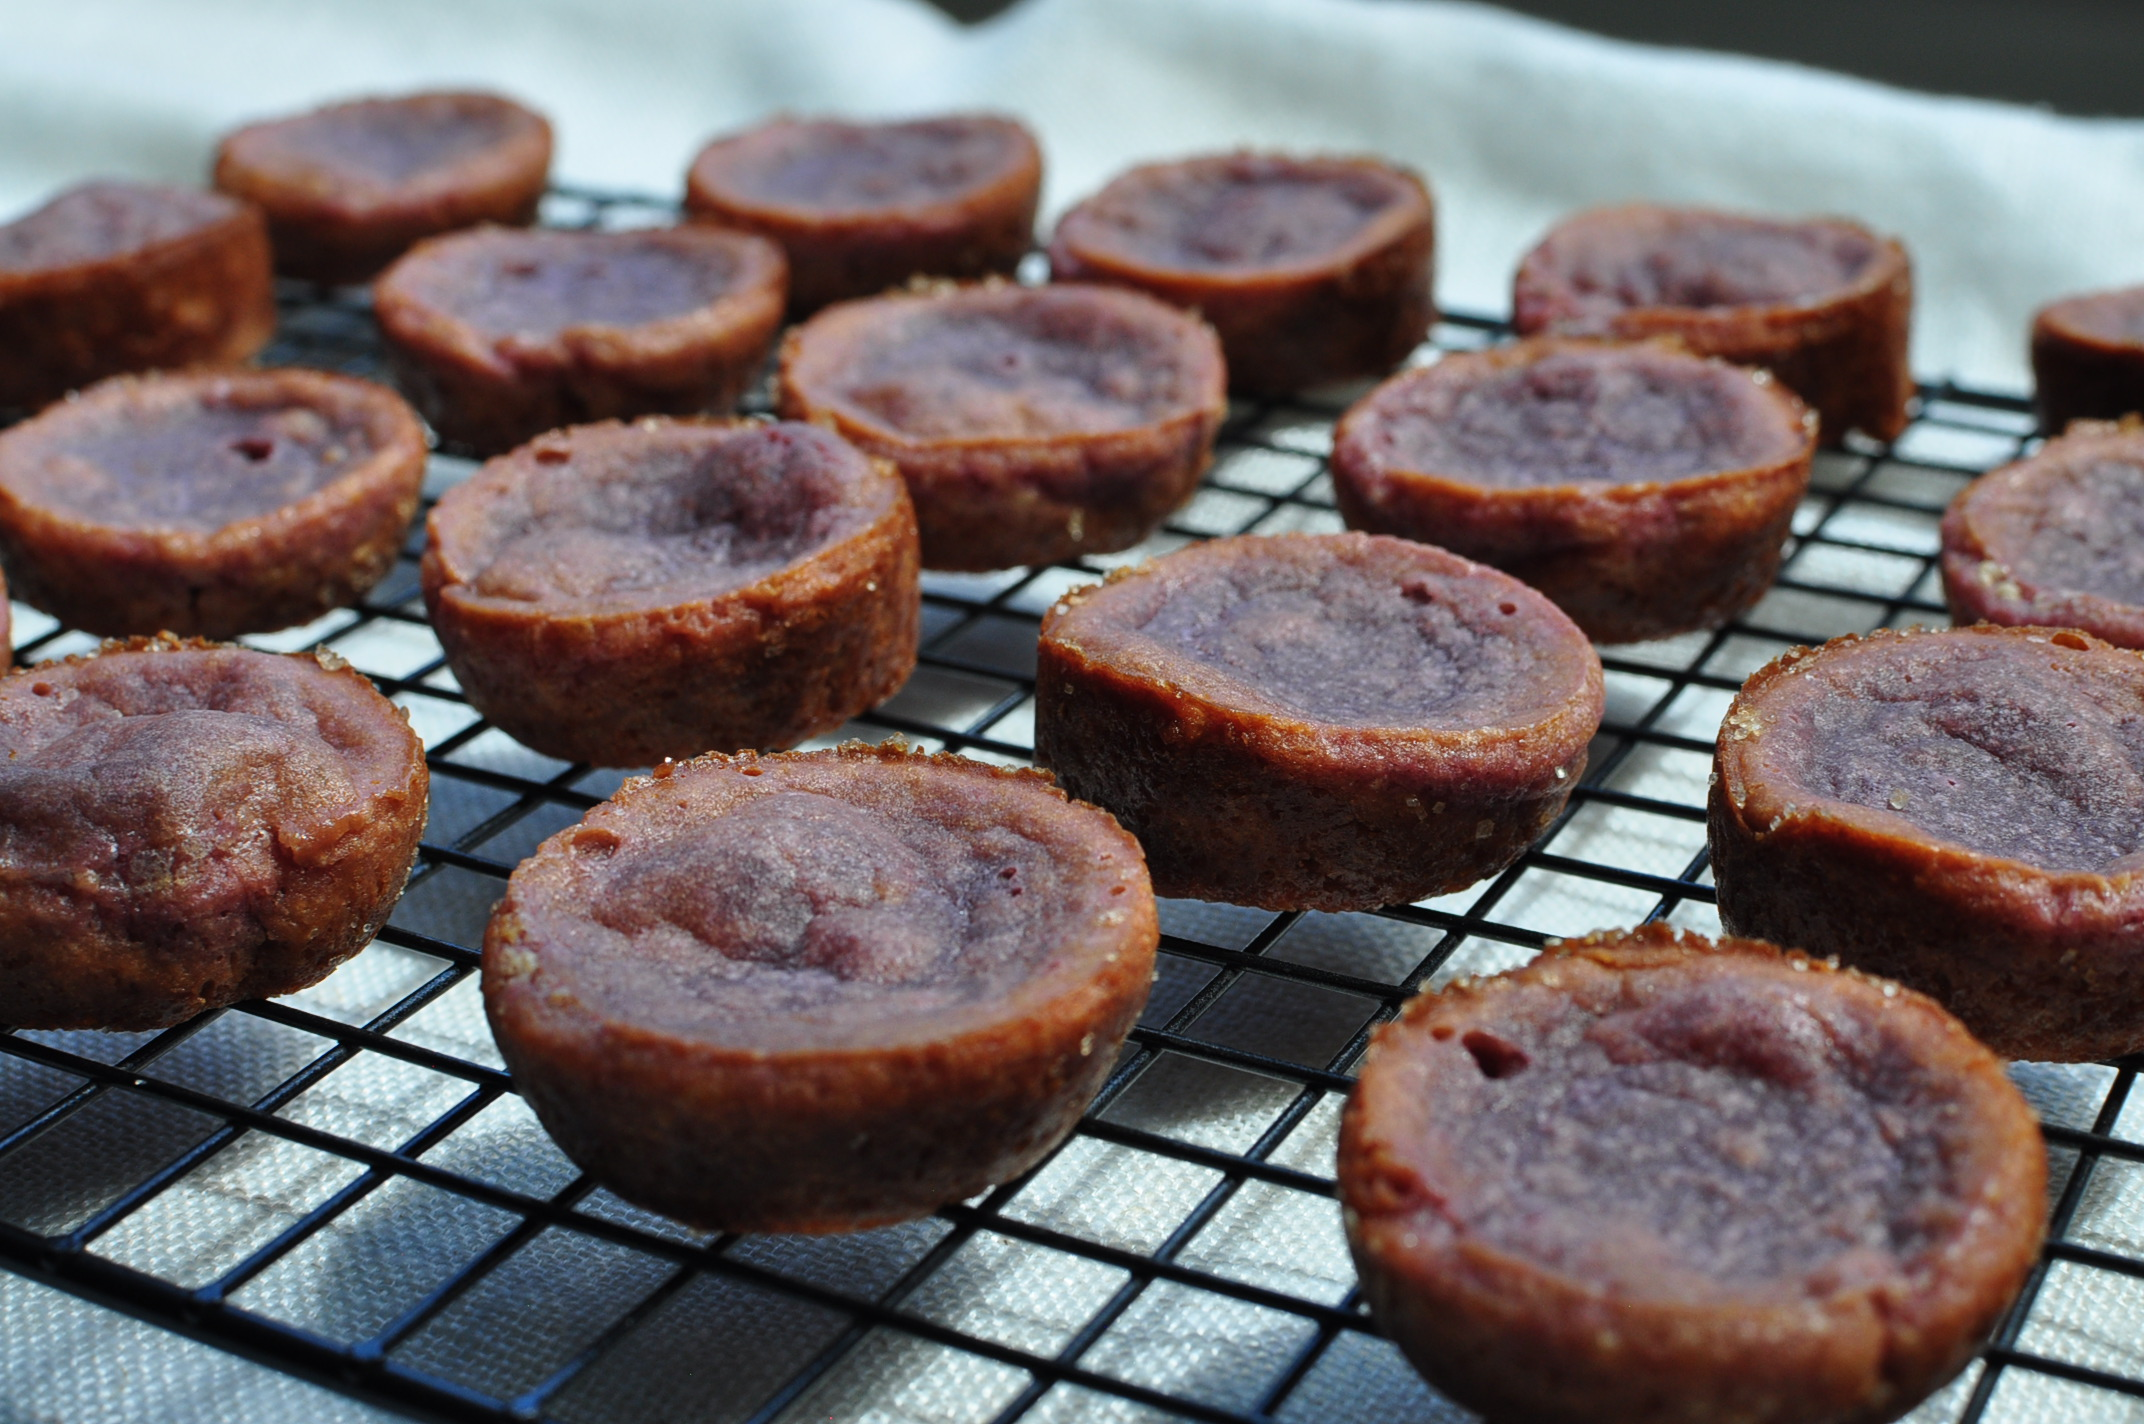
After steaming, I let the mochi cool for at least 15 minutes (patience, friend — hot mochi is sticky mochi, and sticky mochi is your villain origin story). Once cooled, it lifts right off the parchment and onto your dusted work surface, where a 3-inch round cookie cutter turns it into perfect little circles. You’ll get 6 or 7 daifuku per batch, and yes — the scraps press right back together for that last circle. Mochi is forgiving like that.
A quick note on the dusting: I use potato starch, not cornstarch. Why? Because cornstarch isn’t meant to be eaten raw, but potato starch is totally chill about it. Tiny detail, big difference.
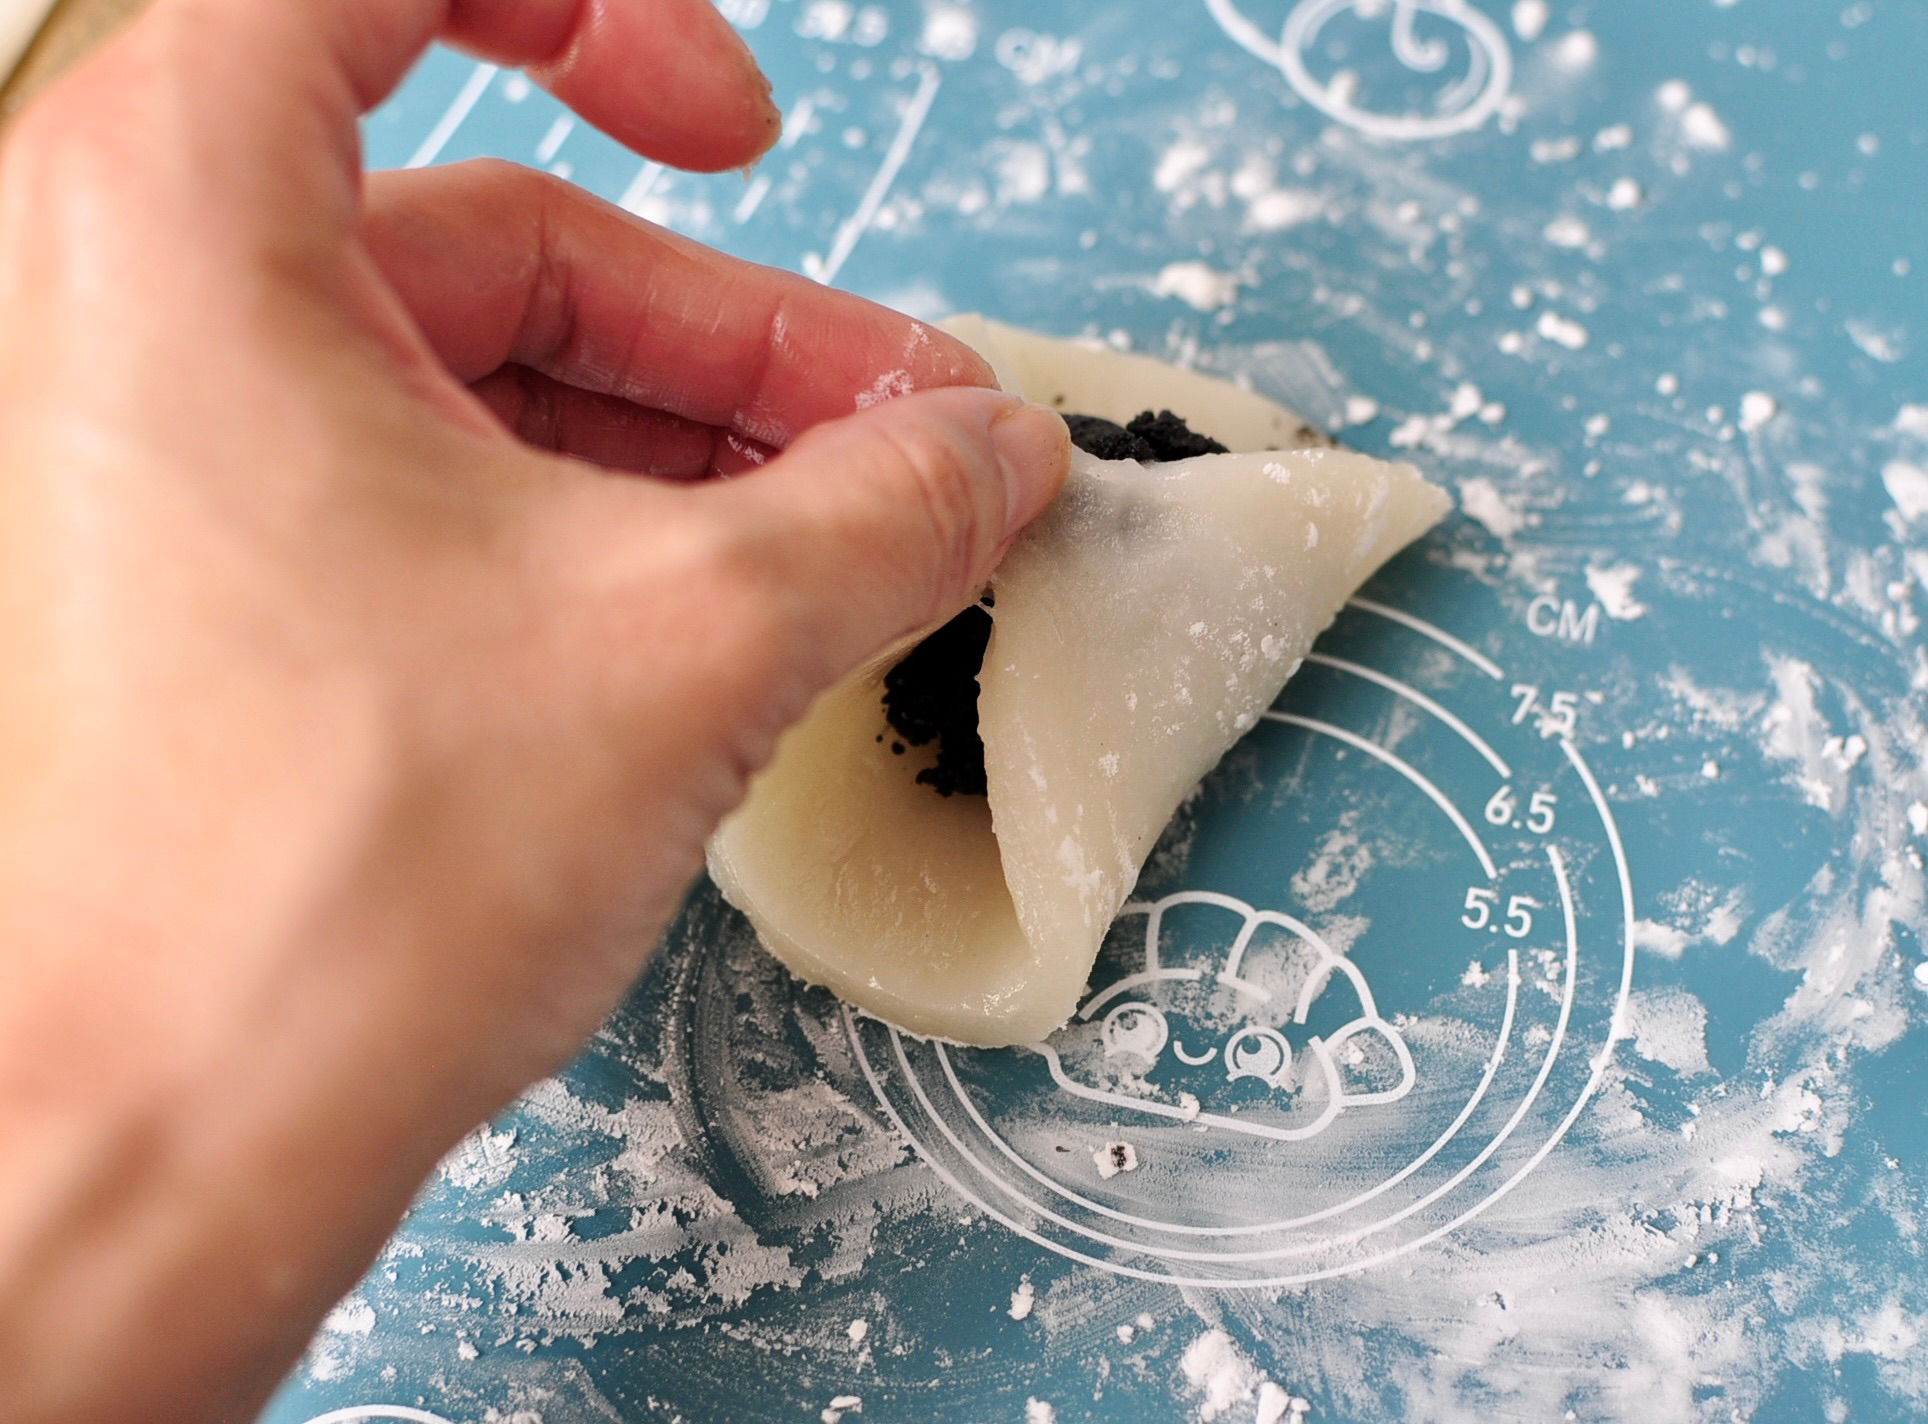
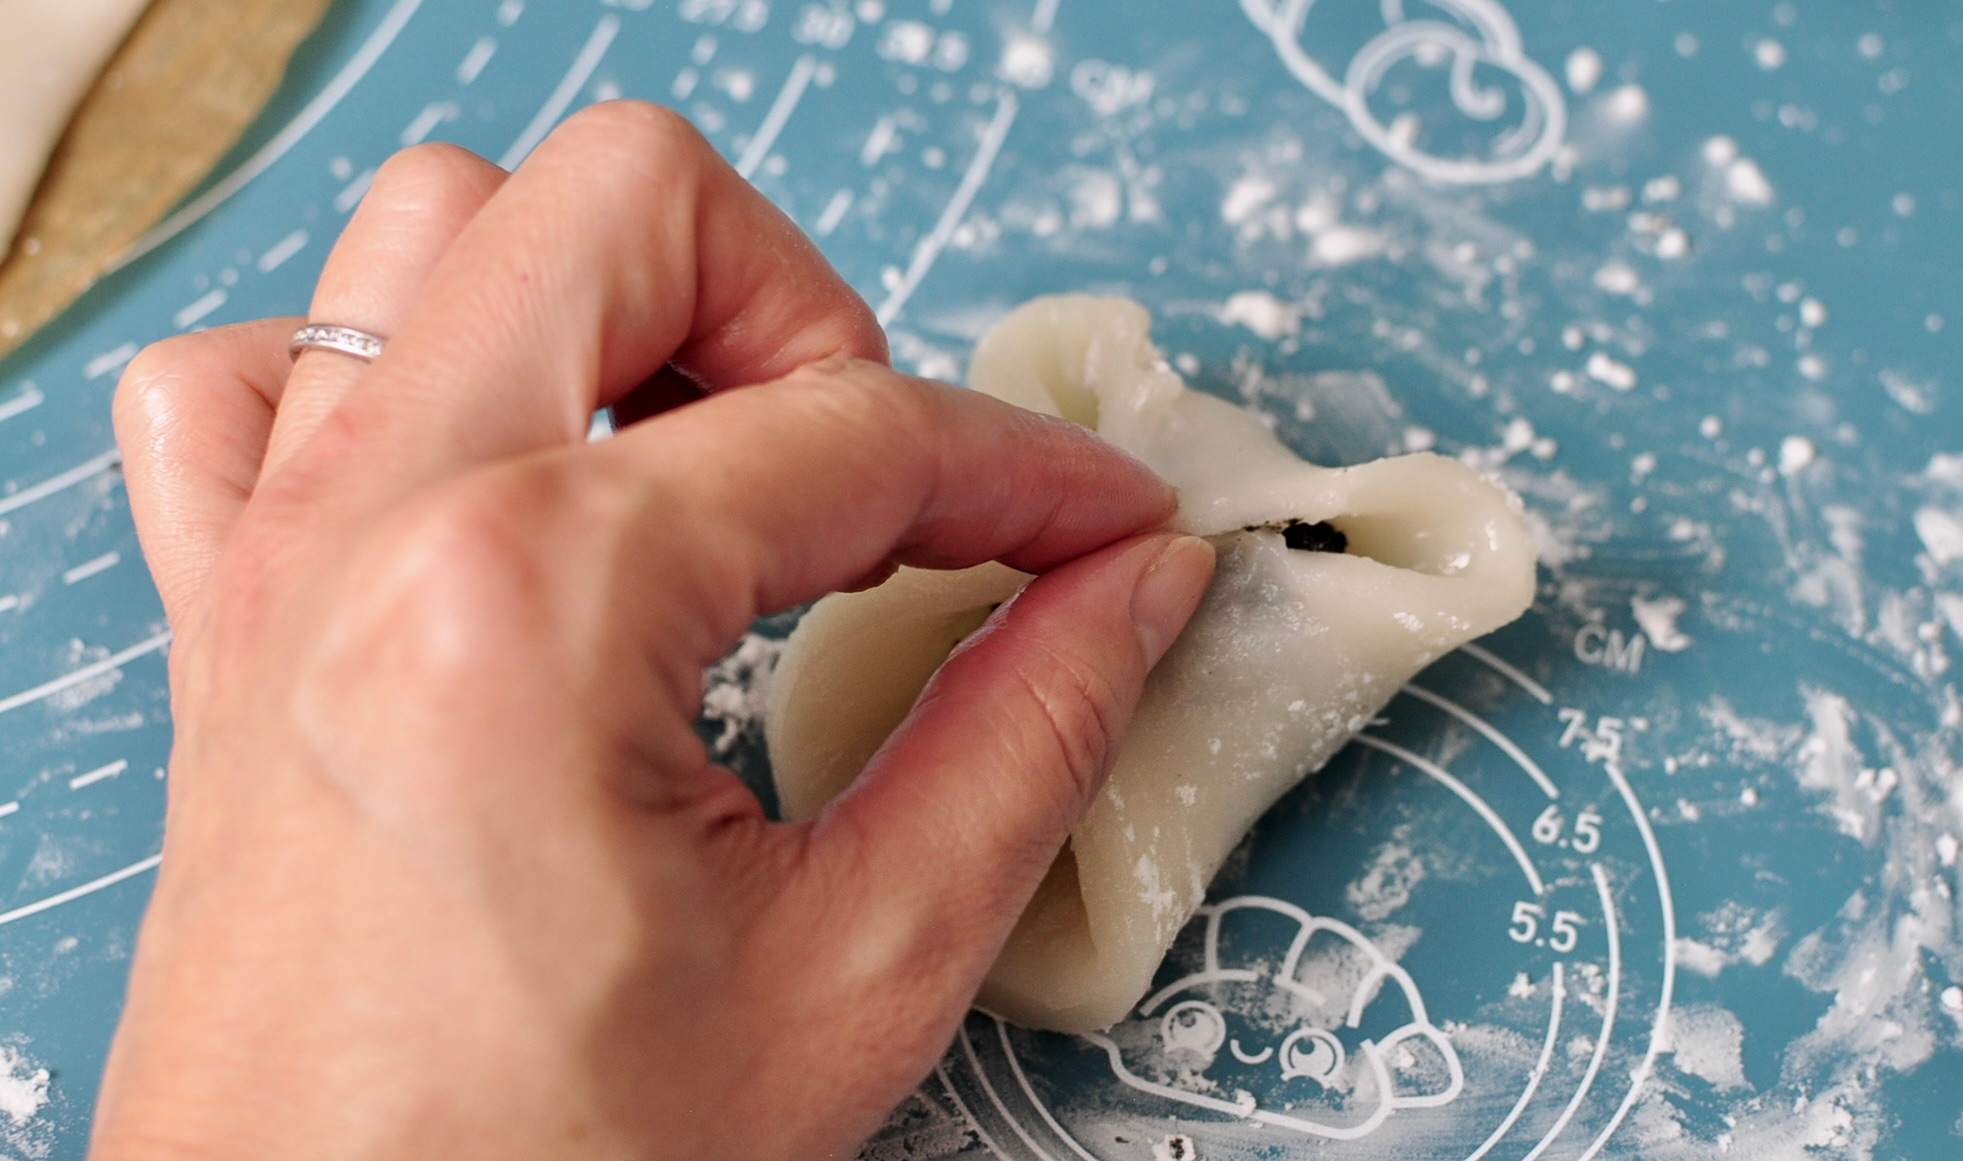
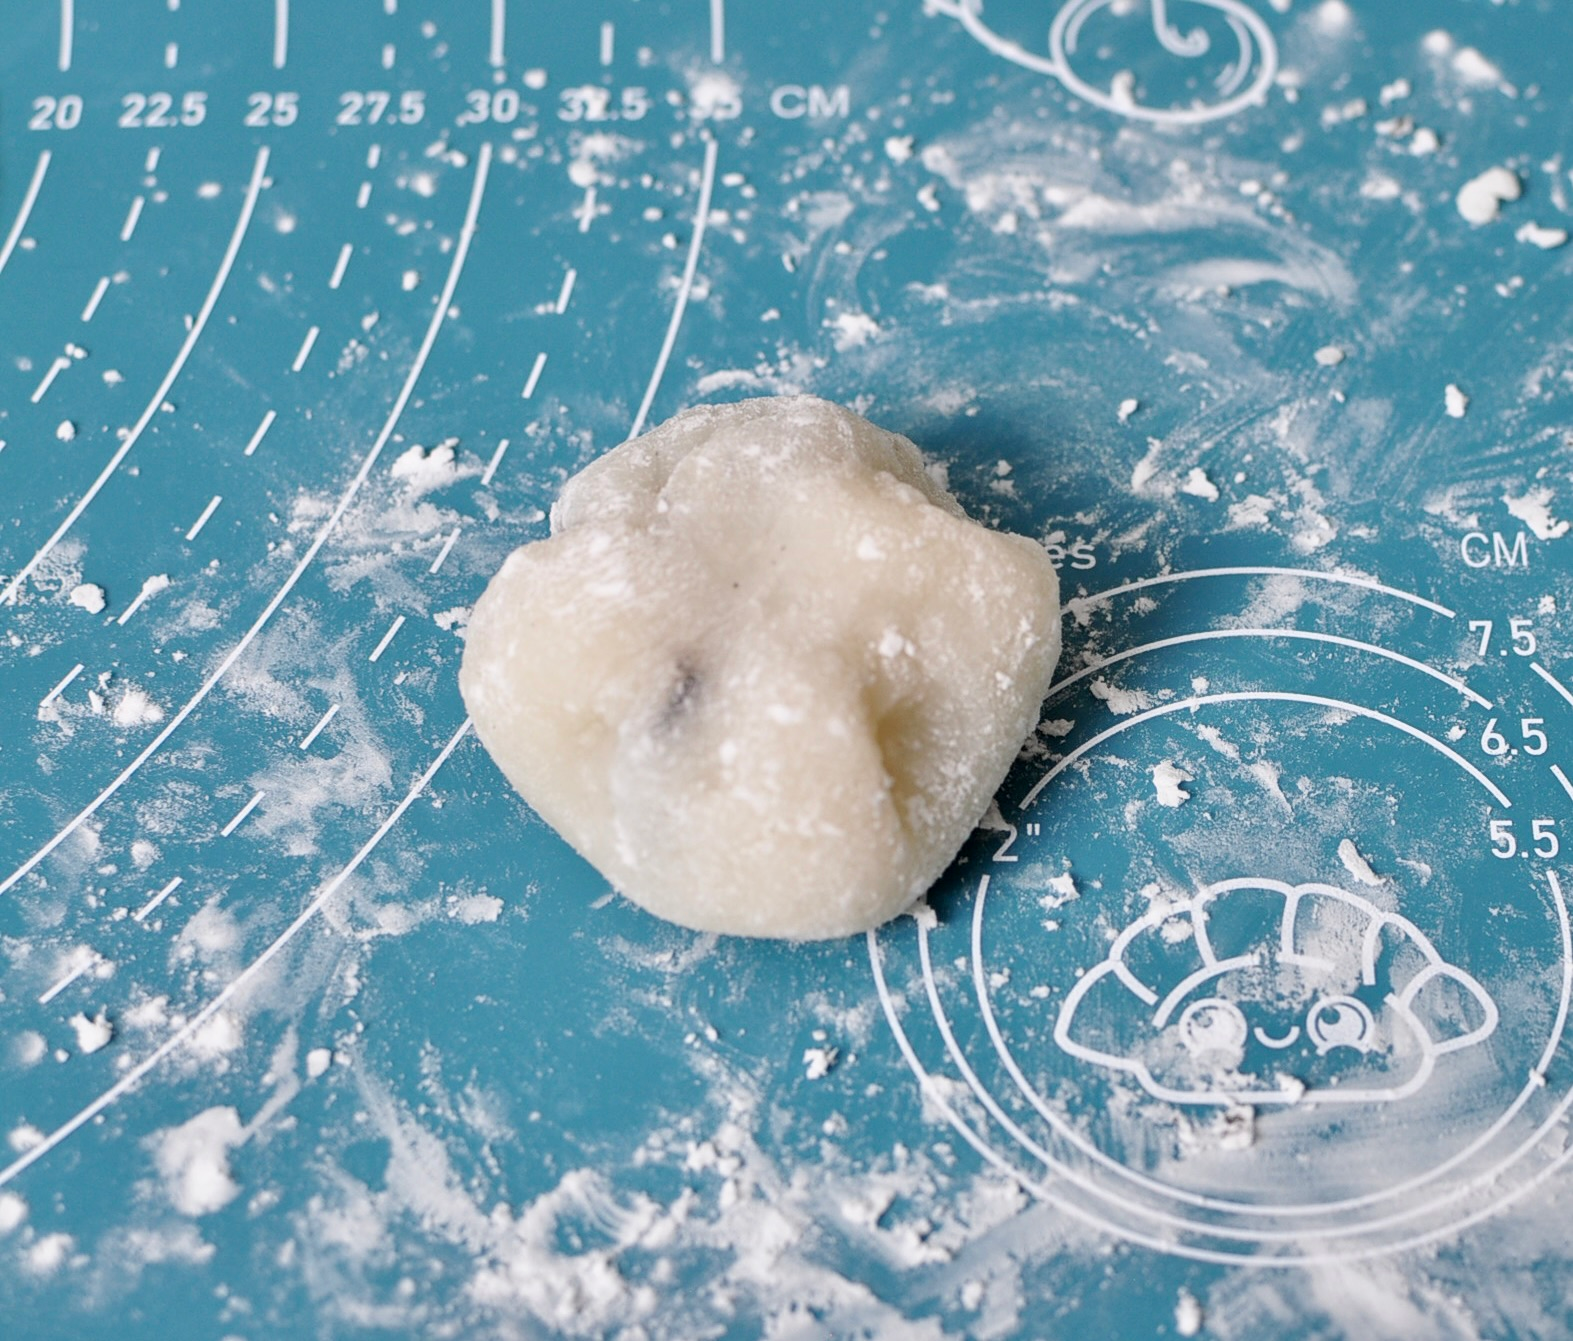
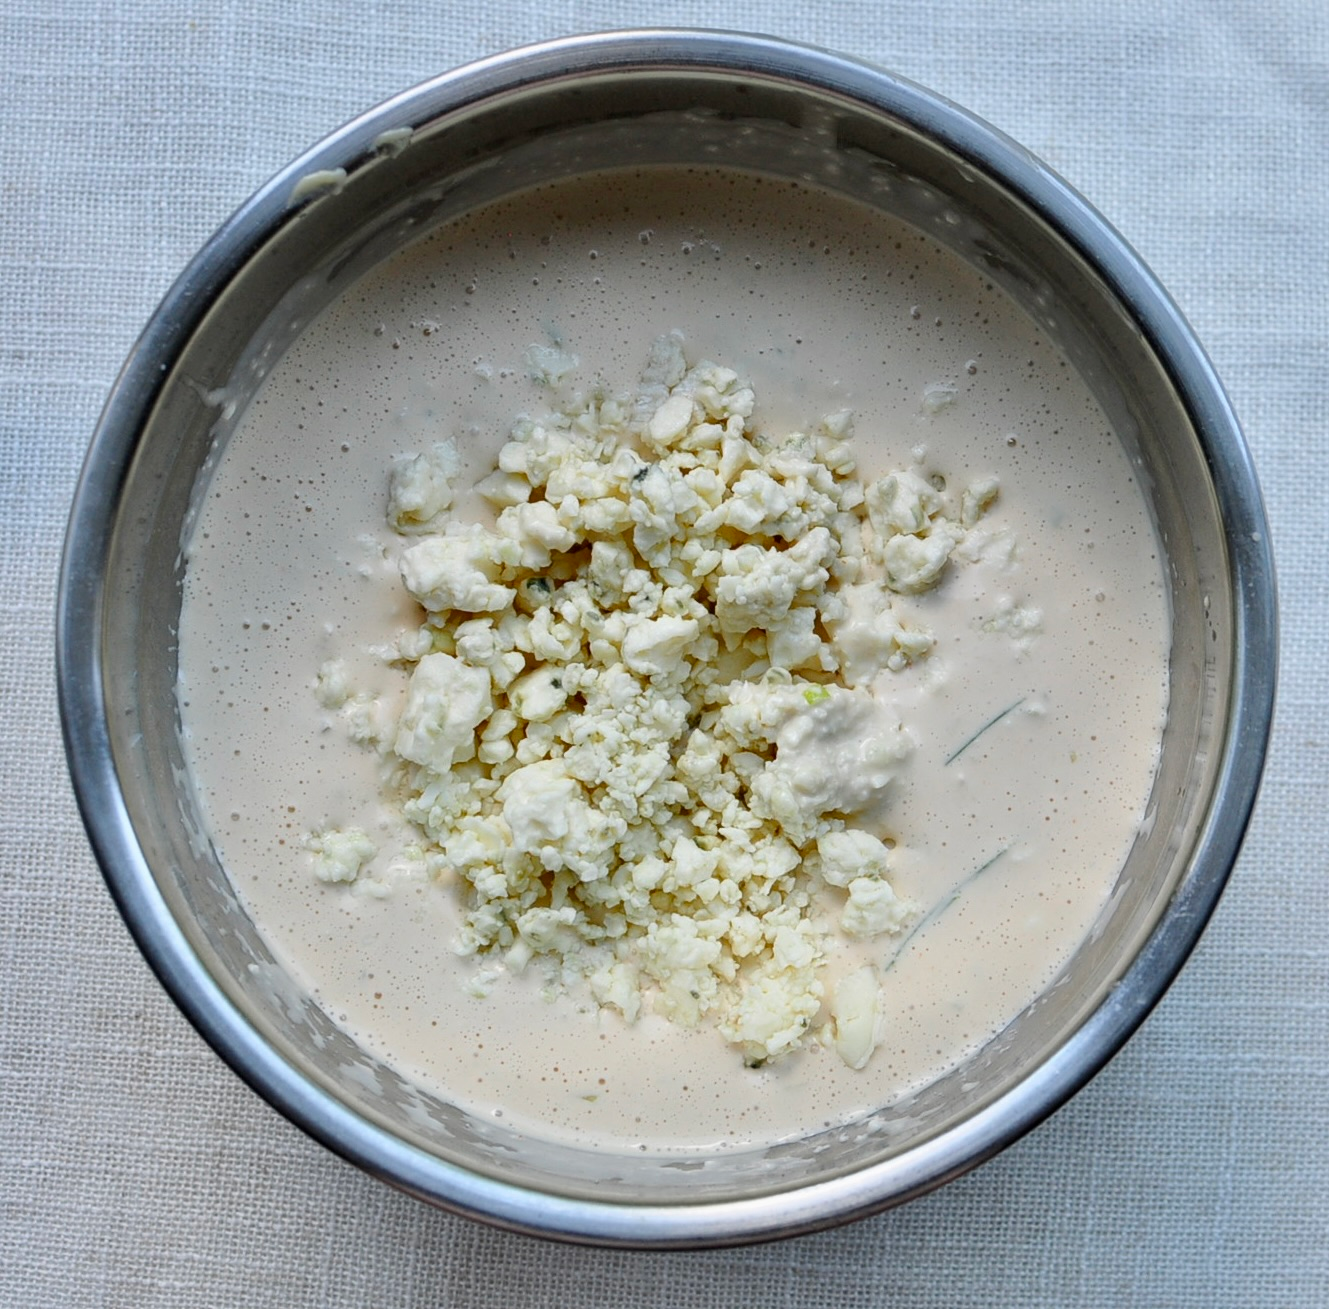
Spoon about 2 teaspoons of thick black sesame paste into the center, pull the edges up, pinch them shut, smooth the seams, and roll it gently in potato starch. My homemade black sesame paste (recipe here!) is thick enough to form into a little ball, which makes wrapping these daifuku ridiculously easy.
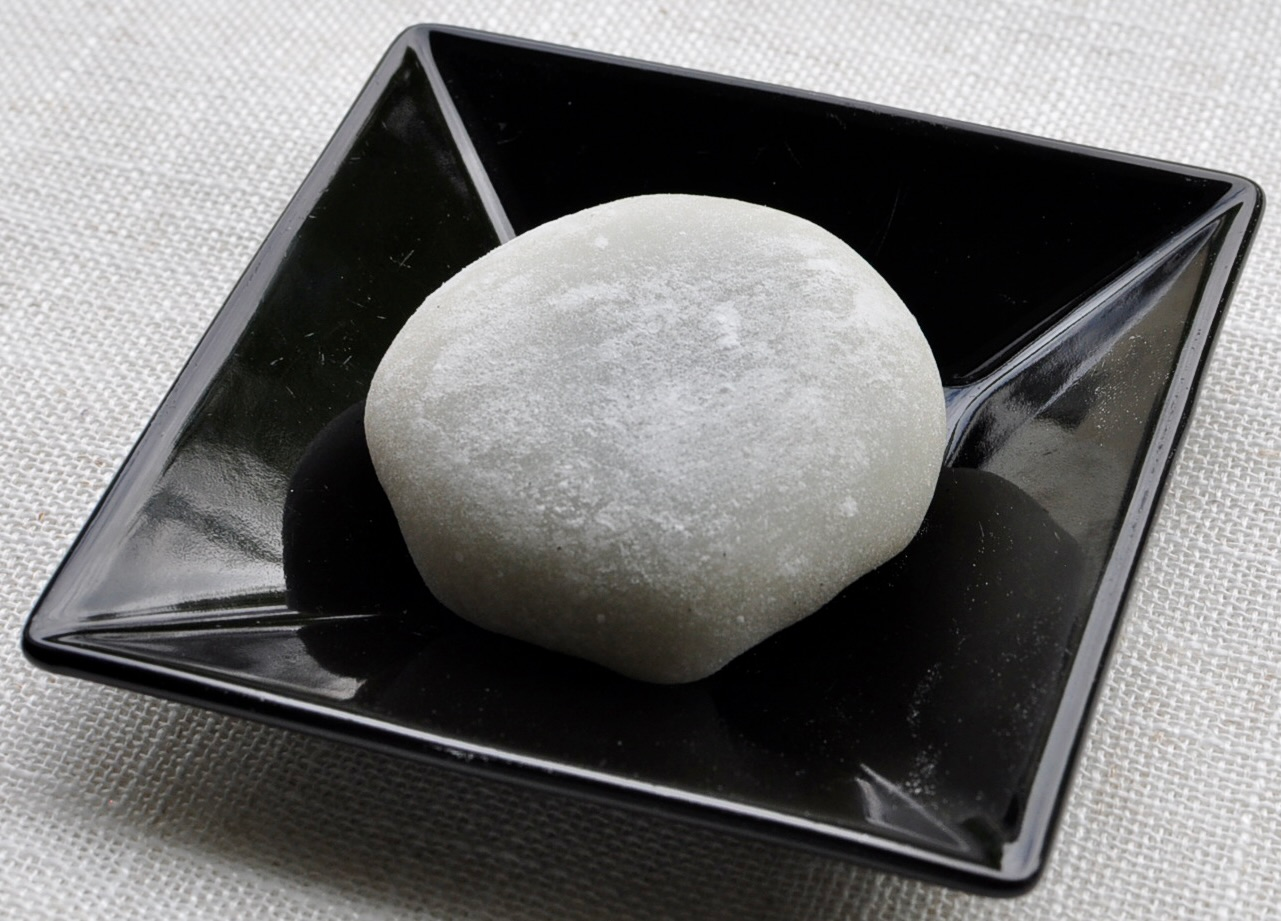
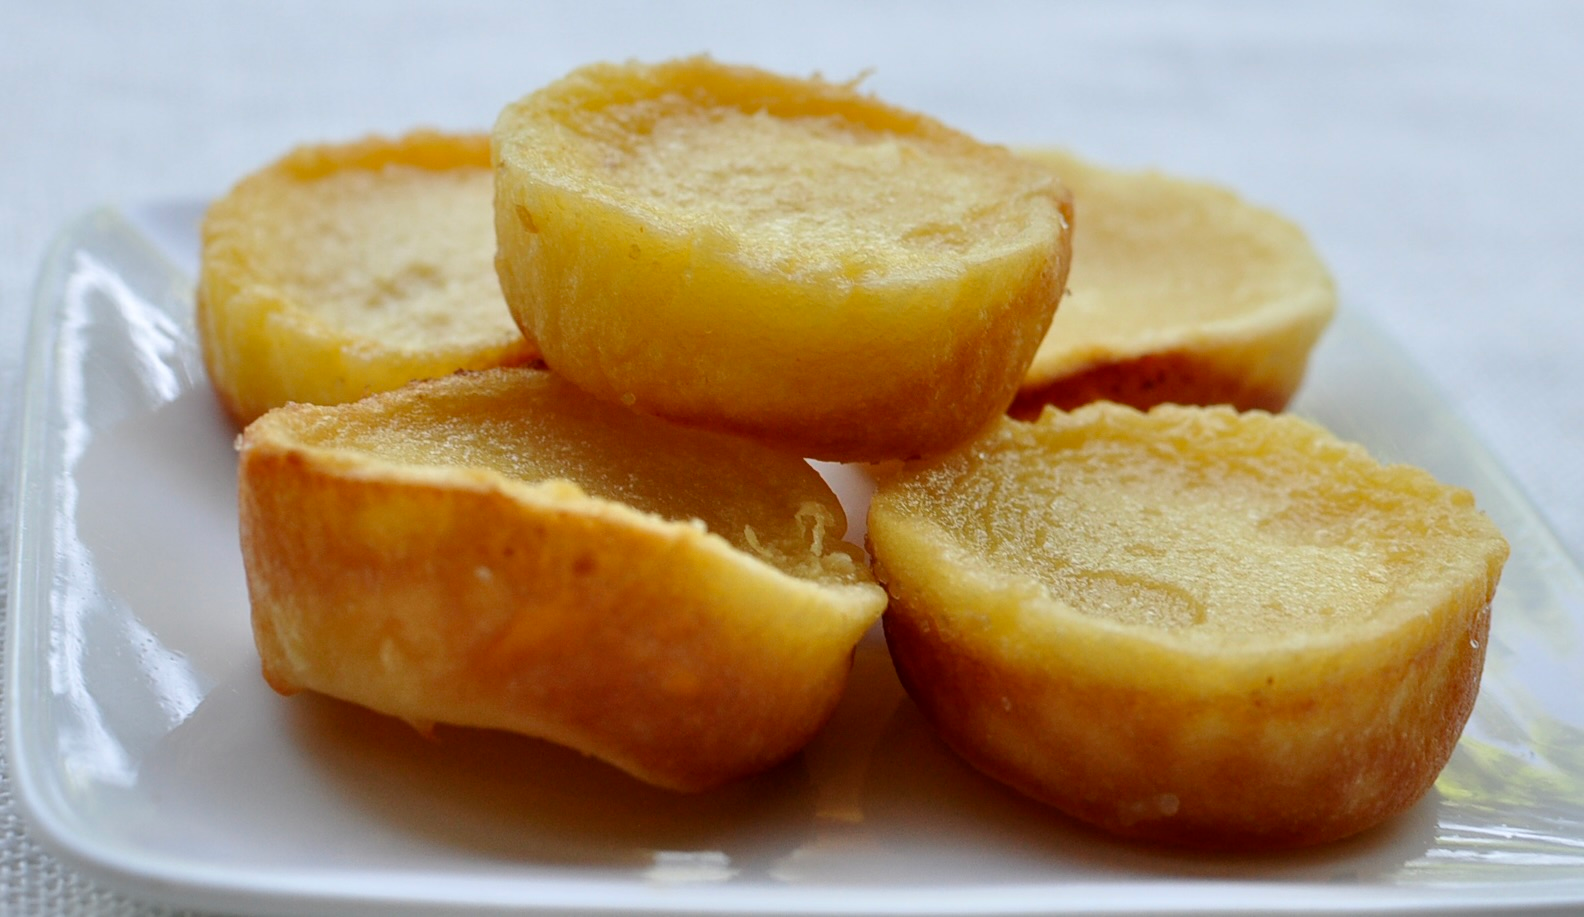
The result? Mochi that stays soft for days, with a chewy, pillowy texture and a filling that’s nutty, slightly sweet, and absolutely addictive. And once you’ve nailed the technique, the world is your daifuku oyster — fill them with fresh strawberries, red bean paste, peanut butter, ice cream, or whatever your heart desires.

What’s in the black sesame daifuku mochi
- sweet rice flour
- water
- granulated sugar
- black sesame paste
- potato starch
Black Sesame Filled Daifuku Mochi

Chewy, pillowy mochi wrapped around a rich black sesame filling — this Daifuku Mochi is dangerously addictive, not too sweet, and easier to make at home than you’d guess. Steamed in a 9-inch cake pan for the perfect thickness, no rolling required. See notes if you are using an 8-inch cake pan.
- Category: Dessert, Snack
Ingredients
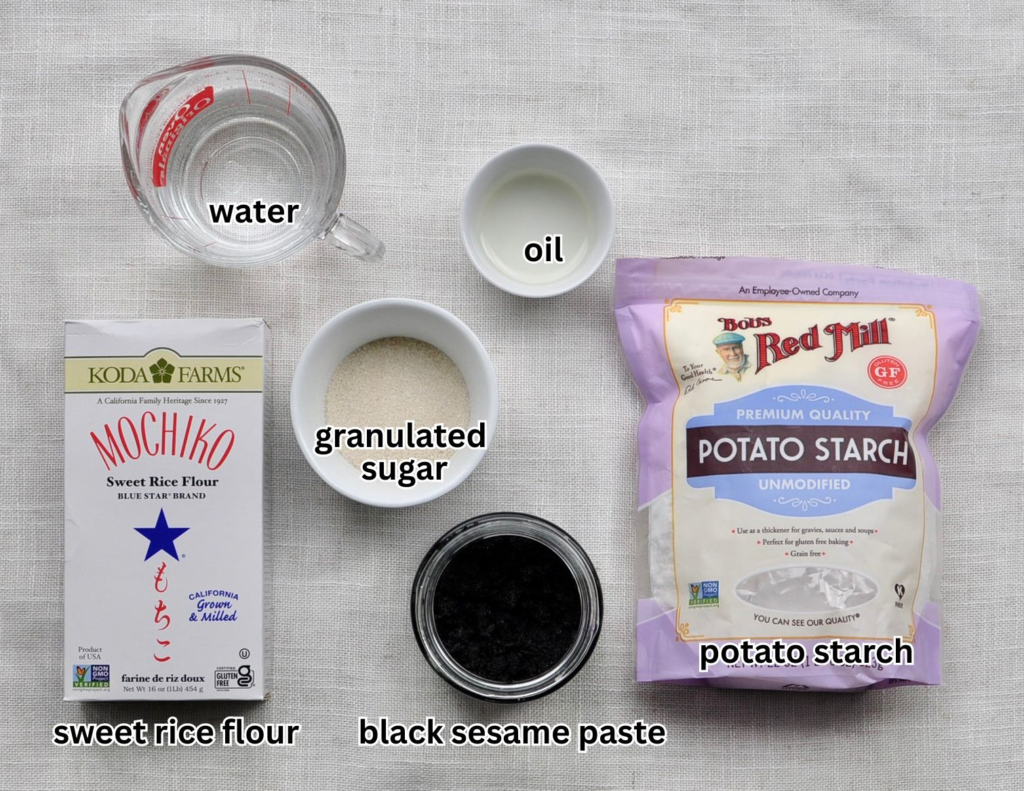
- 3/4 cup (100 grams) glutinous rice flour/sweet rice flour
- 1/4 cup (50 grams) granulated sugar
- 3/4 cups (180 grams) water
- 1 teaspoon of neutral oil (canola, vegetable, grapeseed)
- 1/8 cup of potato starch, for dusting
- 1/3 cup (80 grams) black sesame paste (recipe here)
Instructions
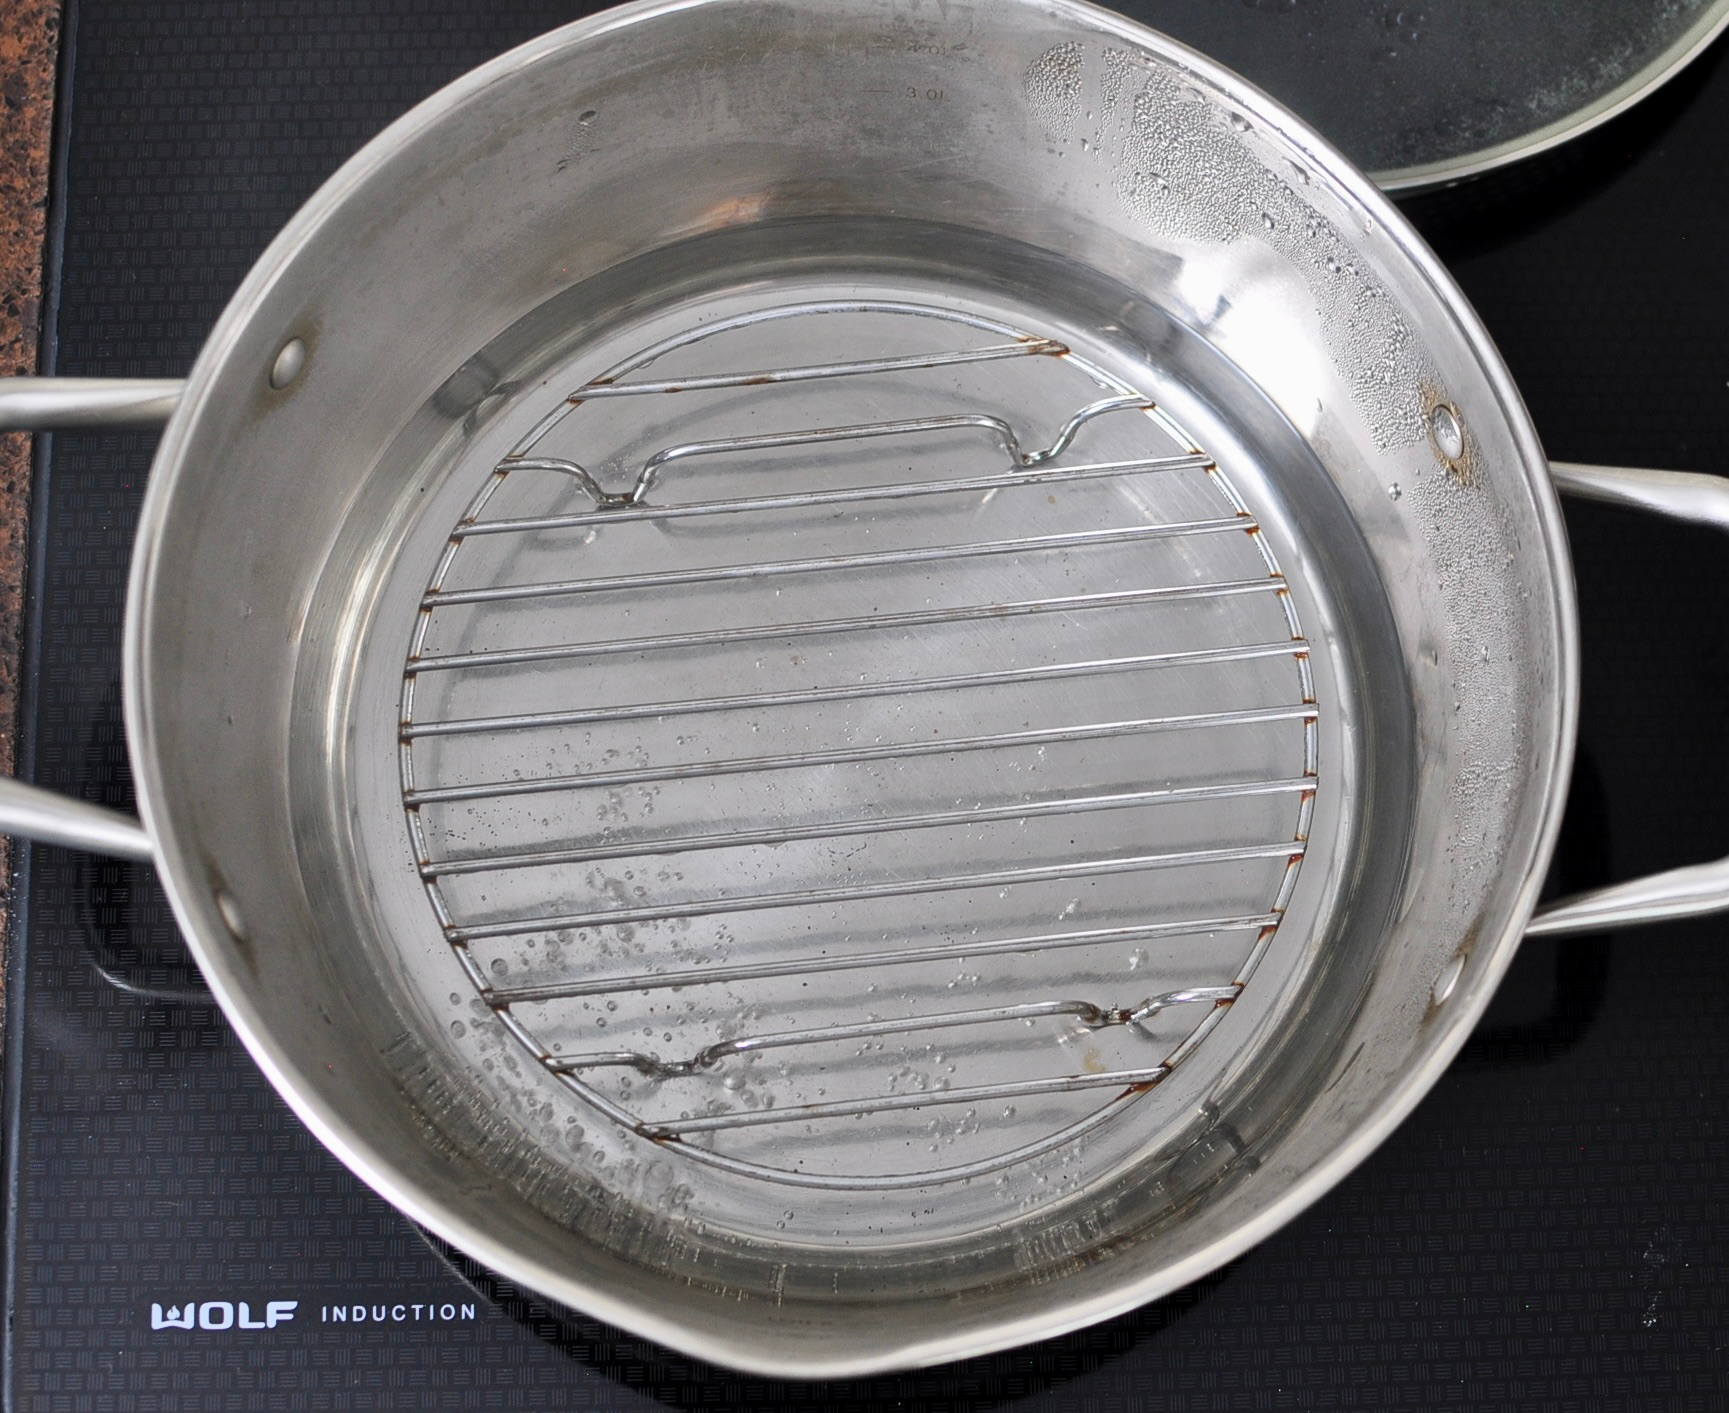
- In a large steamer pot, fill about 2 inches of water and insert a steam rack. Heat the water to a boil.
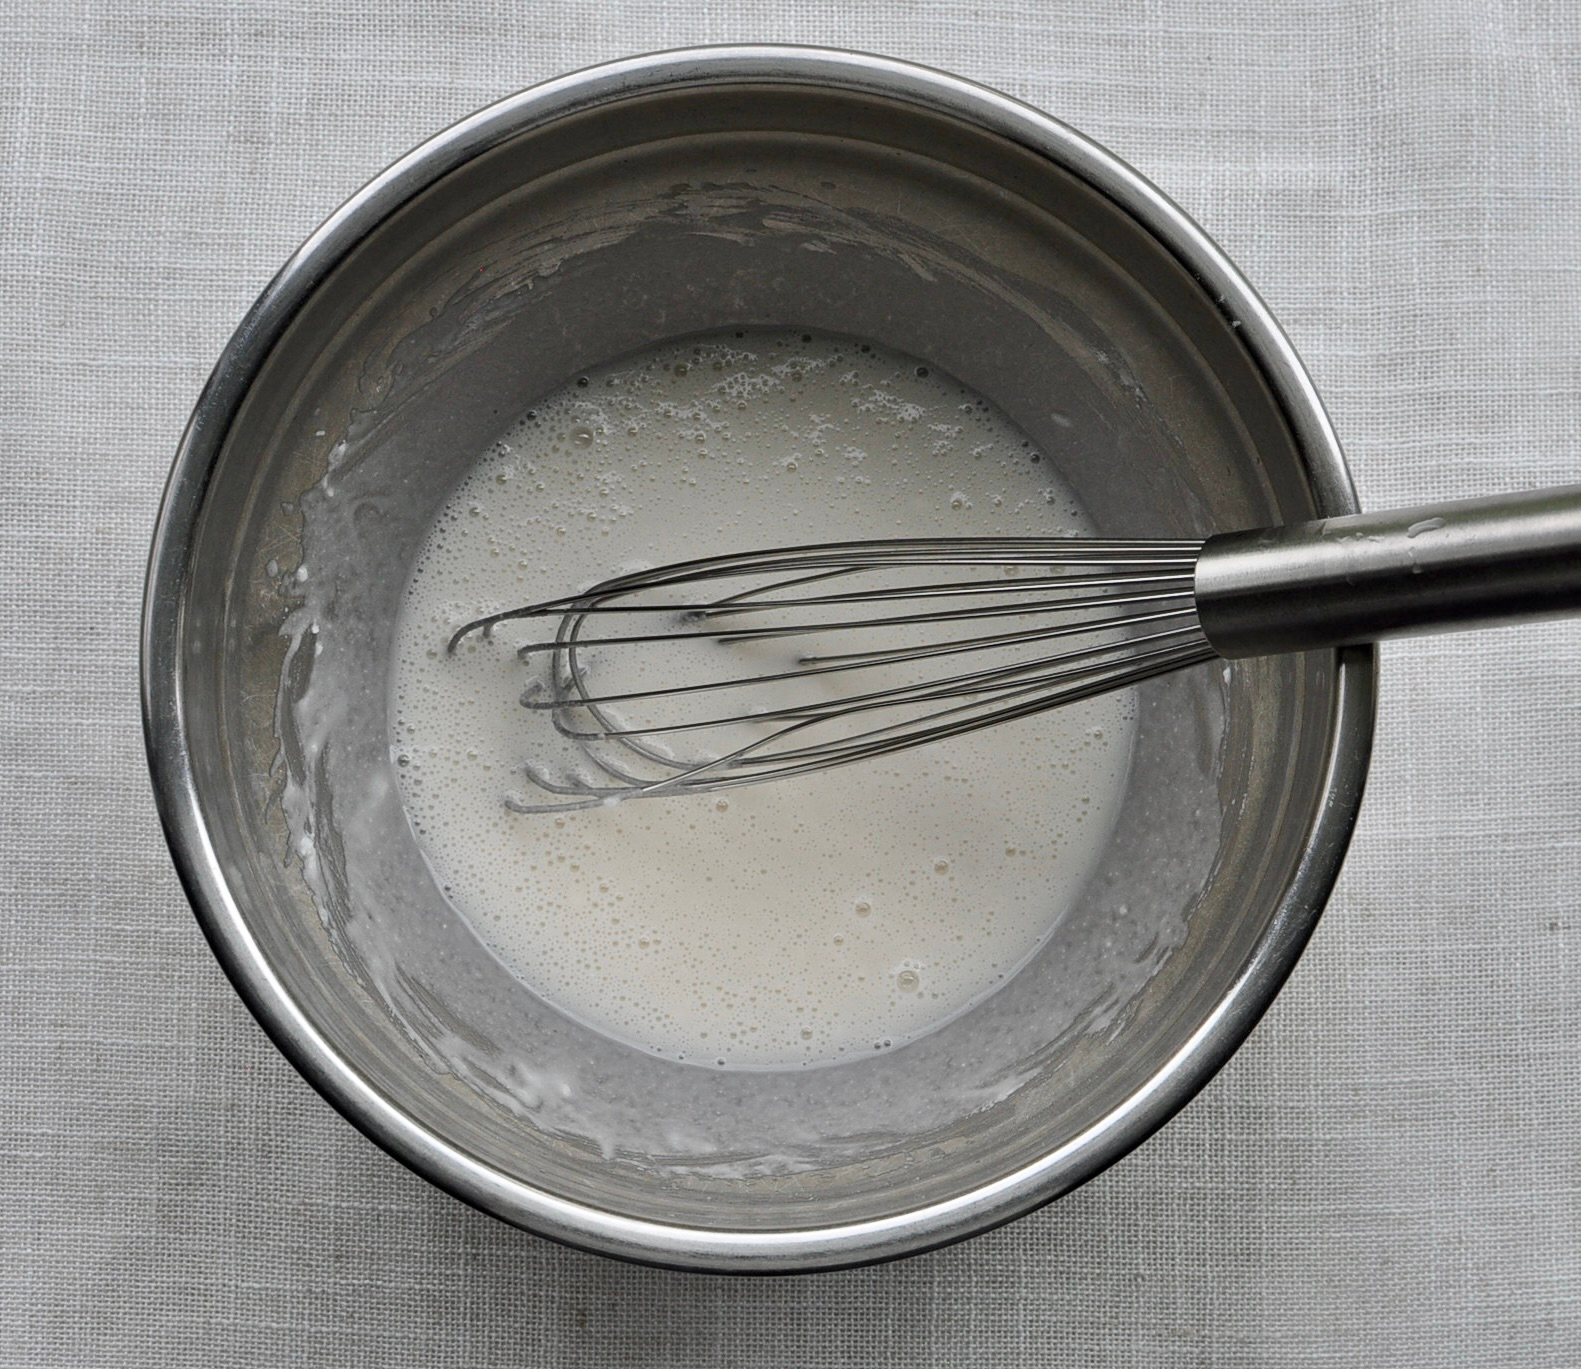
- In a medium mixing bowl, combine the sweet rice flour, sugar and water. Whisk until combined.
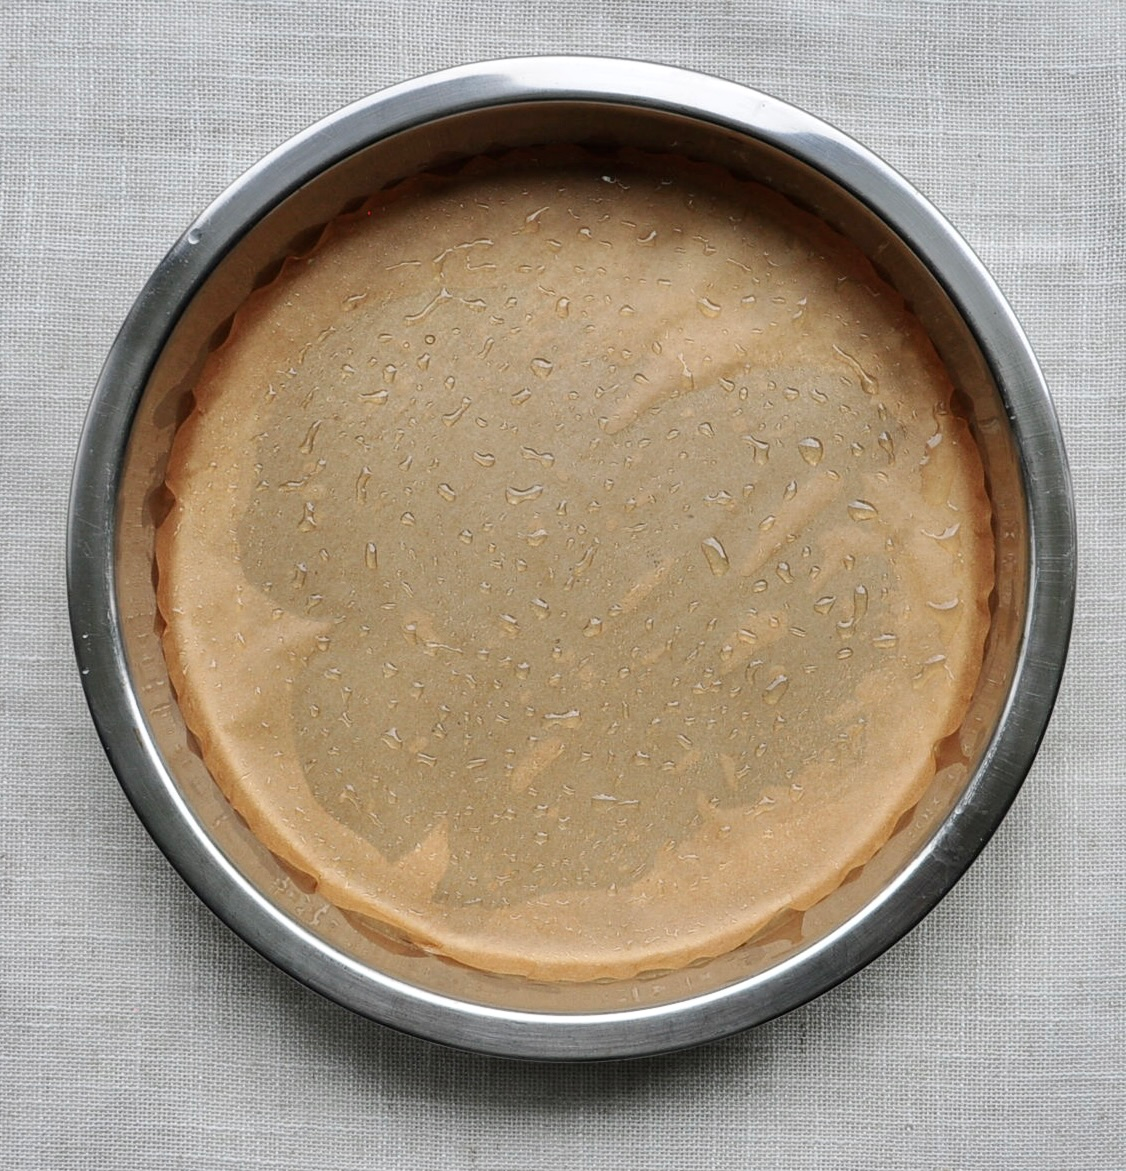
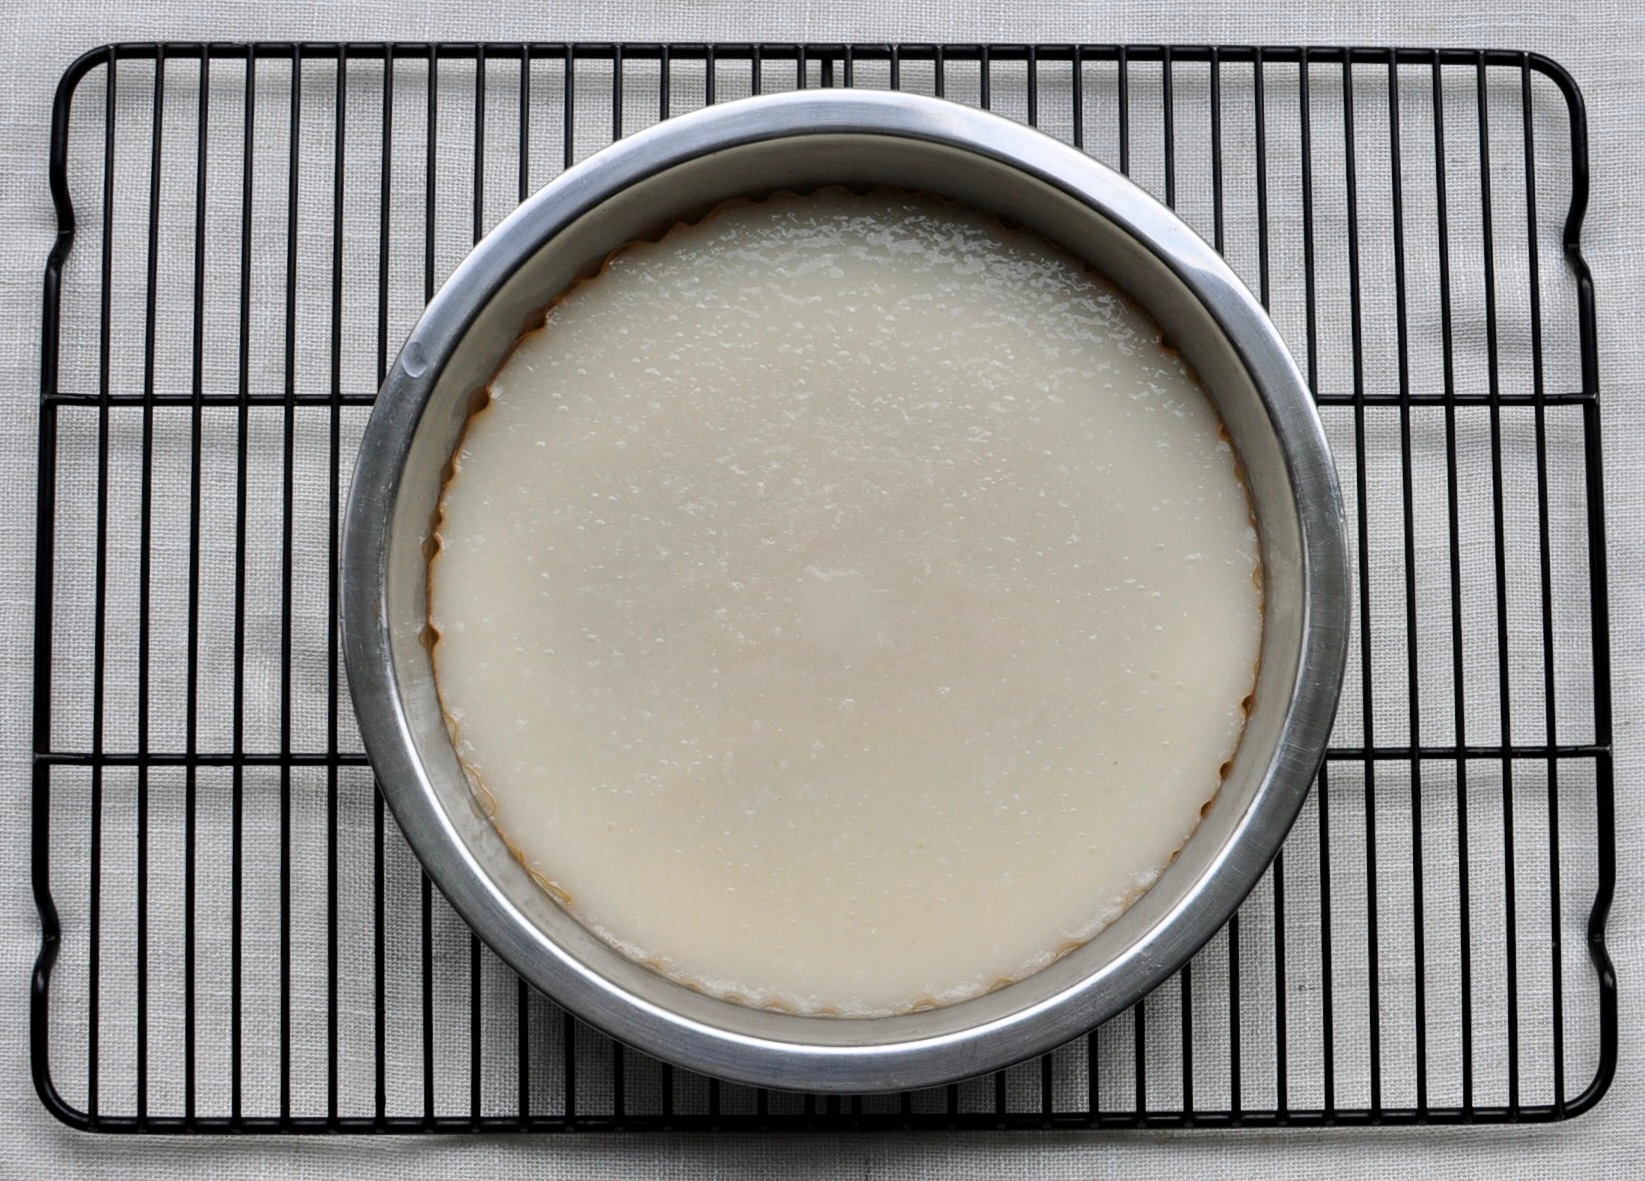
- Grease and line a 9 inch cake pan with oil. Pour the sweet rice batter into the cake pan.
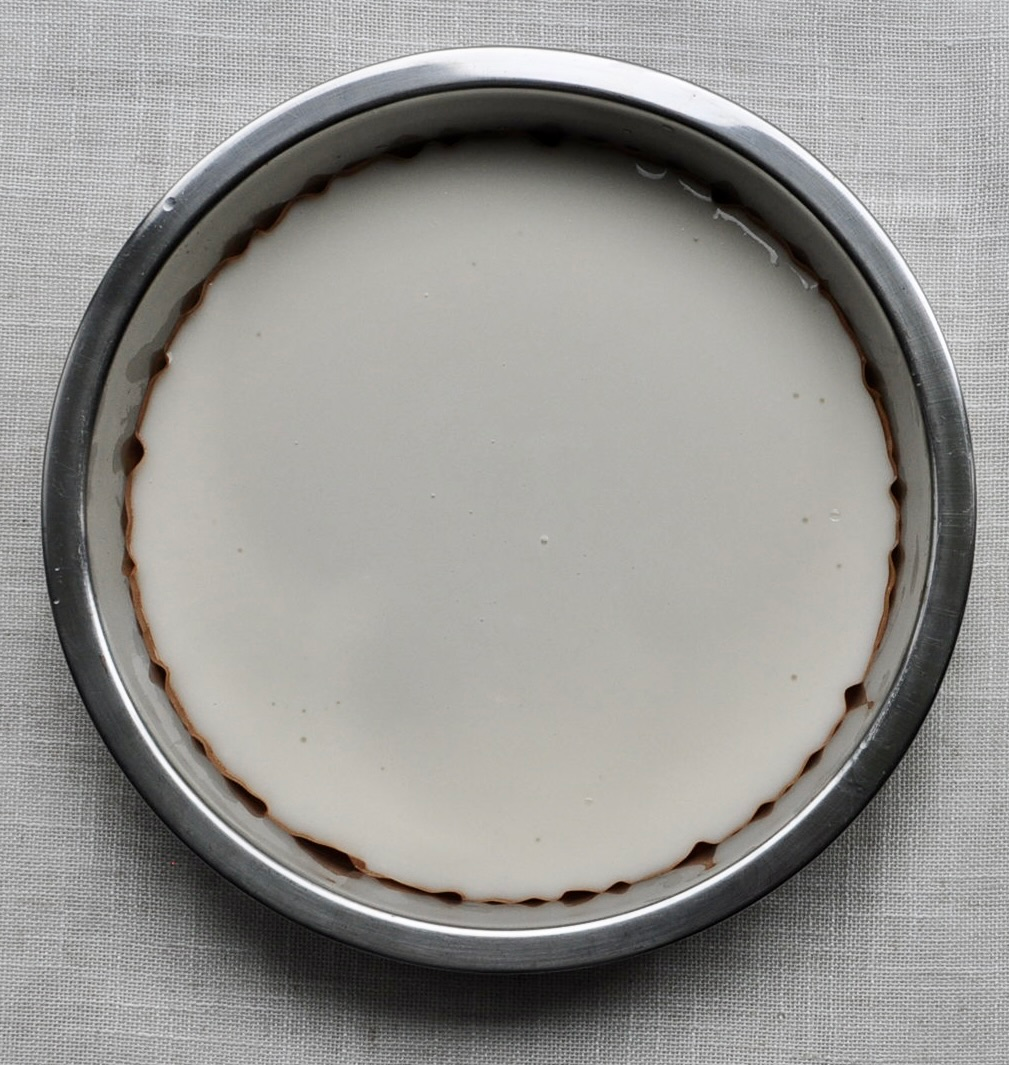
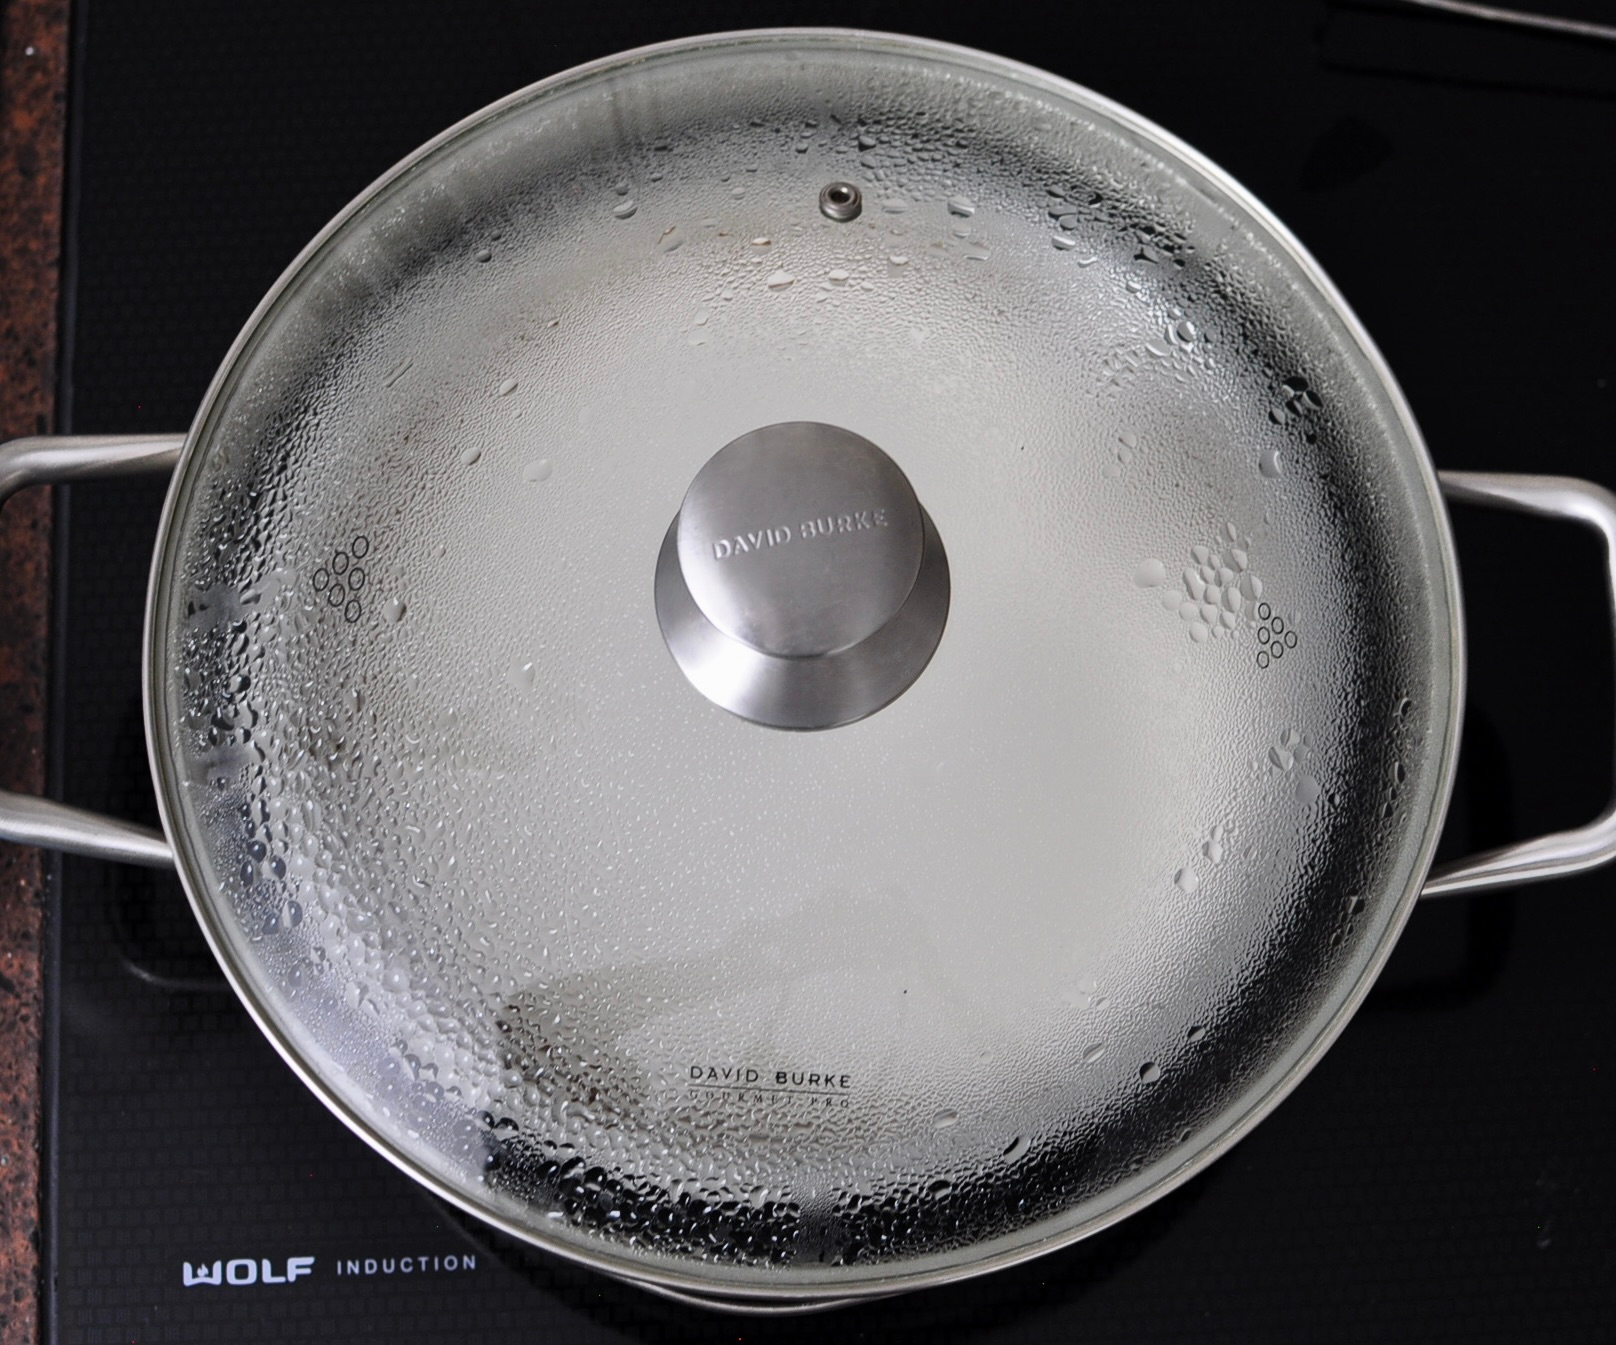
- Place the cake pan into your steamer pot. Cover and cook for 15 minutes. When done, be careful when lifting the lid to prevent water from dripping on to the mochi. Remove the cake pan and place it on a cooling rack to cool for at least 15 minutes. This will allow the mochi to set. Even if it is cool to the touch, the mochi is too sticky to handle unless it is completely cooled for at least 15 minutes.
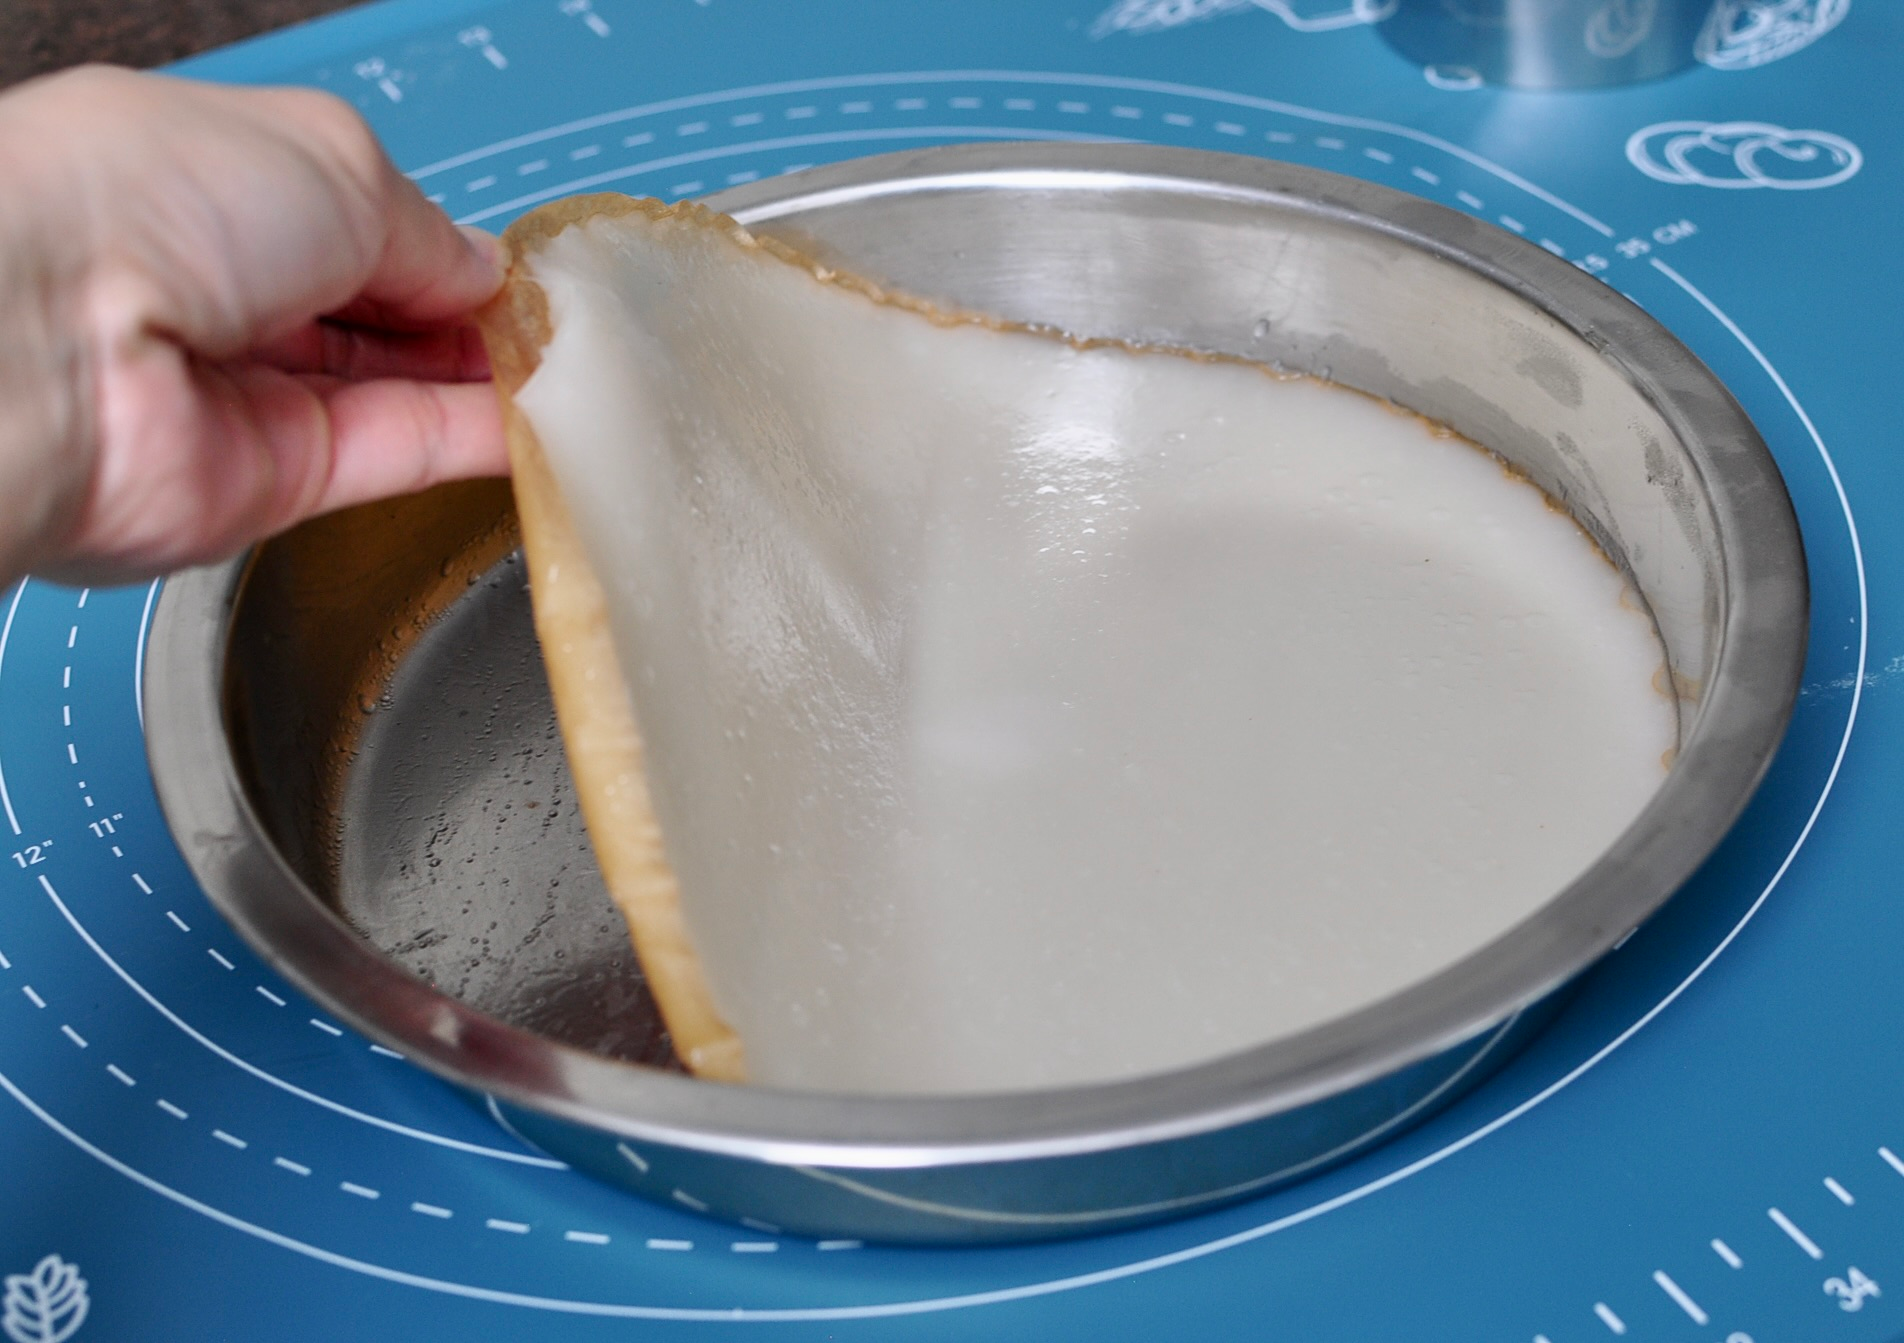
- Prepare a work surface for wrapping the mochi. Lightly dust the work surface with potato starch. Lift the cooled round sheet of mochi on to your work surface, leaving the parchment paper attached on the bottom. When completely cooled, the mochi will be very easy to separate from the parchment.
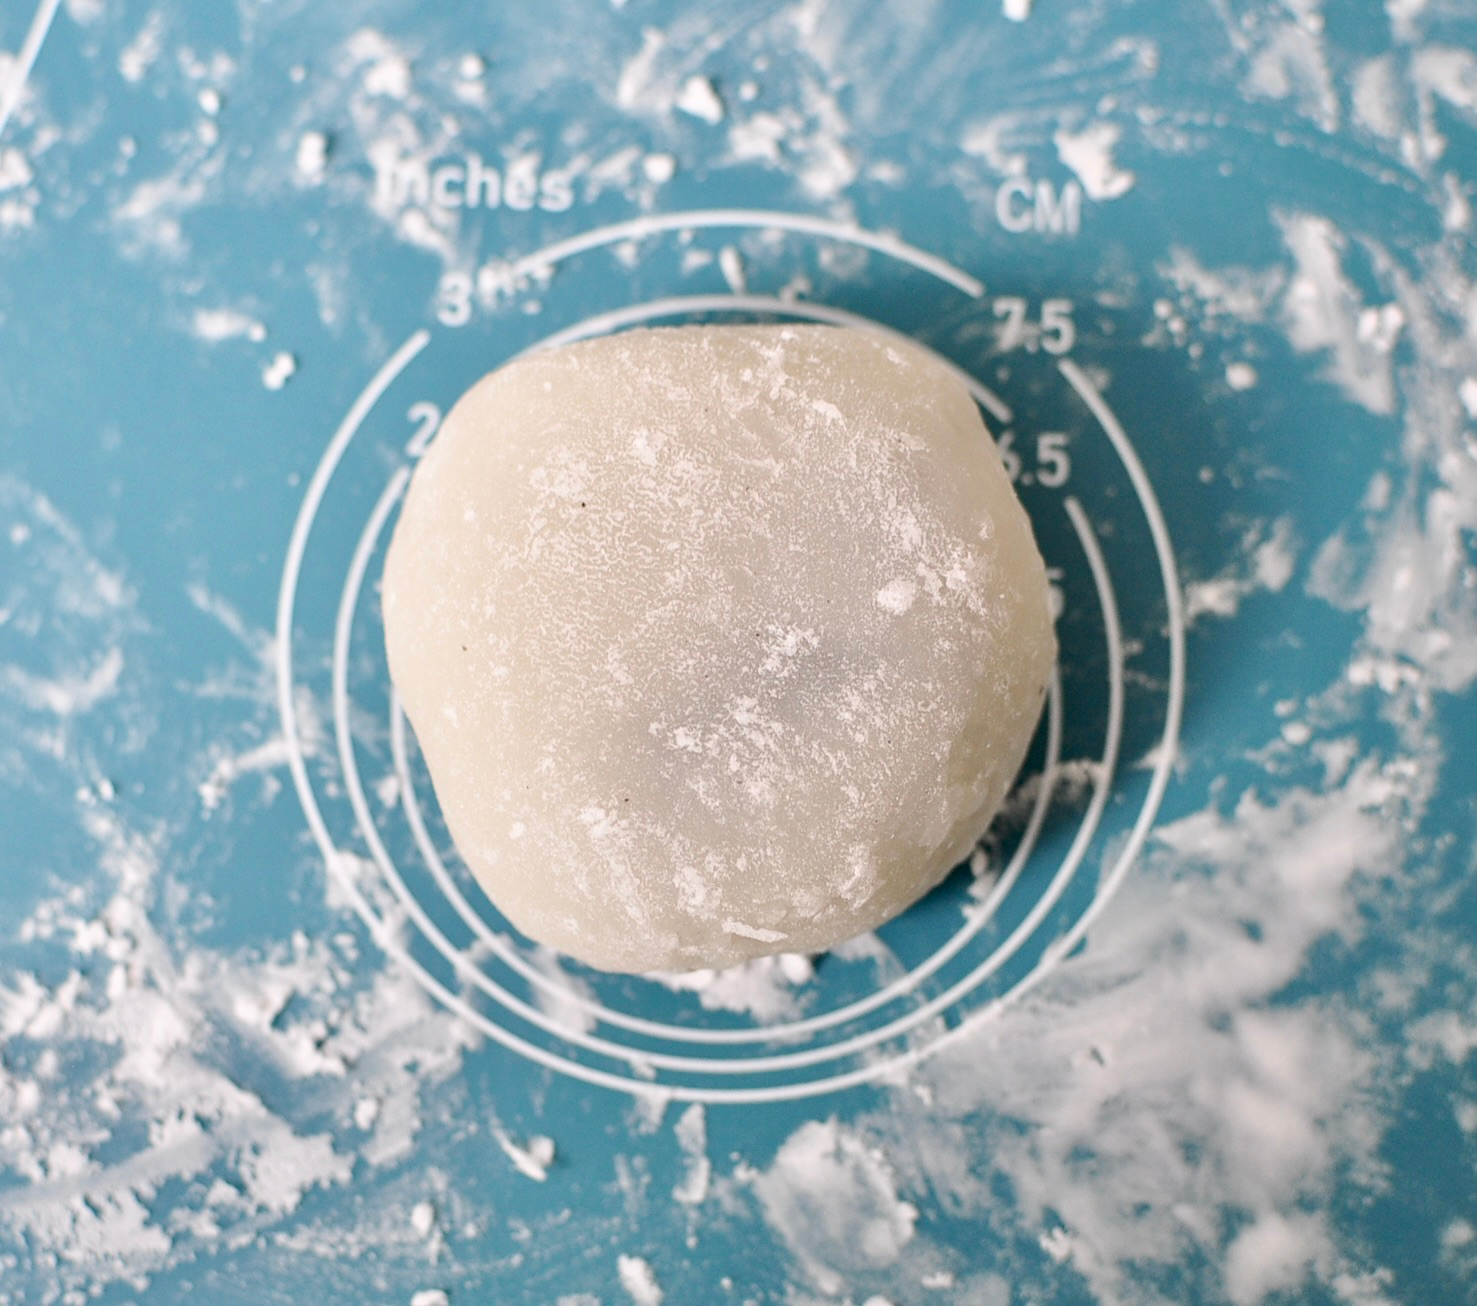
- With a 3 inch wide cookie cutter, align it on the edge of the round mochi and press down to cut a circle. You may need to shimmy the cutter a little bit but it should cut through the mochi and gently separate your 3 inch circle from the rest of the mochi sheet. Place your circle of a potato starch dusted section. Using 2 teaspoons of sesame paste, gently press the paste into a round ball and place that on the center of your dough circle. Pull opposite sides of the circle up and together, pinch to seal. Roll it gently over all sides of the mochi ball on a potato starch dusted section to smooth out the ball. Use more potato starch if need and then tap off the excess.
- Repeat with more circles using the rest of your mochi sheet. Press together the scraps to make your last circle. The potato starch will help keep your daifuku mochi getting sticky. Enjoy within 3 days. You mochi will stay soft.
Notes
If using an 8-inch cake pan, you would have to scale the recipe so that the mochi is cooked to the same thickness. Let’s put our math hats on!
The Quick Math:
9-inch pan area: π × 4.5² ≈ 63.6 sq inches
8-inch pan area: π × 4² ≈ 50.3 sq inches
Scaling factor: 50.3 ÷ 63.6 ≈ 0.79 (roughly 79% of the original)
Your 8-inch Pan Amounts:
| Ingredient | 9-inch Pan | 8-inch Pan |
|---|---|---|
| Sweet rice flour | 100 g | 79 g |
| Granulated sugar | 50 g | 40 g |
| Water | 180 g | 142 g |
❓ FAQ’s for Black Sesame Daifuku Mochi
Daifuku is a traditional Japanese confection — a small round mochi (made from glutinous sweet rice flour) wrapped around a sweet filling. The most classic version is filled with red bean paste, but black sesame, fruit, and ice cream daifuku are all wildly popular variations.
Steaming in a 9-inch pie pan gives you the perfect thickness automatically — no rolling out sticky dough, no guesswork. Microwaving works in a pinch, but steaming gives a more even, traditional texture and zero hot spots.
Technically yes, but I don’t recommend it. Cornstarch isn’t safe to eat raw, and since the dusting stays on the finished mochi, you’ll be eating it. Potato starch is safe raw and gives that classic silky daifuku finish.
This mochi stays soft and pliable for several days at room temperature, kept in an airtight container. (That said, they rarely last that long around my house.)
It’s best to avoid the fridge — cold temperatures make mochi hard and lose that signature chewy texture. Store at room temperature in an airtight container instead.
Two words: cool and dust. Let the steamed mochi cool for at least 15 minutes before handling, and keep your work surface (and hands!) lightly dusted with potato starch. Hot mochi = sticky chaos.
Almost anything! Try sweetened red bean paste (anko), fresh strawberries, mango, peanut butter, Nutella, matcha white chocolate ganache, or even a small scoop of ice cream for mochi ice cream.
Nope! Sweet rice flour (also called glutinous rice flour or mochiko) is made from short-grain glutinous rice and is what gives mochi its signature chewy, stretchy texture. Regular rice flour will not work — your mochi will be crumbly and sad.
Using a 3-inch round cookie cutter, you’ll get 6 to 7 daifuku per batch. The scraps press easily back together to form that final circle, so nothing goes to waste.
Absolutely — and I highly recommend it. My homemade black sesame paste recipe is linked here, and it’s thick enough to roll into little balls, which makes wrapping these daifuku a breeze.
SHOP FOR THIS RECIPE


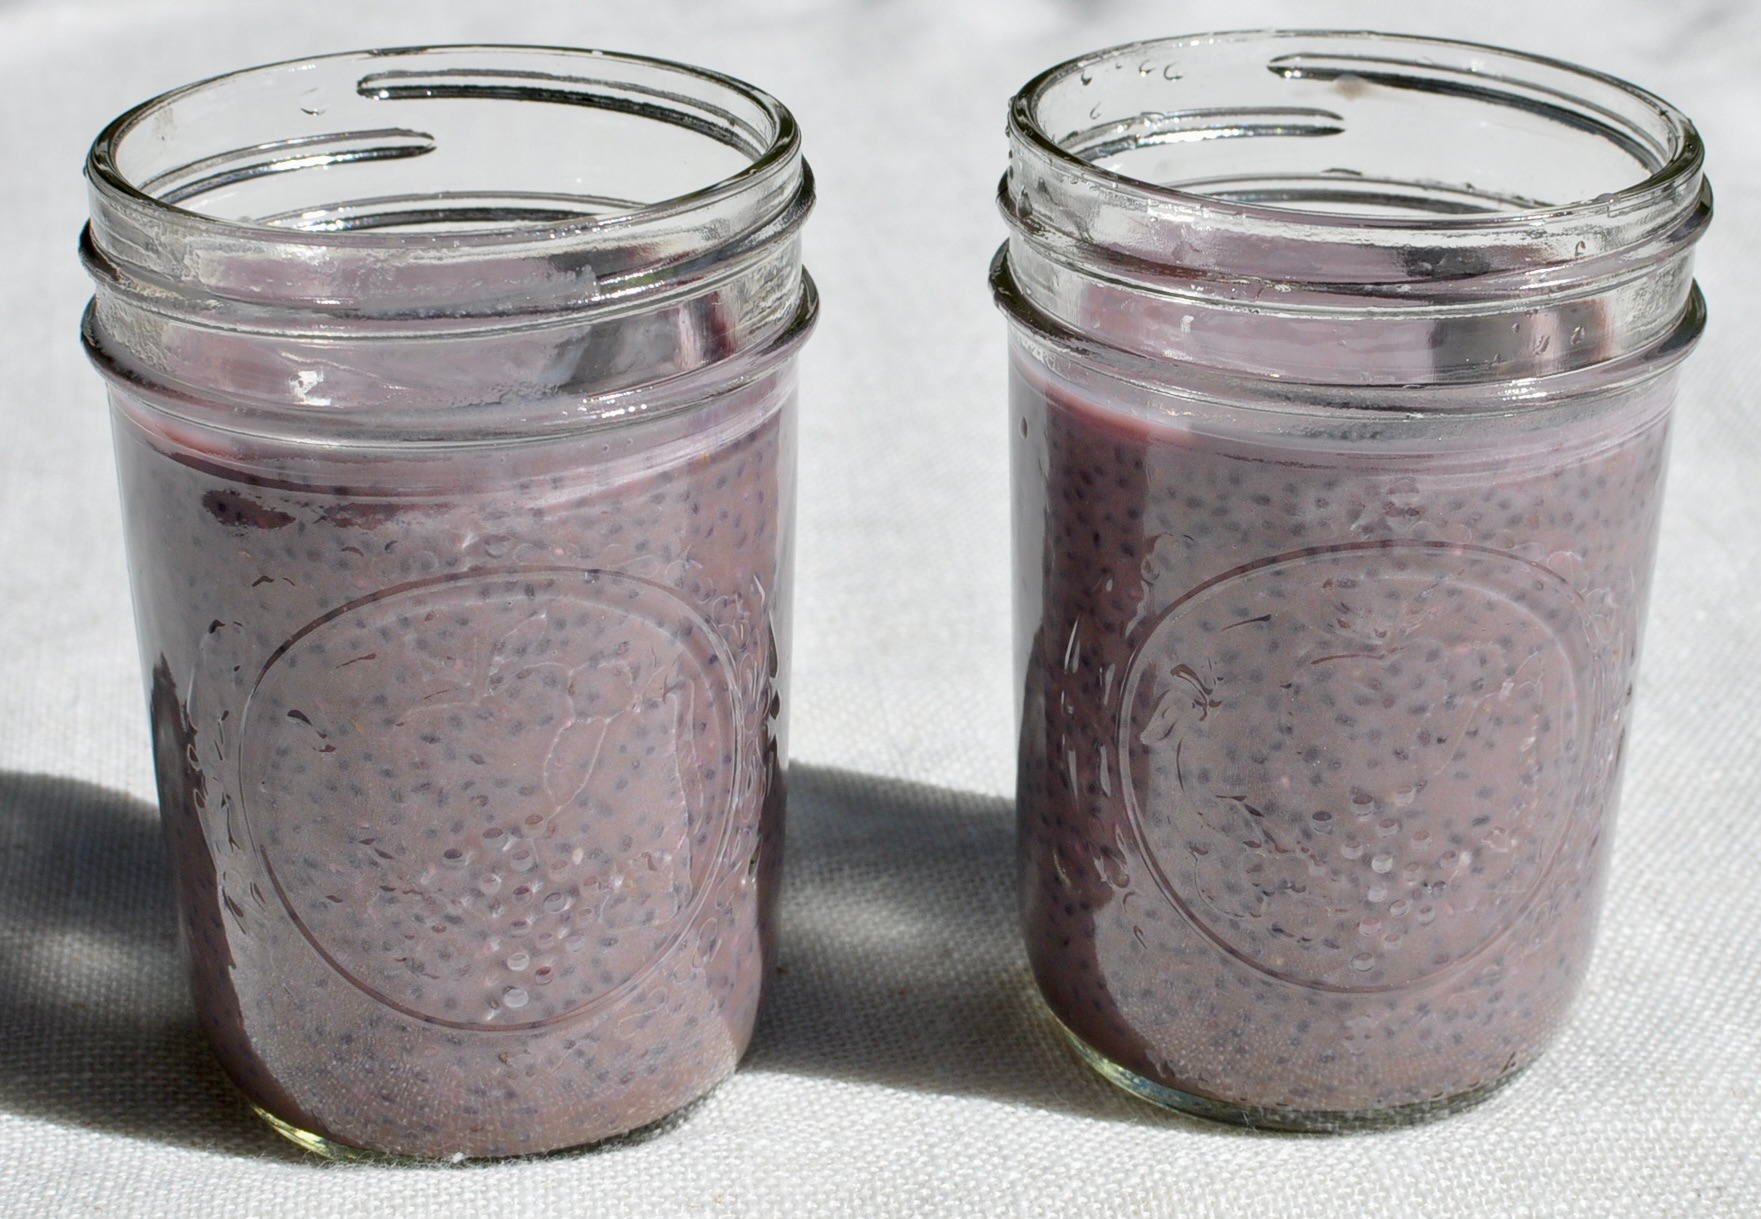 Purple Ube Chia Pudding
 Matcha Chia Seed Pudding
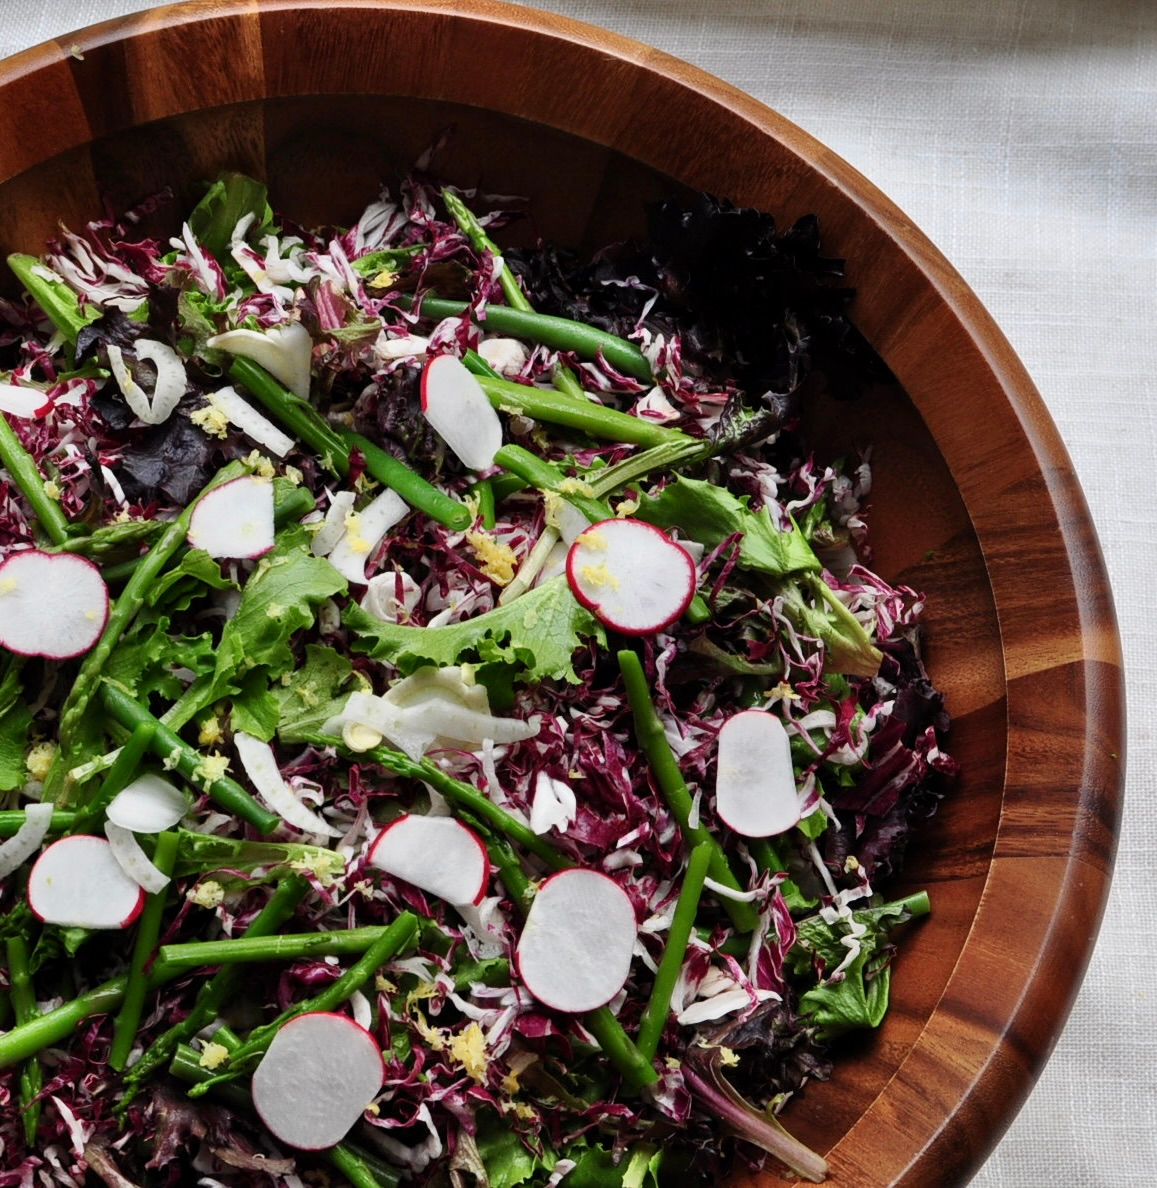 Balthazar Inspired Salad with Lemon Truffle Dressing
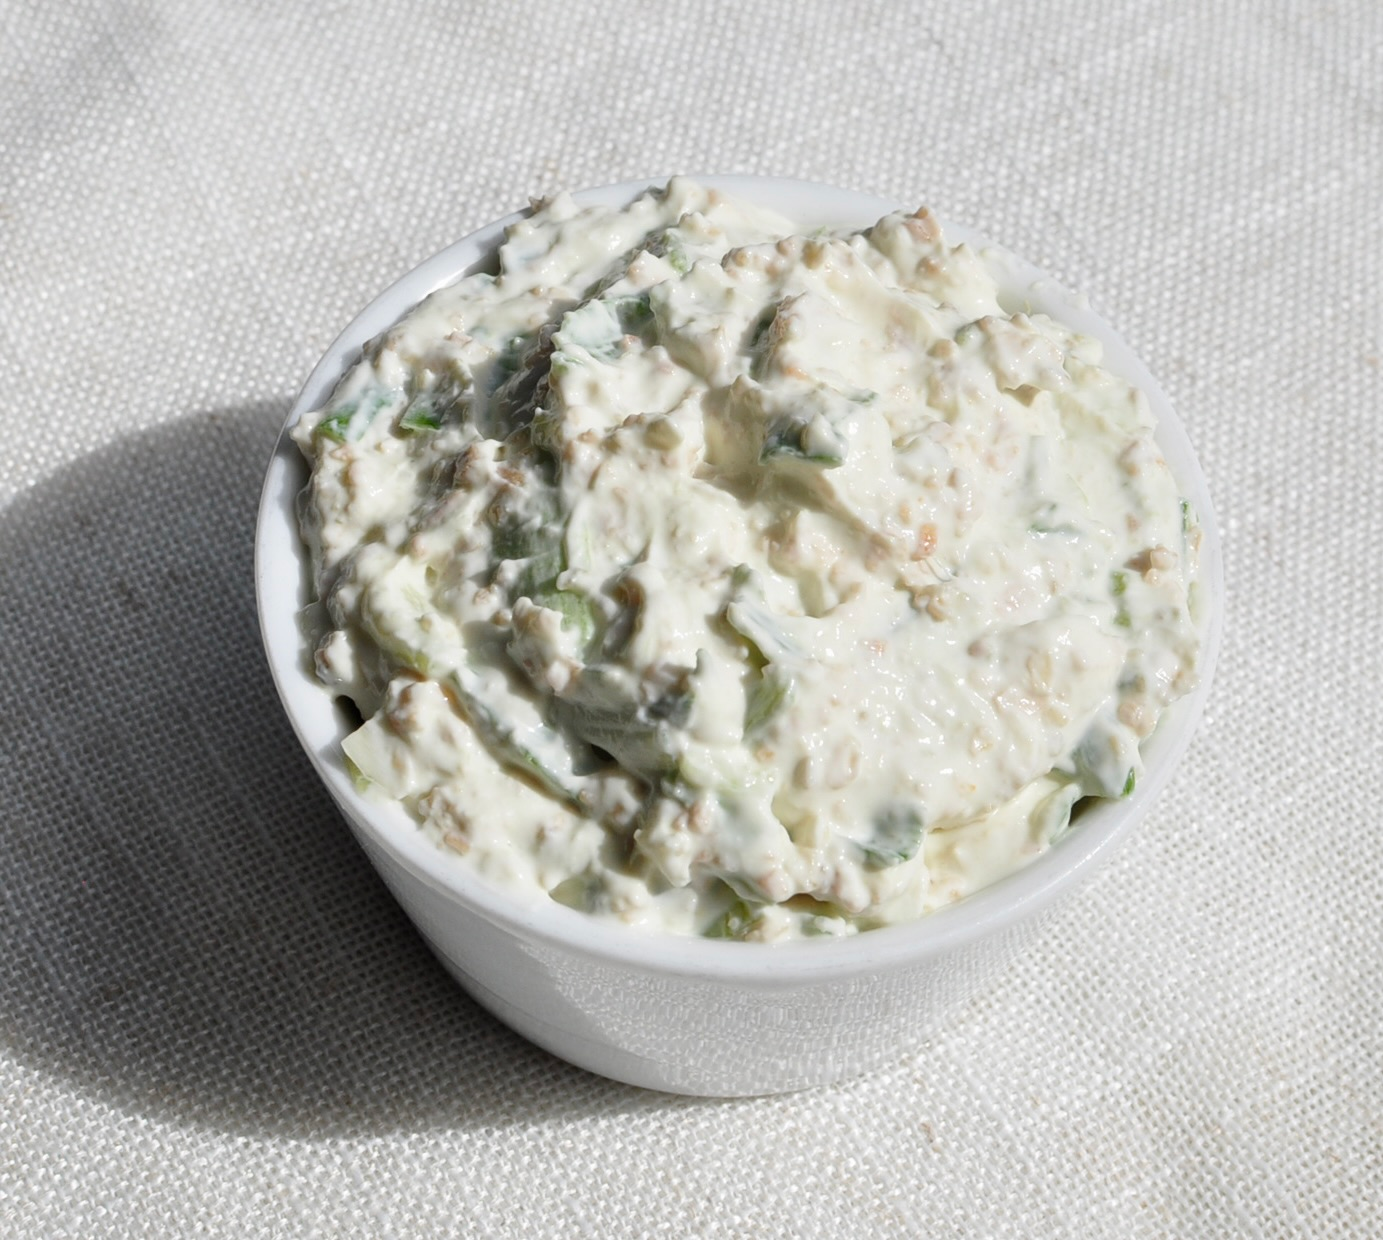 Homemade French Onion Dip
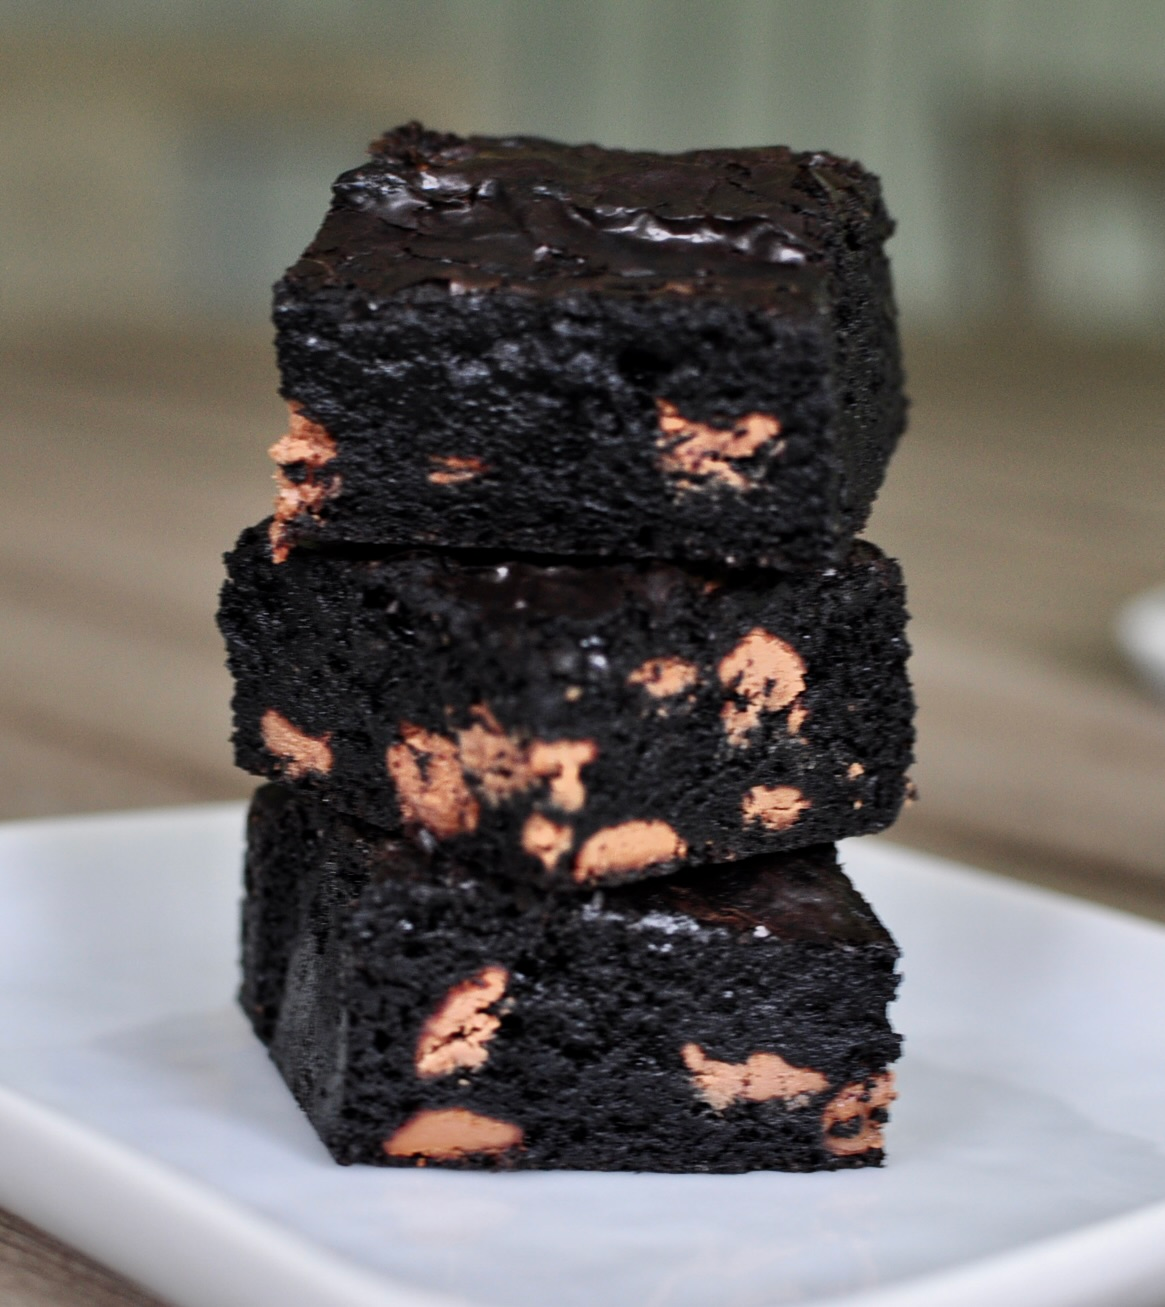 Chewy, Fudgy Black Cocoa Brownies
 Coconut Cream Buns | Lai Yau Bao
 Crispy and Chewy Shanghai UBE Mochi Tots
 Shanghai Butter Mochi Tots
 Real Ice Cream Might Be Good for You