

This post contains affiliate links. As an Amazon Associate, I earn from qualifying purchases.
The Best Homemade Black Sesame Paste — Rich, Nutty & Endlessly Versatile
If you’ve ever tasted black sesame paste in a bakery mochi or swirled into ice cream and wondered how to recreate that deep, toasty flavor at home, you’re in the right place. This homemade black sesame paste recipe delivers a rich, glossy, intensely nutty spread with just three simple ingredients: black sesame seeds, butter, and honey. No specialty equipment required beyond a standard food processor — and no fillers, preservatives, or mystery ingredients like in store-bought versions.
Black sesame paste (known as kuro goma paste in Japan) is a beloved staple in East Asian desserts, prized for its bold, slightly bitter, nutty depth and its gorgeous inky color. It’s the secret behind classic black sesame mochi, dango fillings, sesame ice cream, latte swirls, and even savory dressings. Once you make it from scratch, you’ll never go back to the jarred kind.
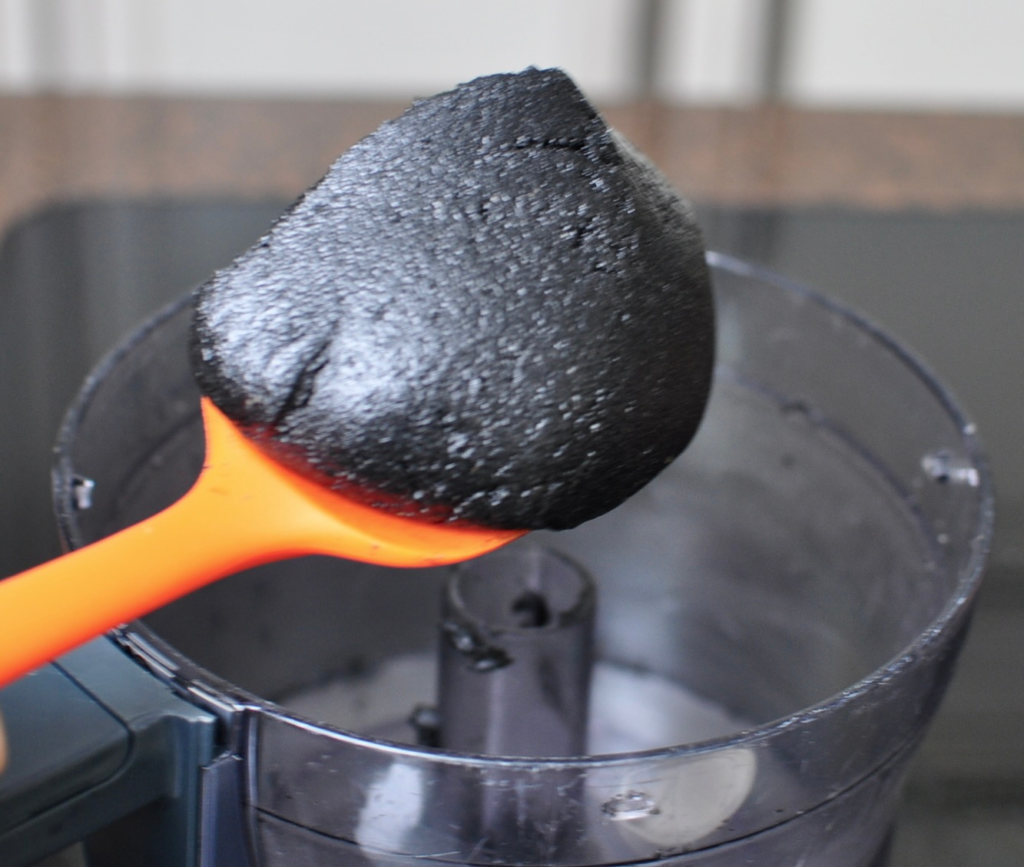
Why You’ll Love This Recipe
- Just 3 ingredients — black sesame seeds, butter, and honey
- Customizable thickness — use honey for a thick mochi filling, or granulated sugar for a spreadable toast-friendly paste
- No tahini-style bitterness — toasting the seeds the right way brings out warmth, not harshness
- Naturally gluten-free and refined-sugar-optional
- Stores beautifully for weeks in the fridge
The Secret Is in the Toast
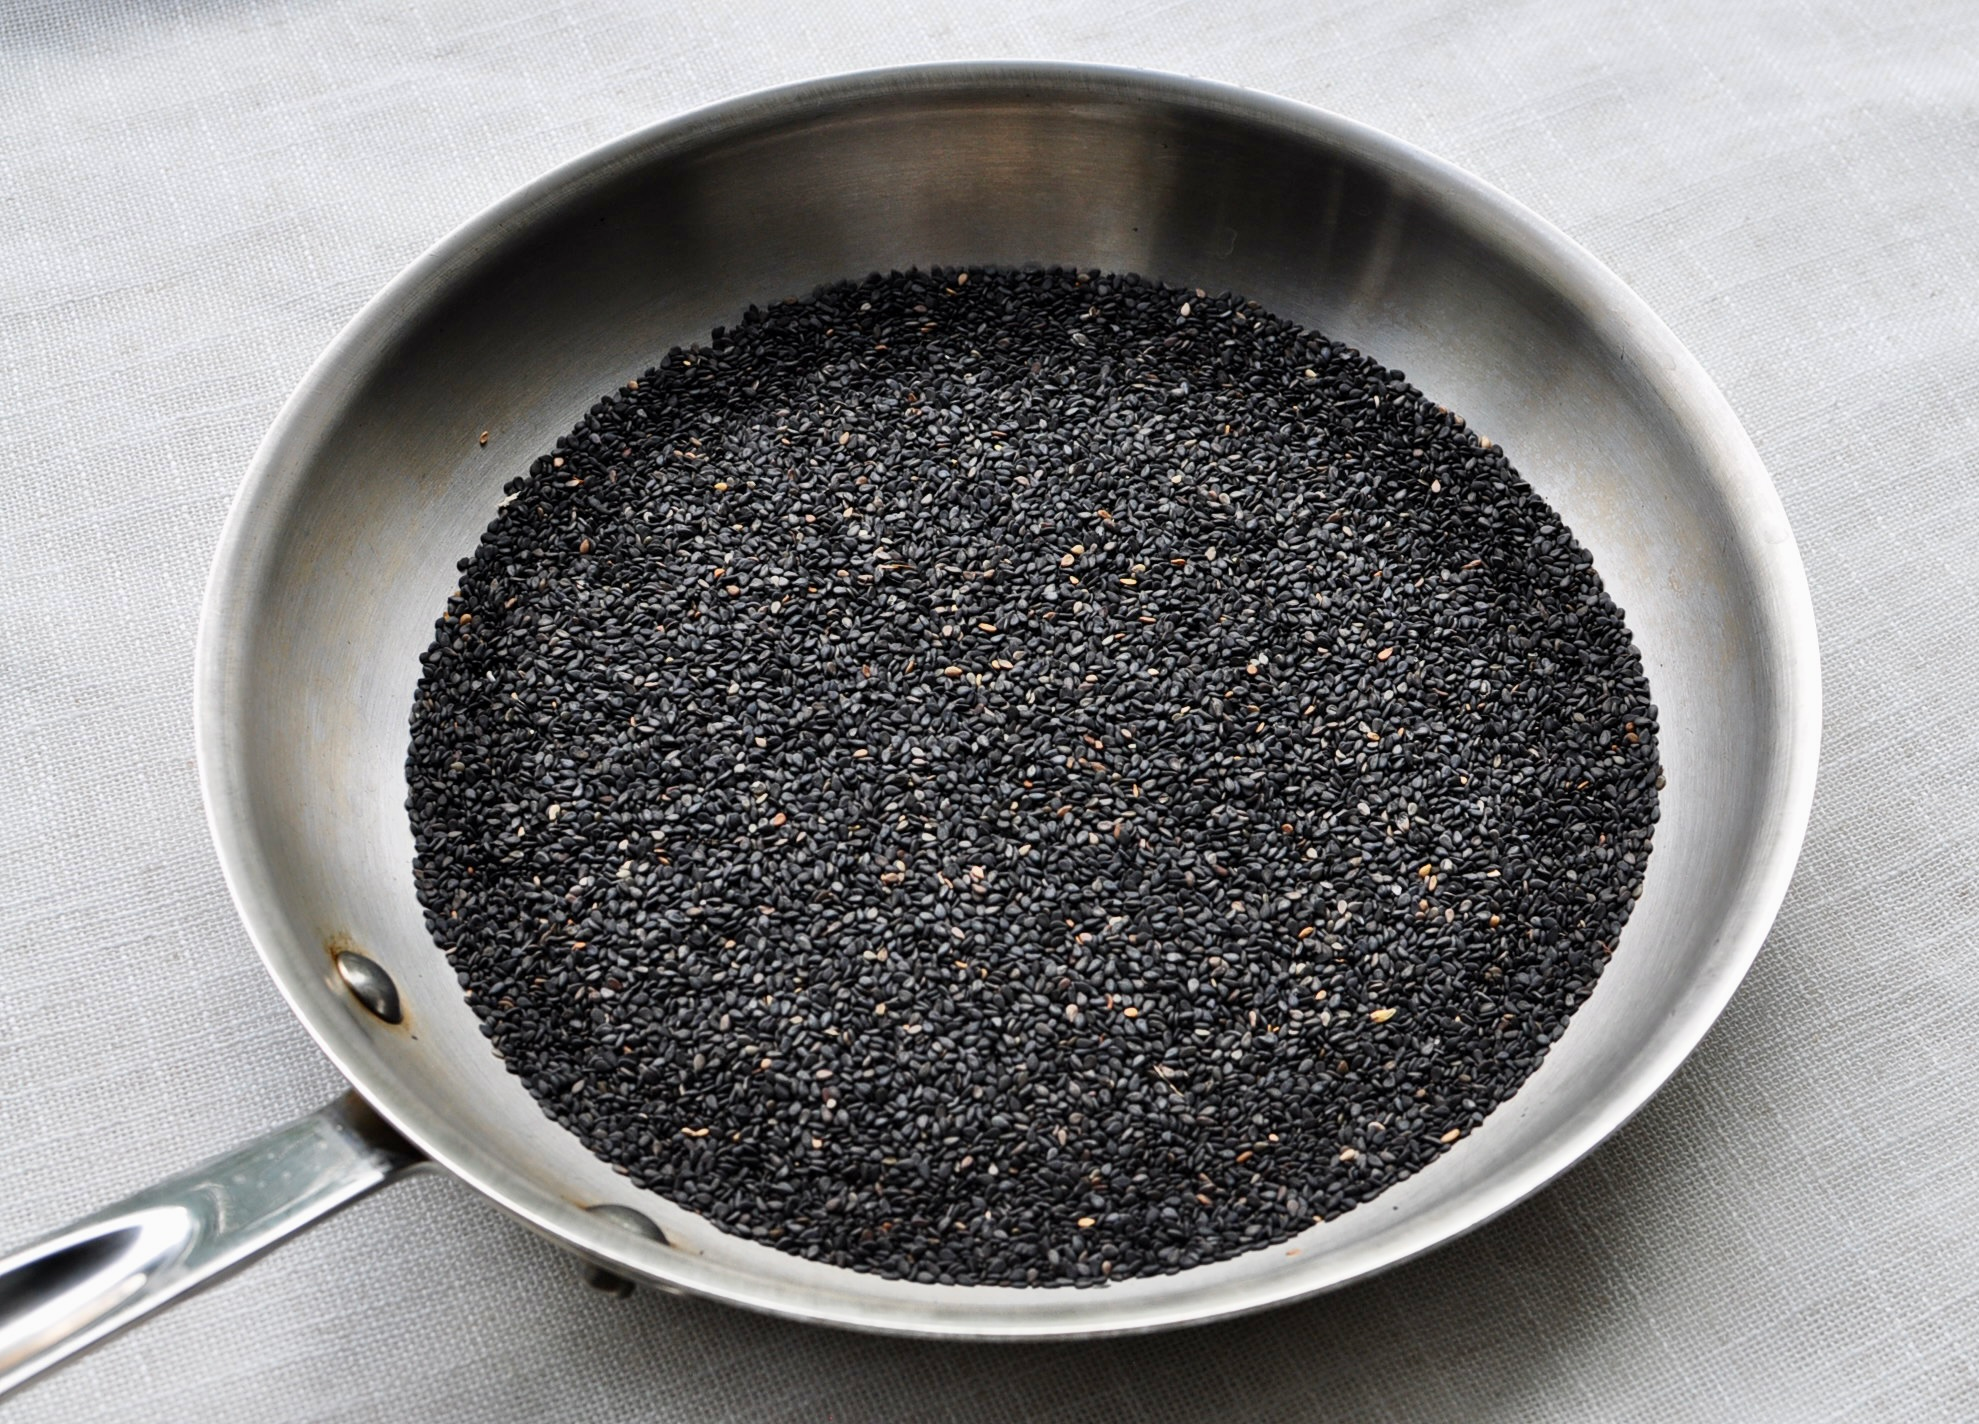
The biggest difference between flat, bitter sesame paste and a paste with deep, roasty character is how you toast the seeds. You’ll dry-toast 1 ½ cups of black sesame seeds in a pan for about 6 minutes until the seeds plump up. The telltale sign they’re ready? When you bite into one, it should burst between your teeth — almost like a tiny popcorn pop. That’s how you know the natural oils have been awakened and the seeds are primed for grinding.
Grinding Without Burning Out Your Food Processor
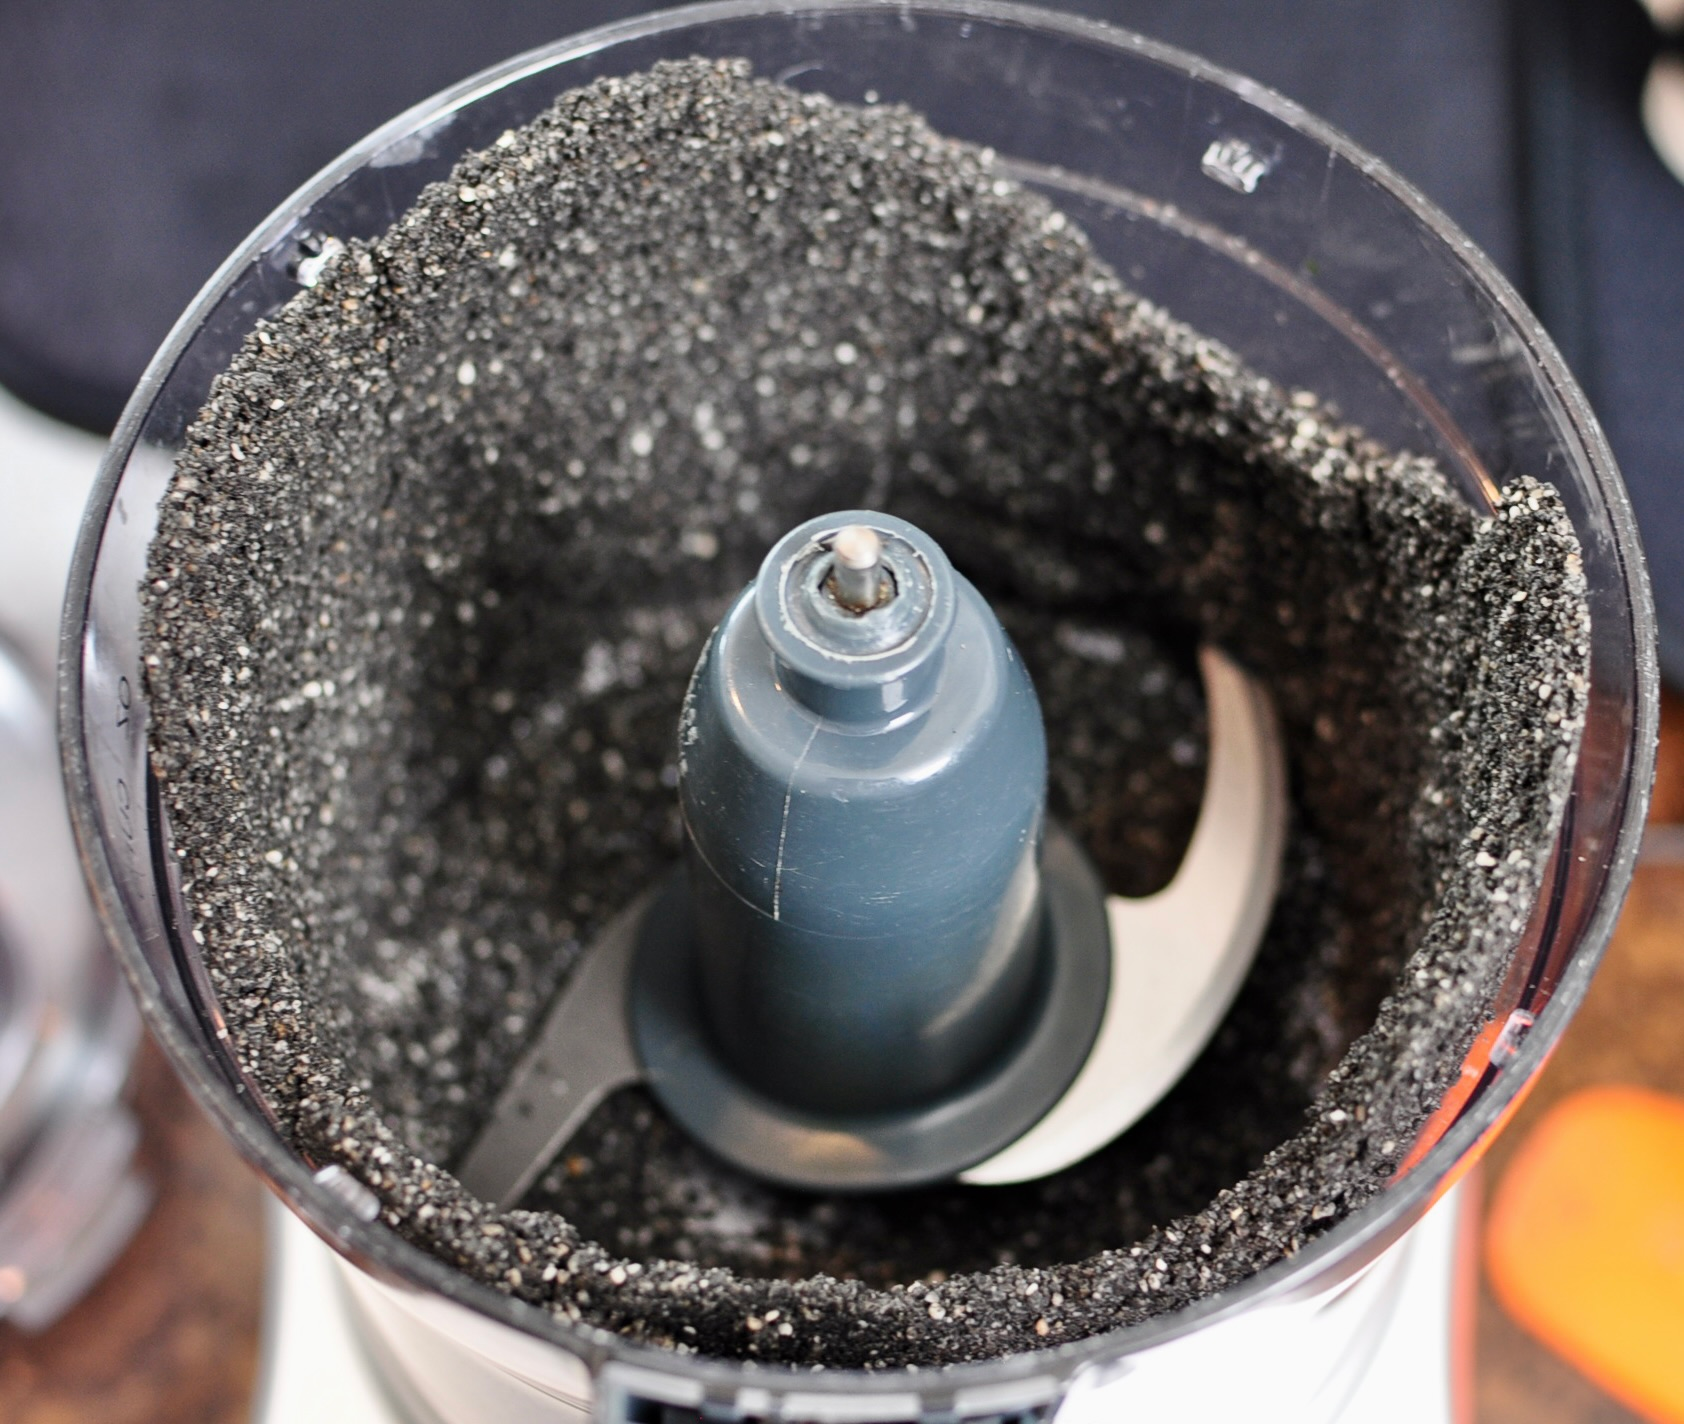
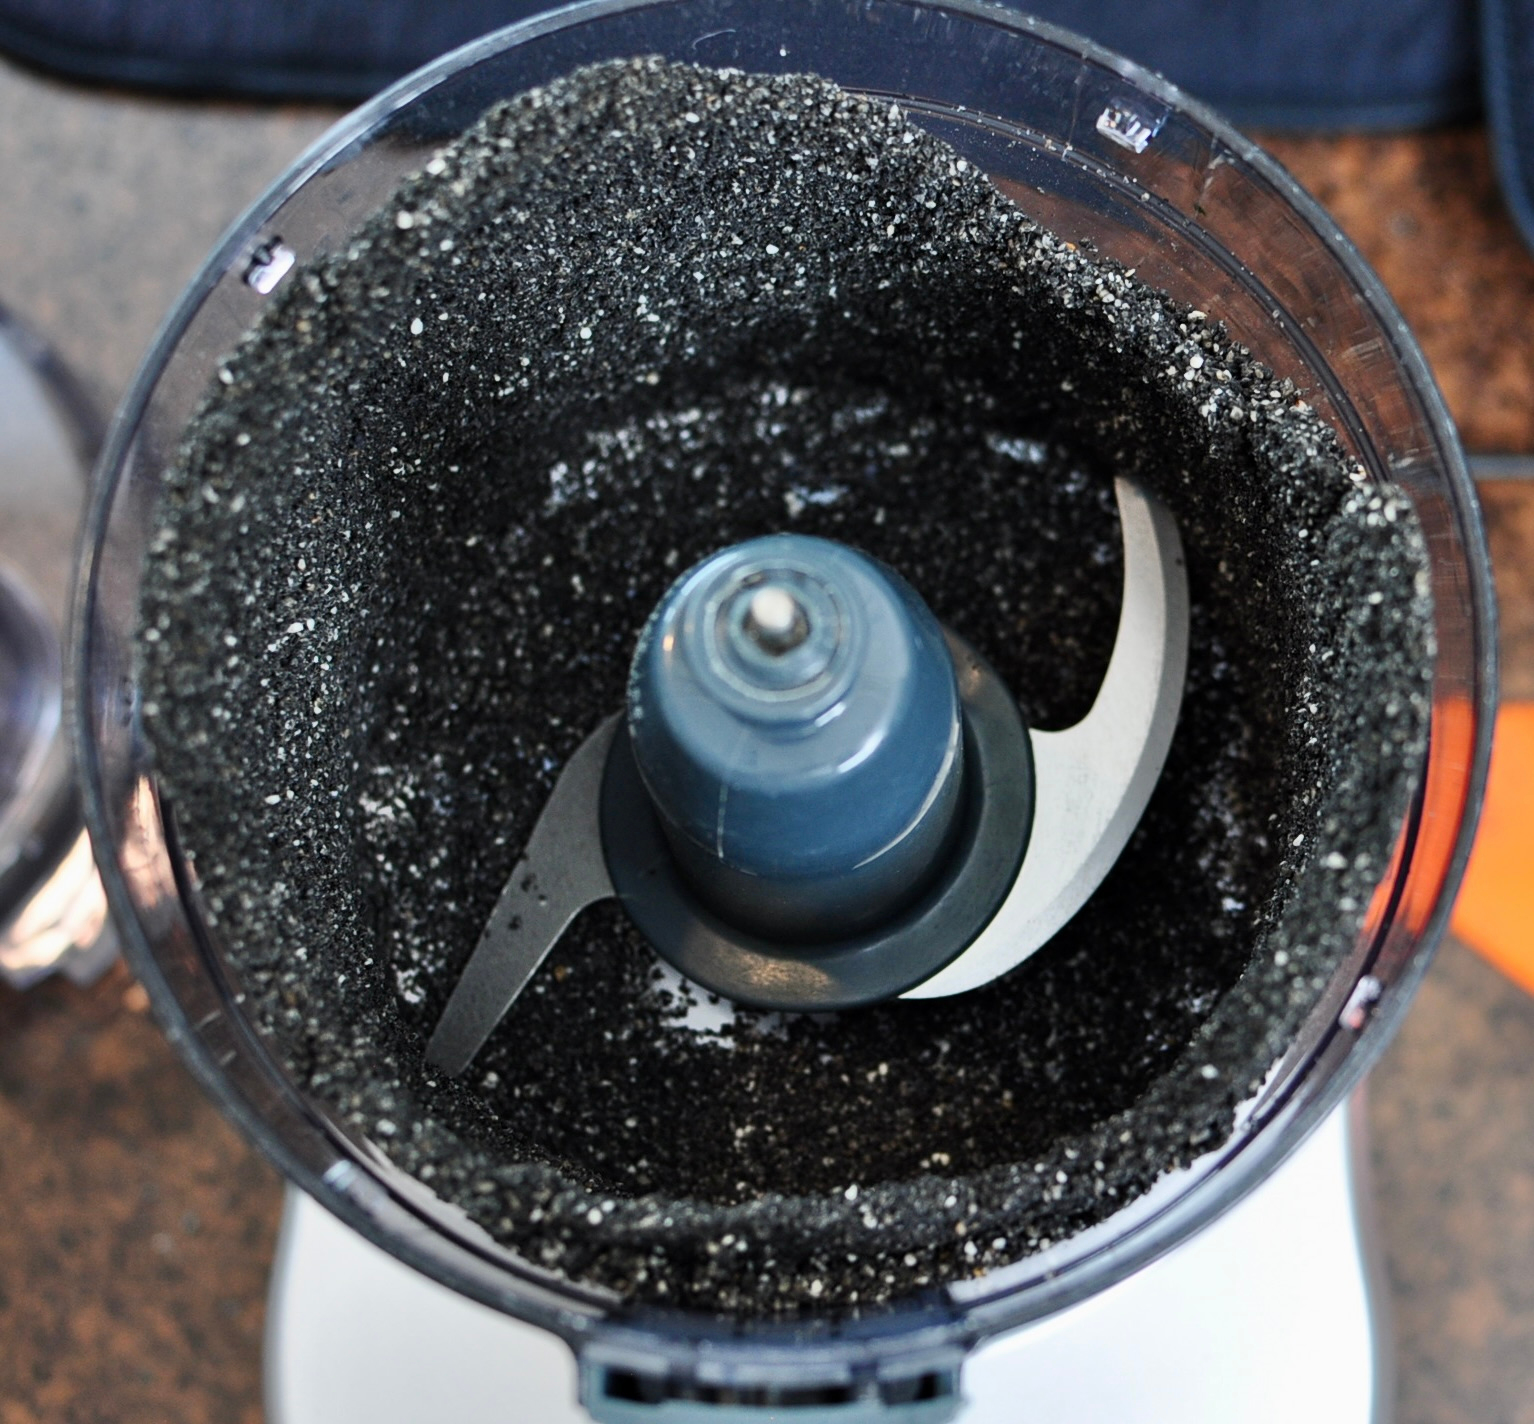
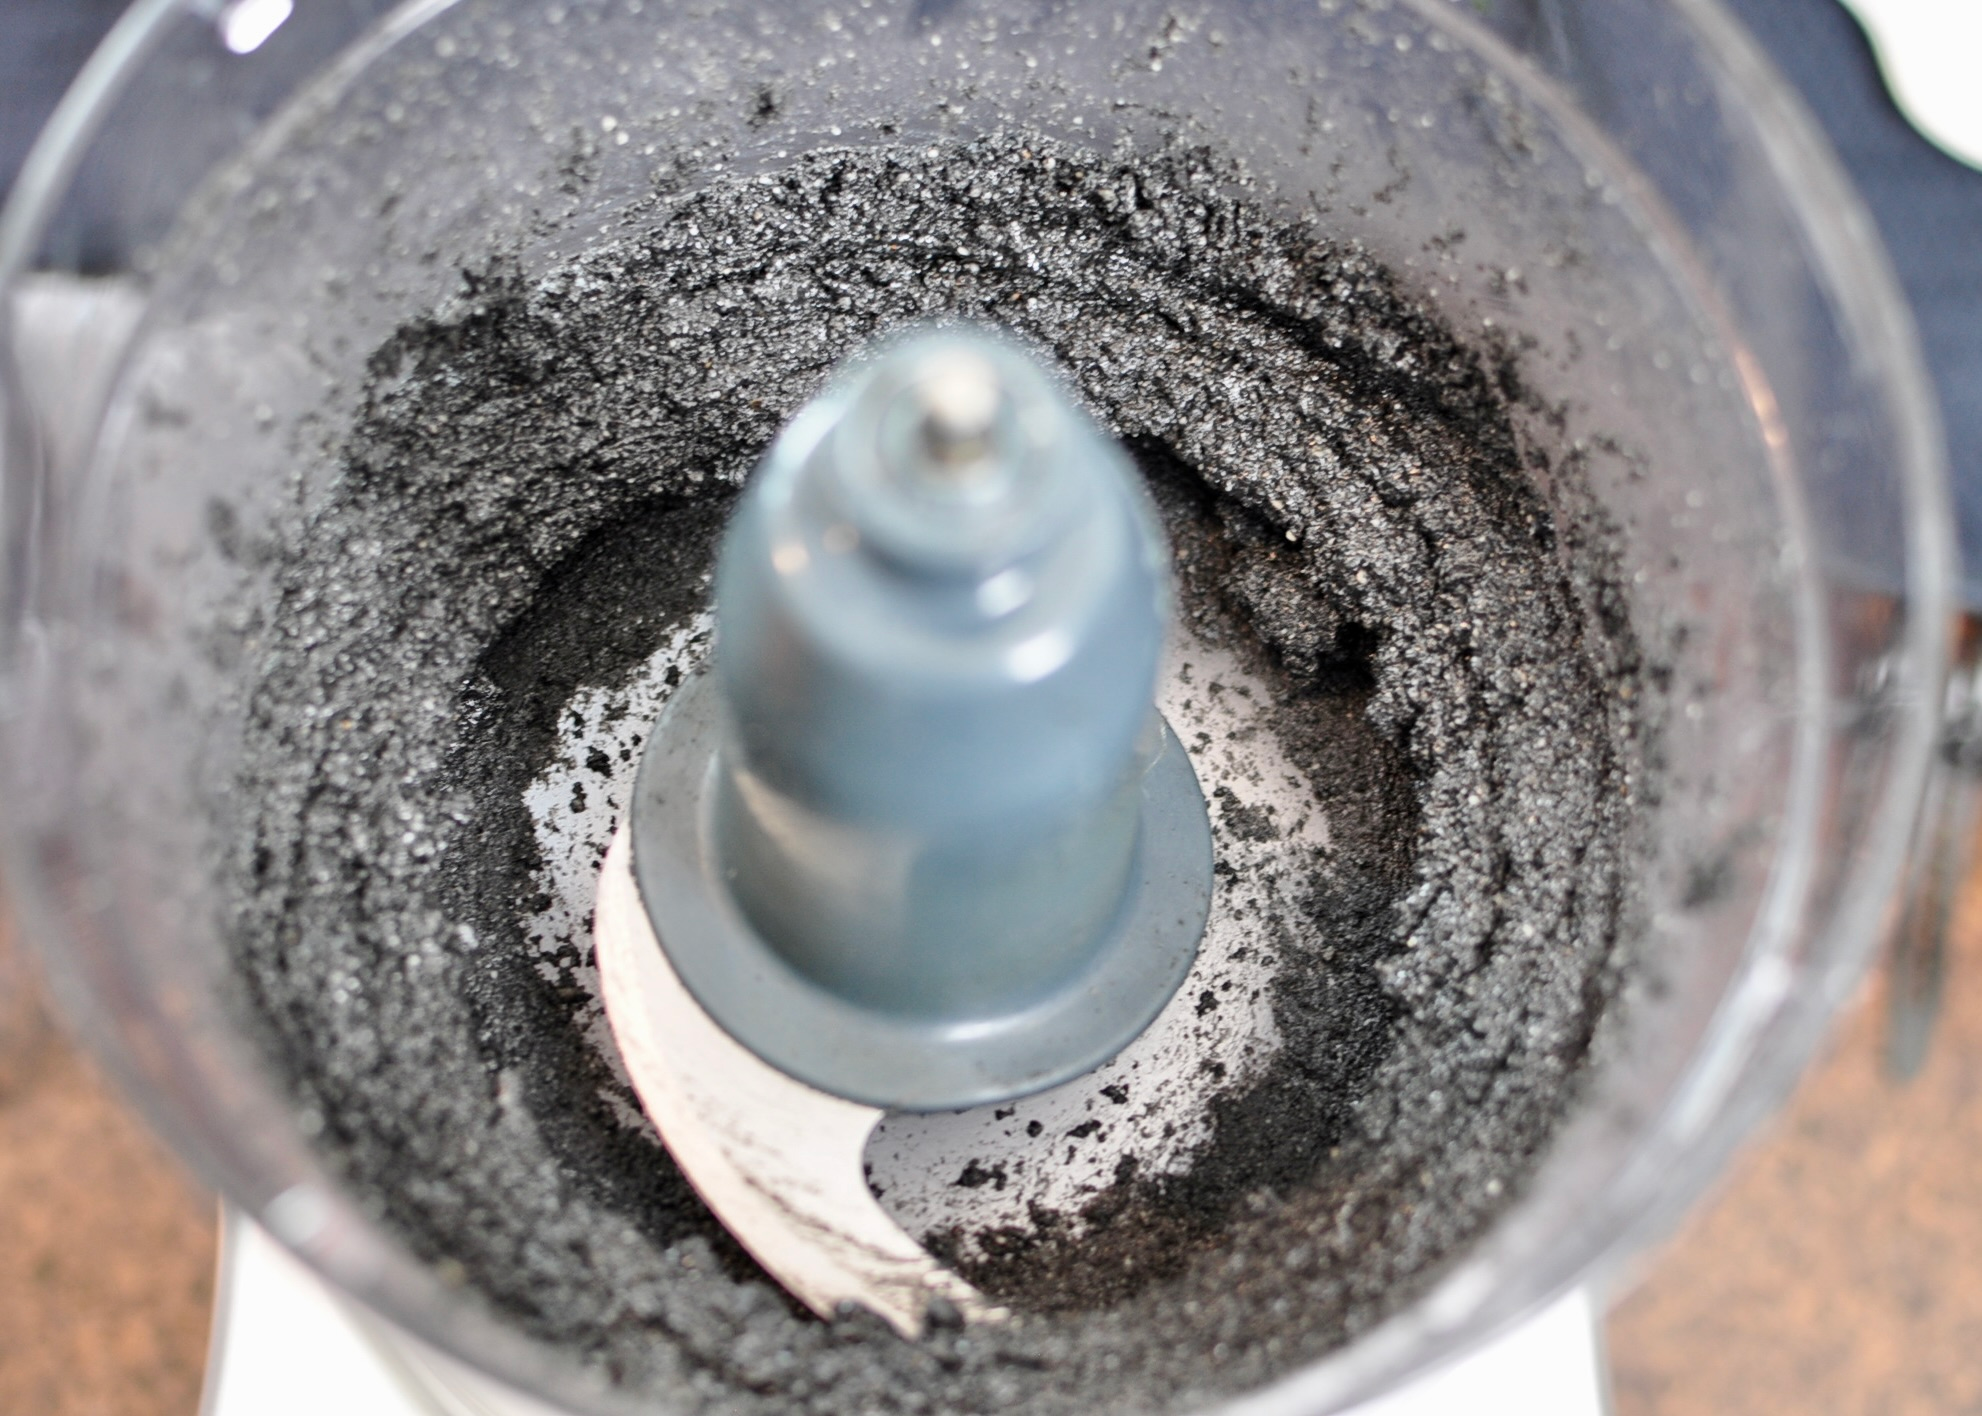
This is where patience pays off. After letting the toasted seeds cool for a few minutes, transfer them to a food processor (1 ½ cups is the minimum batch you should make if using an 8-cup food processor), since the seeds need to sit above the blades for proper grinding. Process on high for 1 minute, then stop, scrape down the sides, and let the machine rest for 1 to 2 minutes so the motor doesn’t overheat.
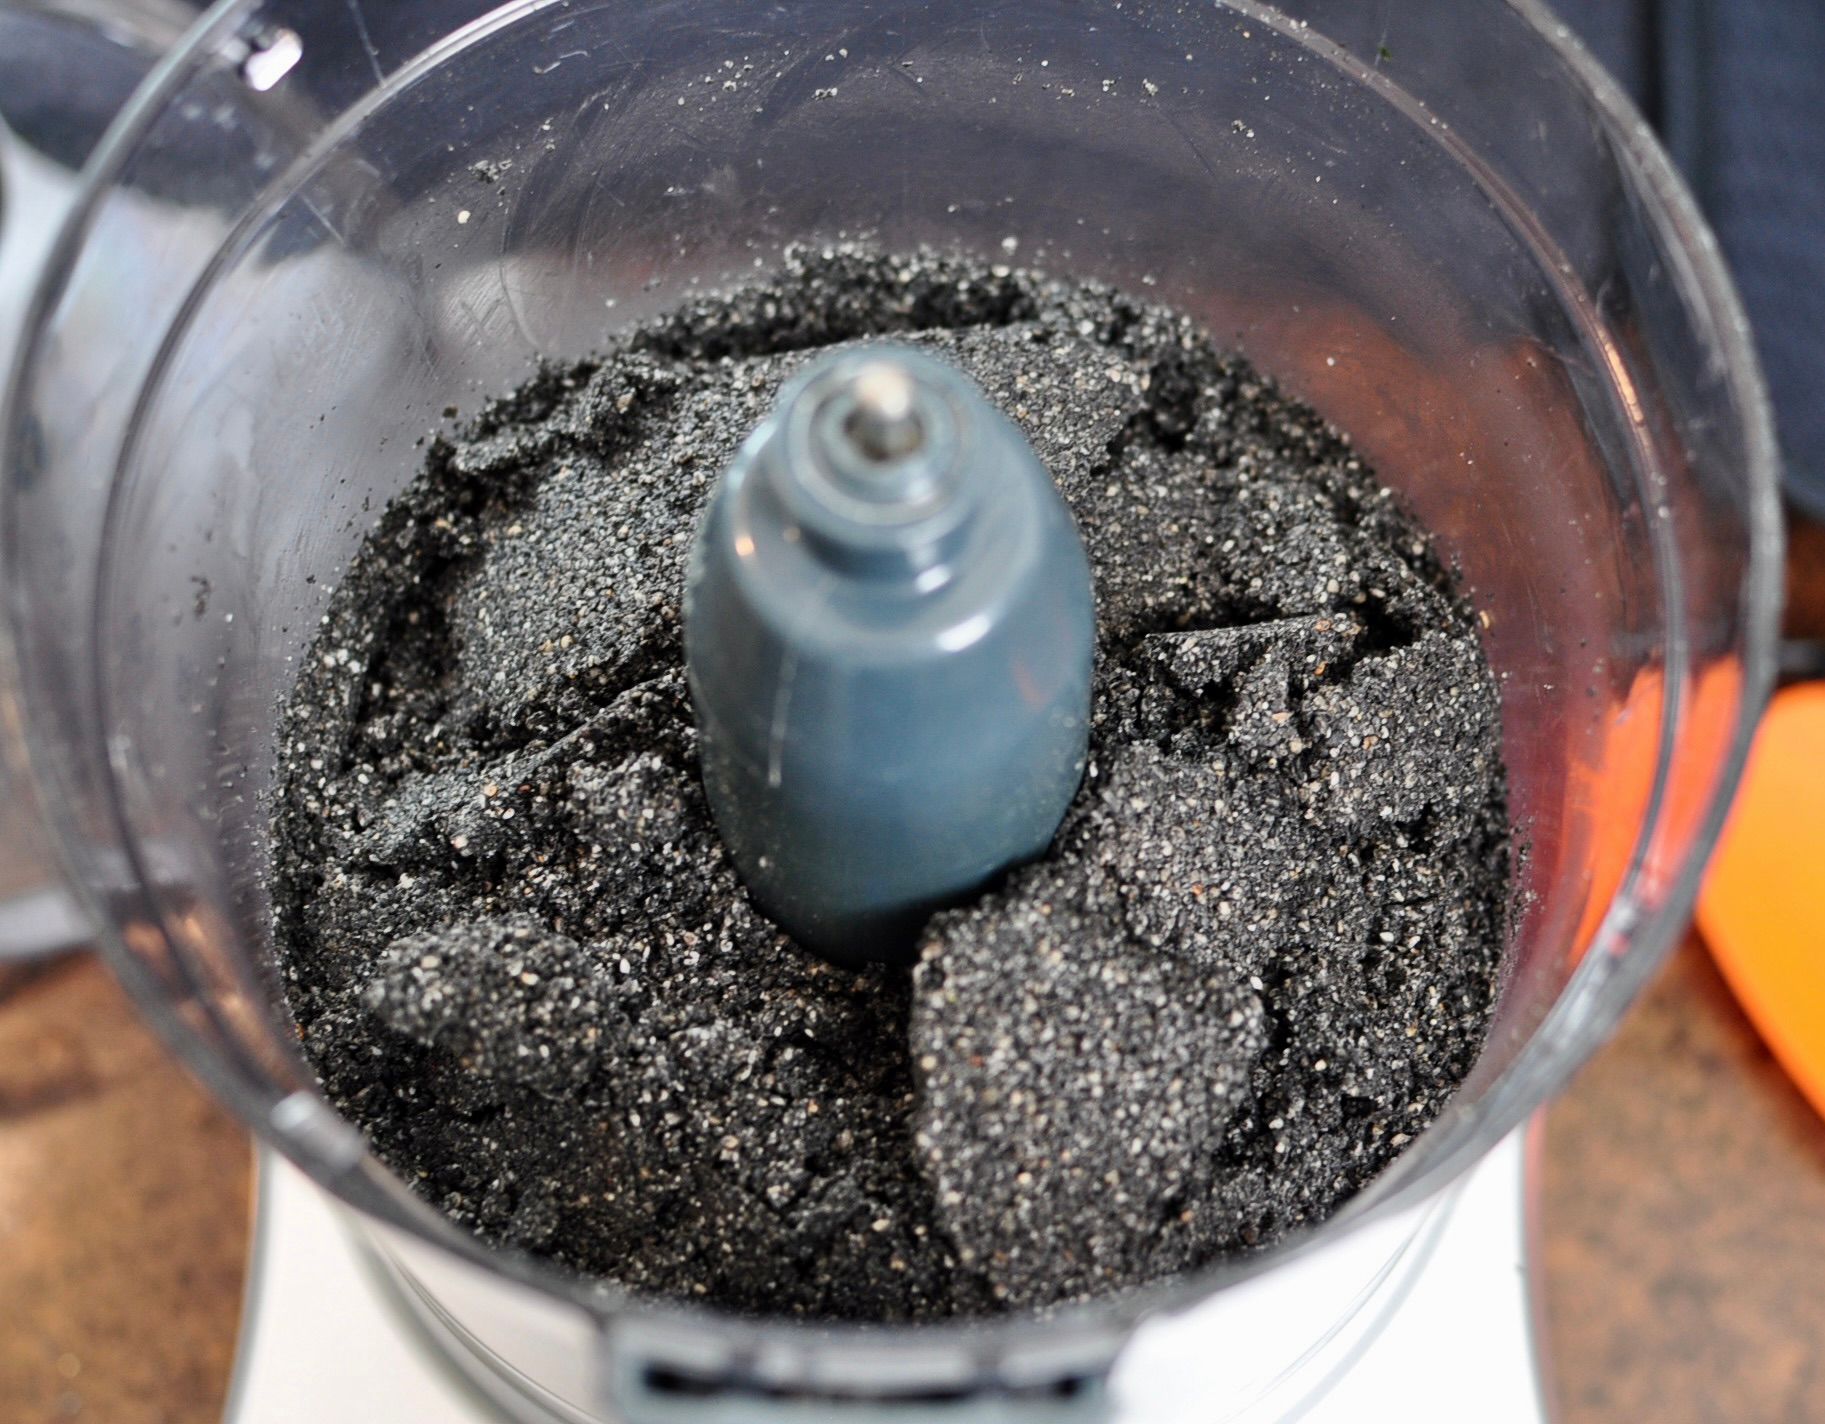
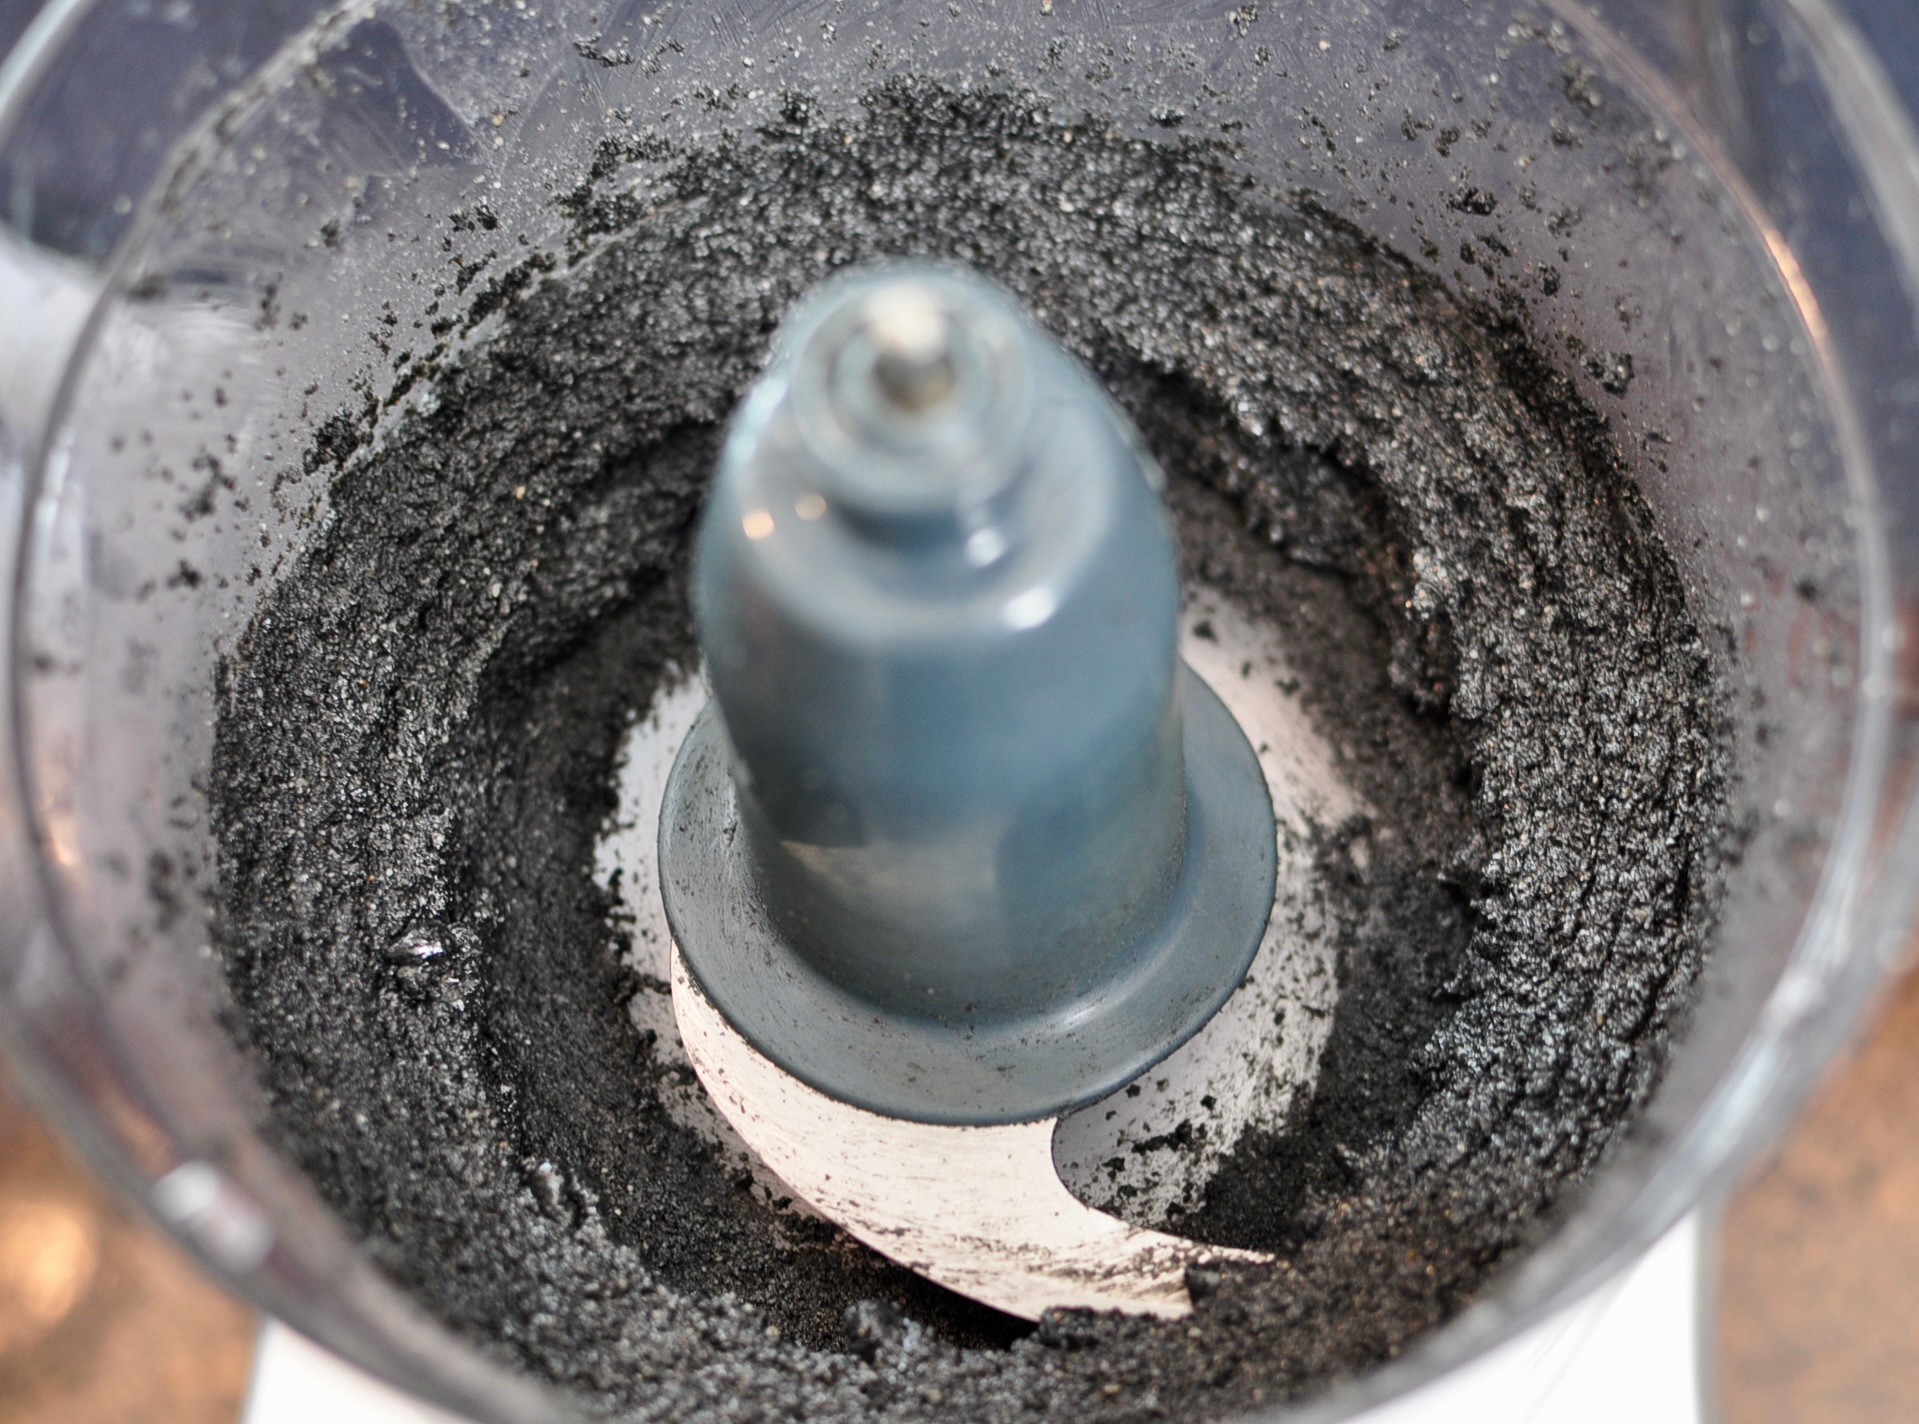
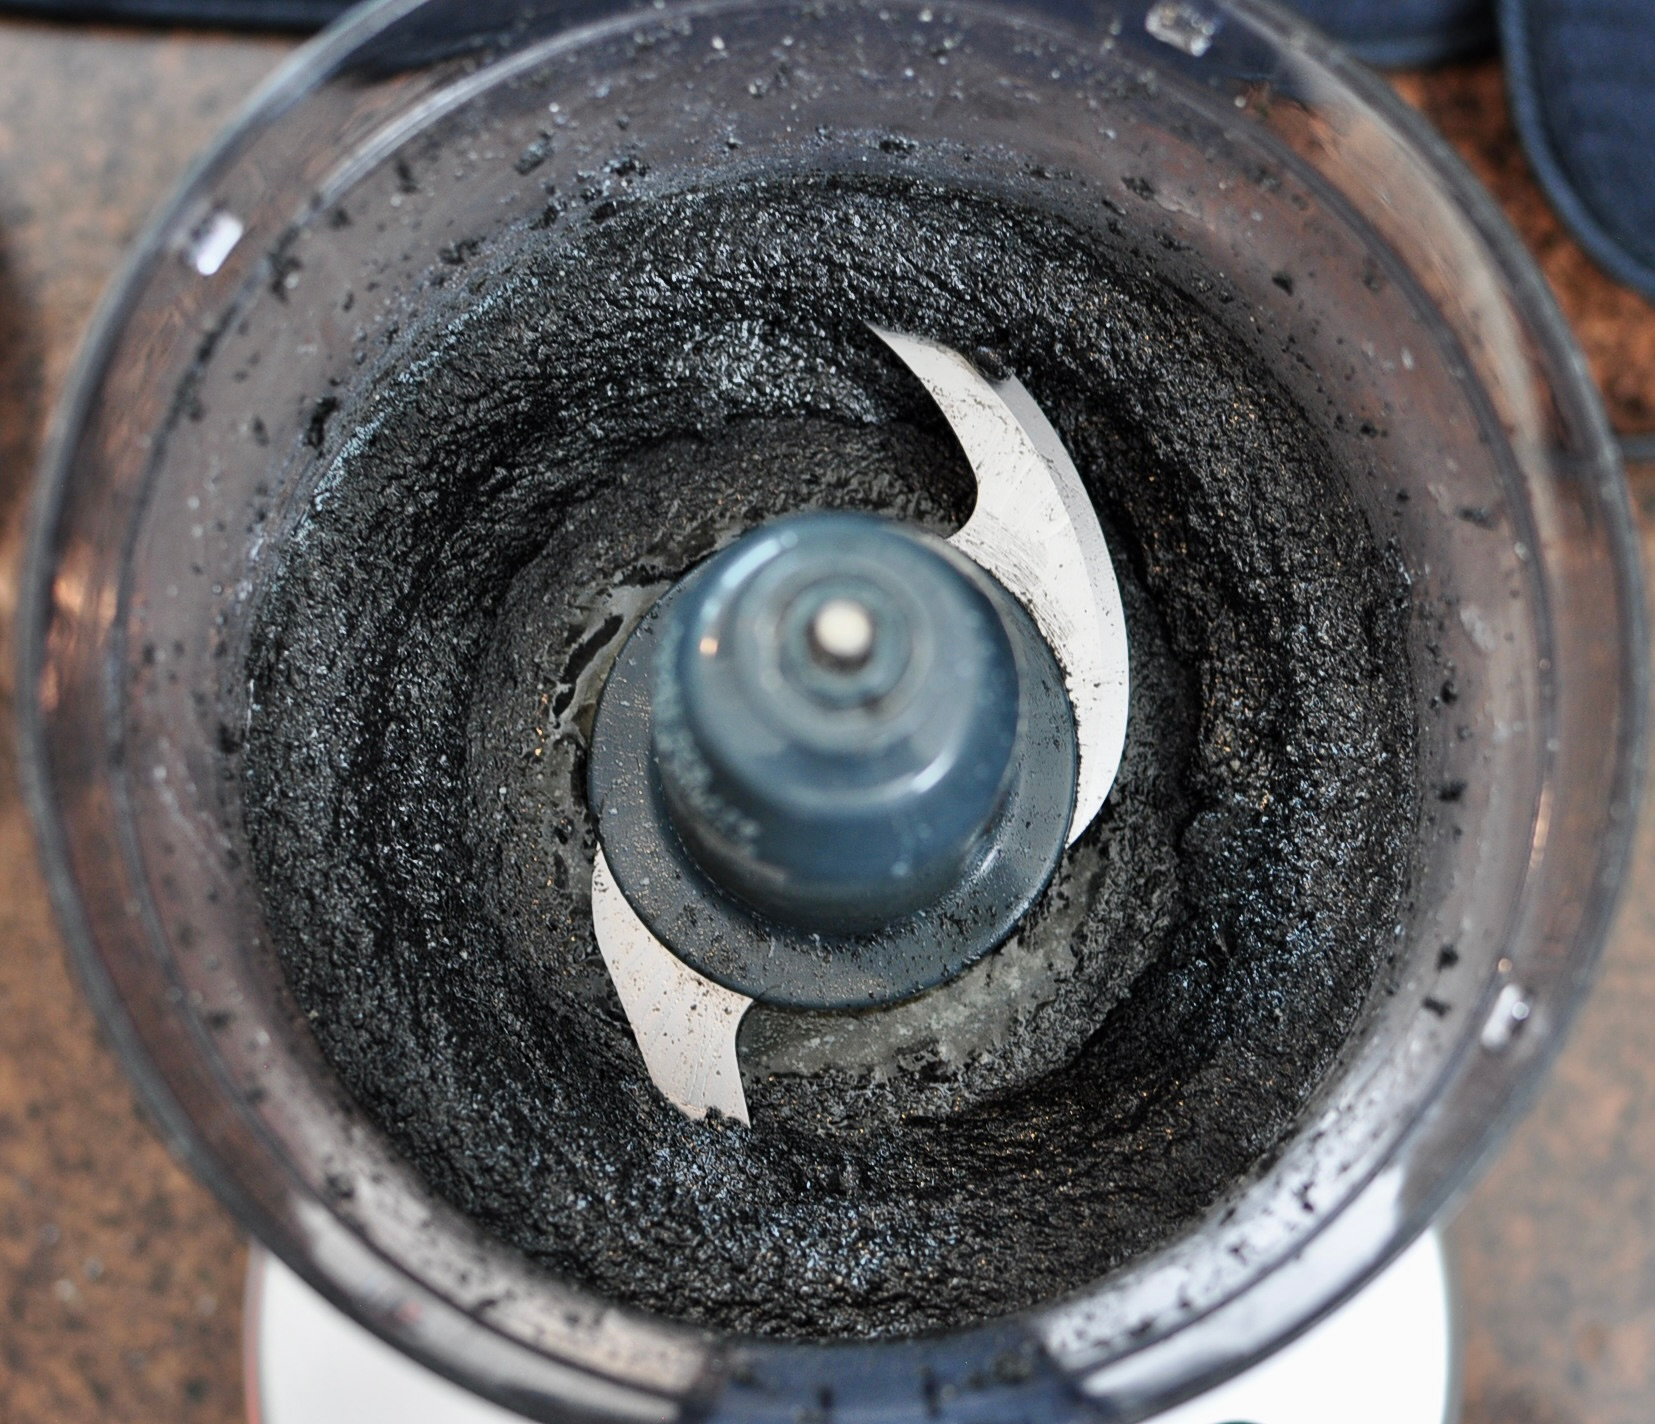
Repeat this cycle until the seeds transform from a dry meal into a thick, glossy paste. Total active processing time is about 10 minutes, but with the rest breaks built in, plan on around 25 minutes start to finish. The seeds release their oils slowly, and rushing this step will leave you with sandy meal instead of silky paste.
Adding the Honey & Butter
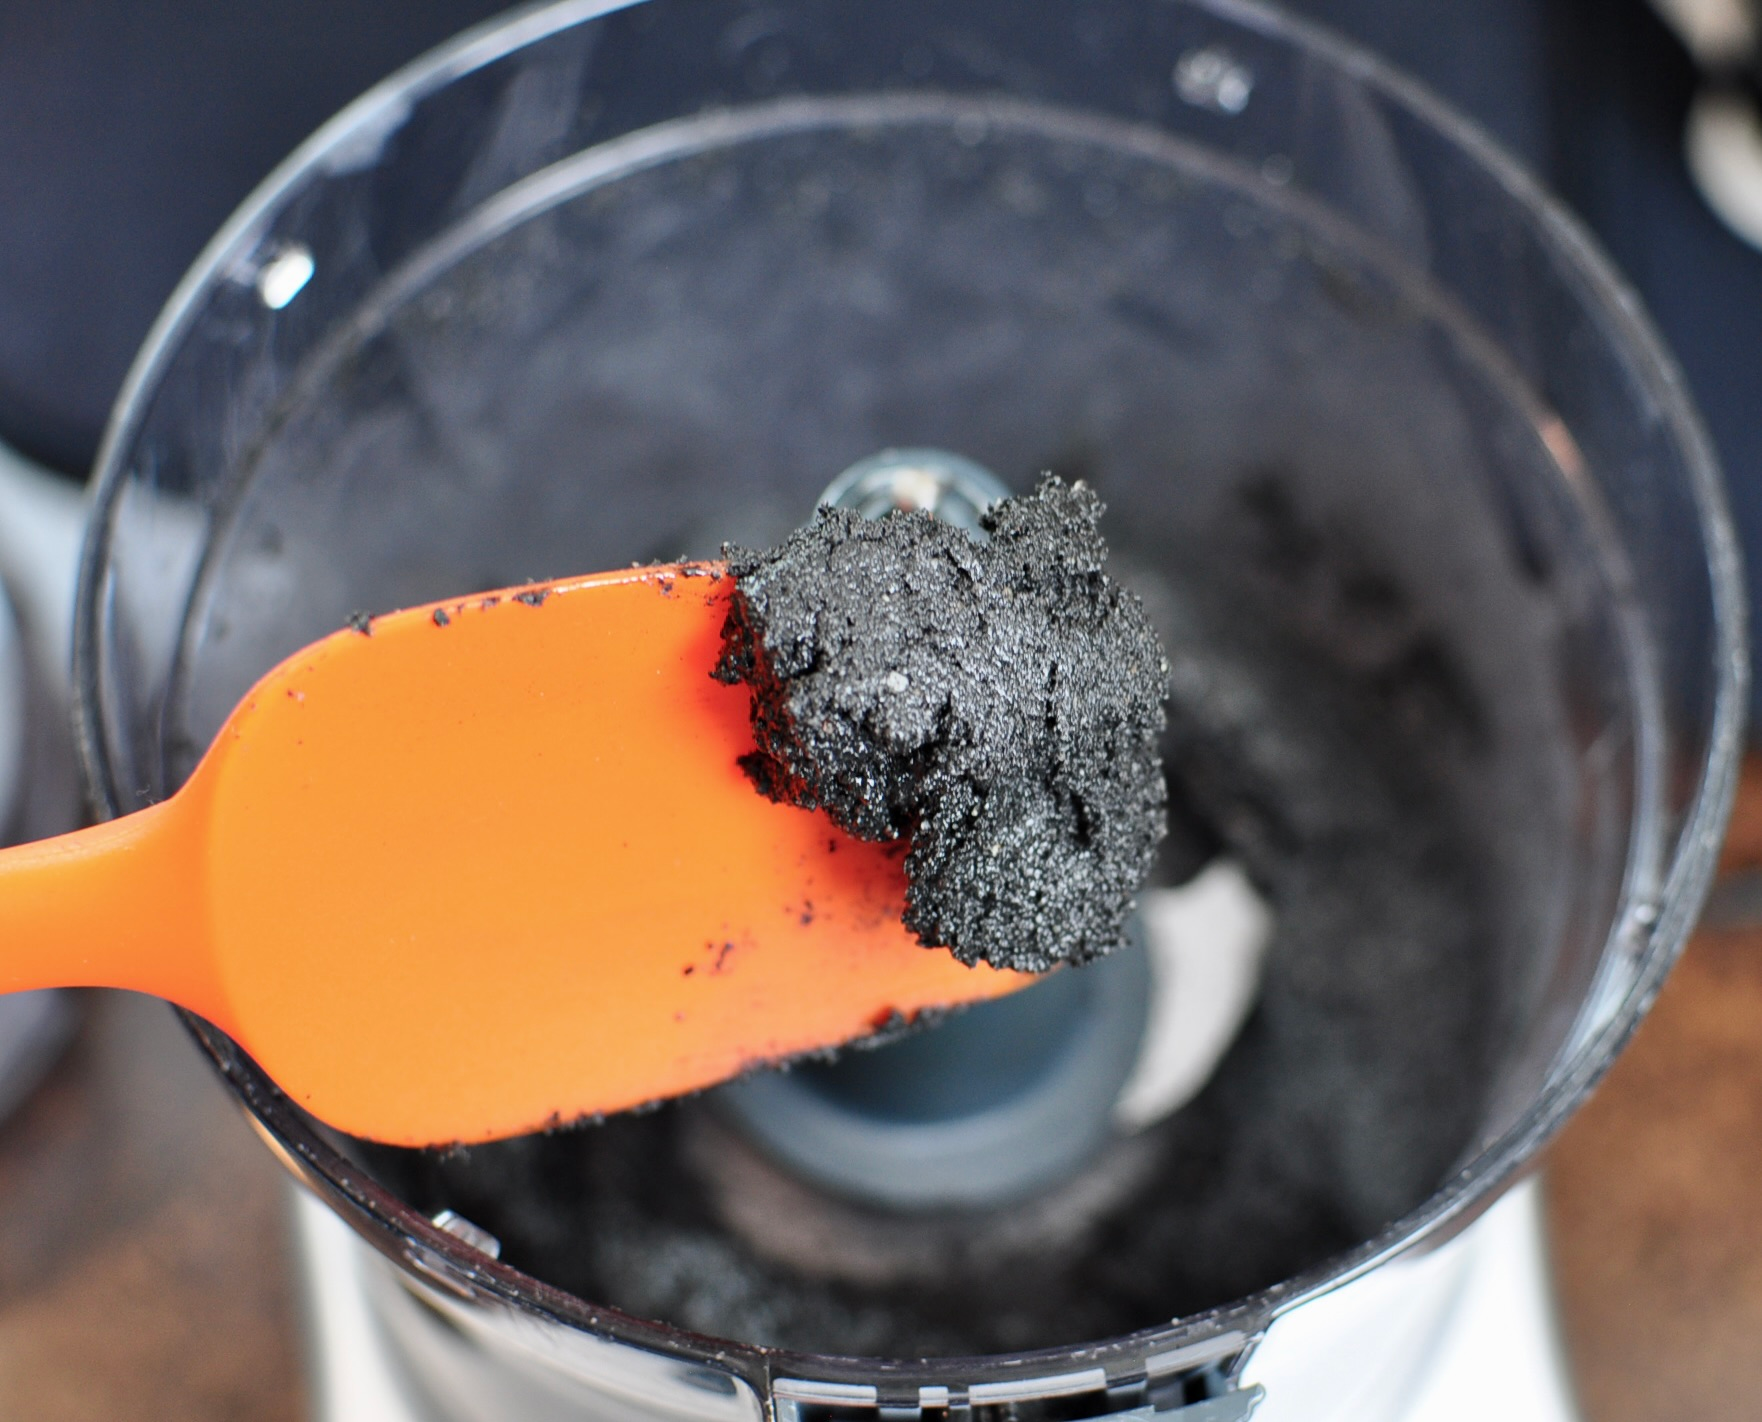
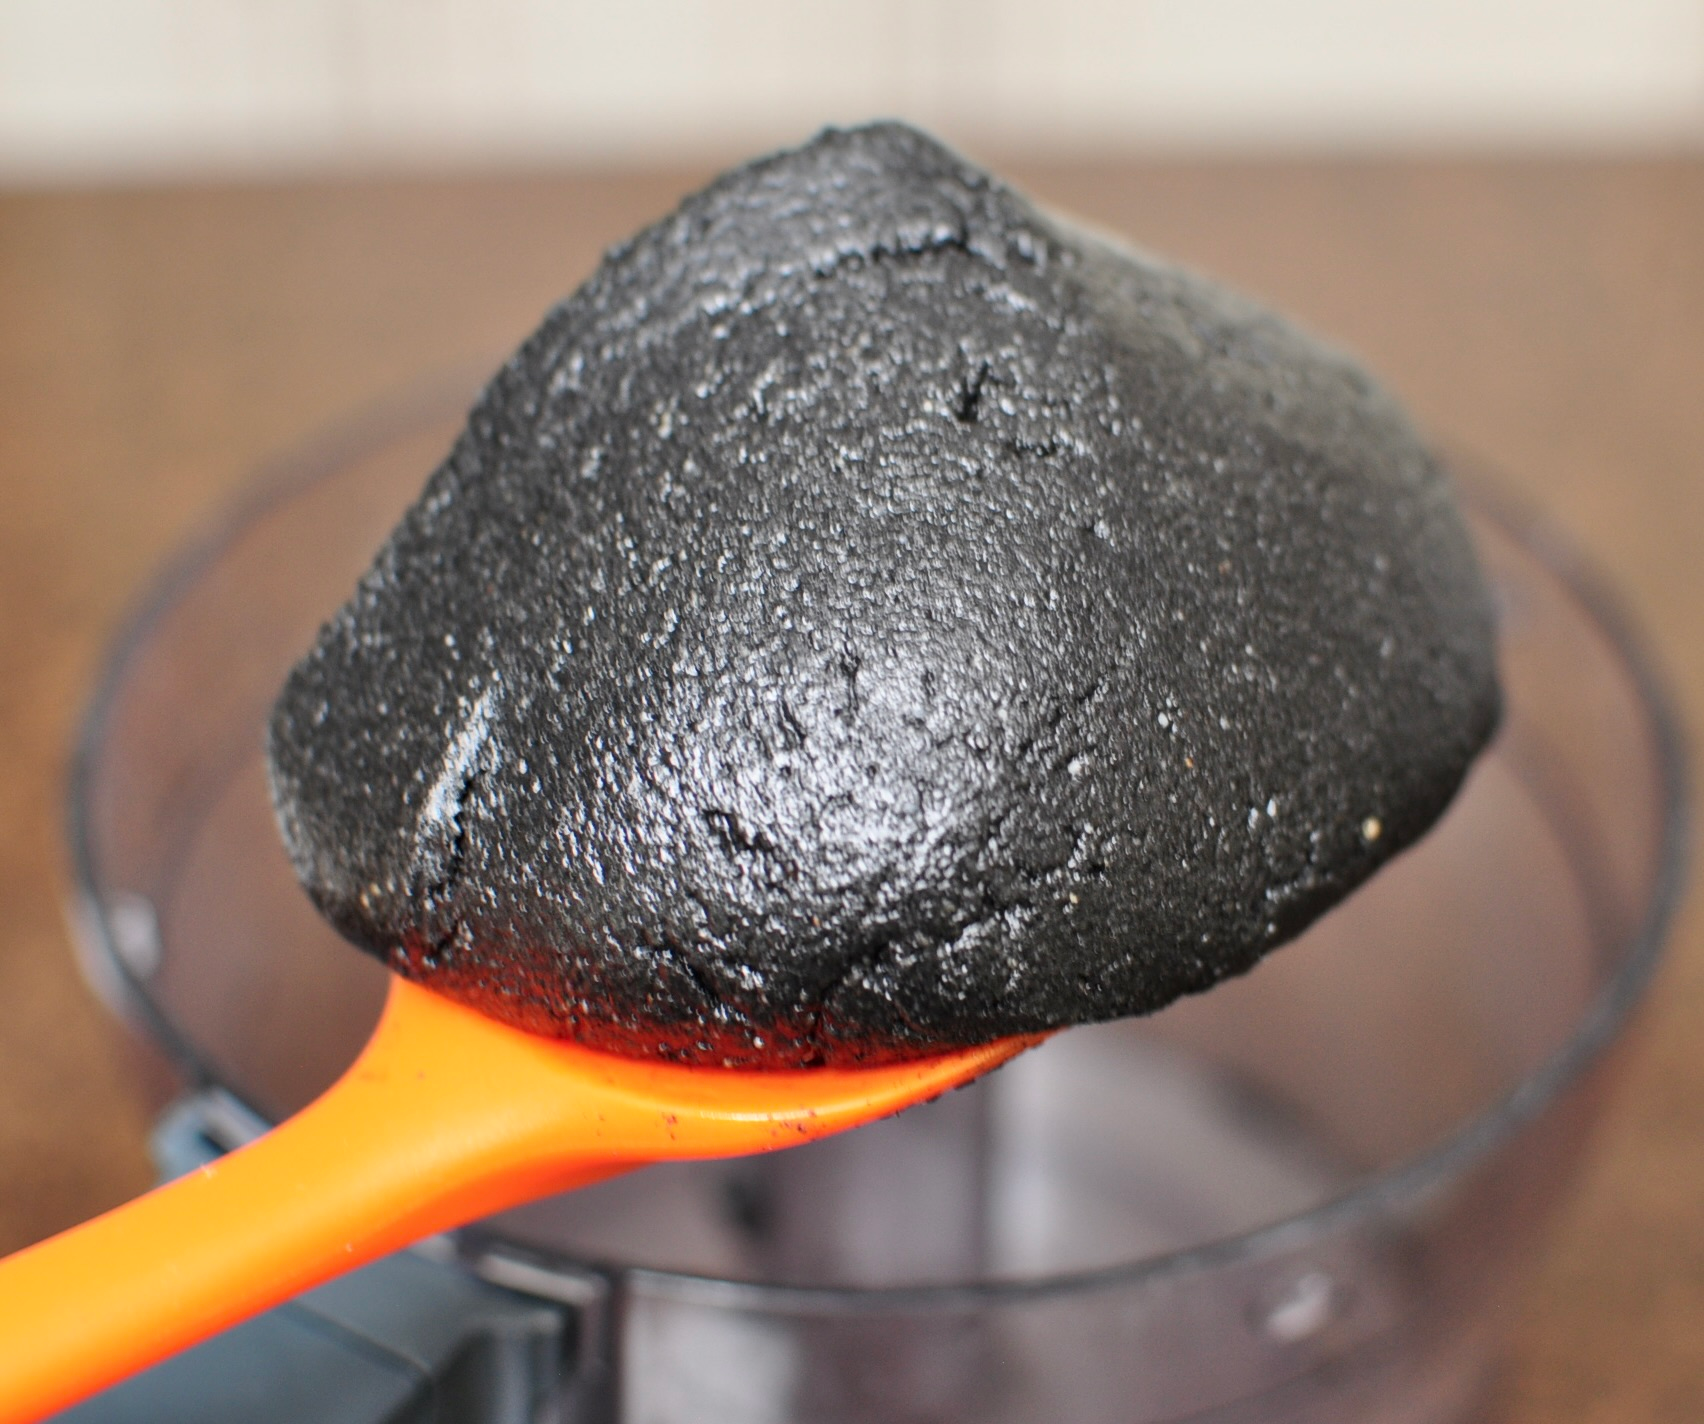
Once your paste has formed, melt butter and pour them into the food processor with some honey. Pulse just enough to incorporate — you don’t want to overwork it at this stage. The butter adds richness and a luxurious mouthfeel, while honey deepens the sweetness and gives the paste its signature thick, scoopable texture.
Honey vs. Sugar — Which Should You Use?
This is where you can customize the recipe to suit your end goal:
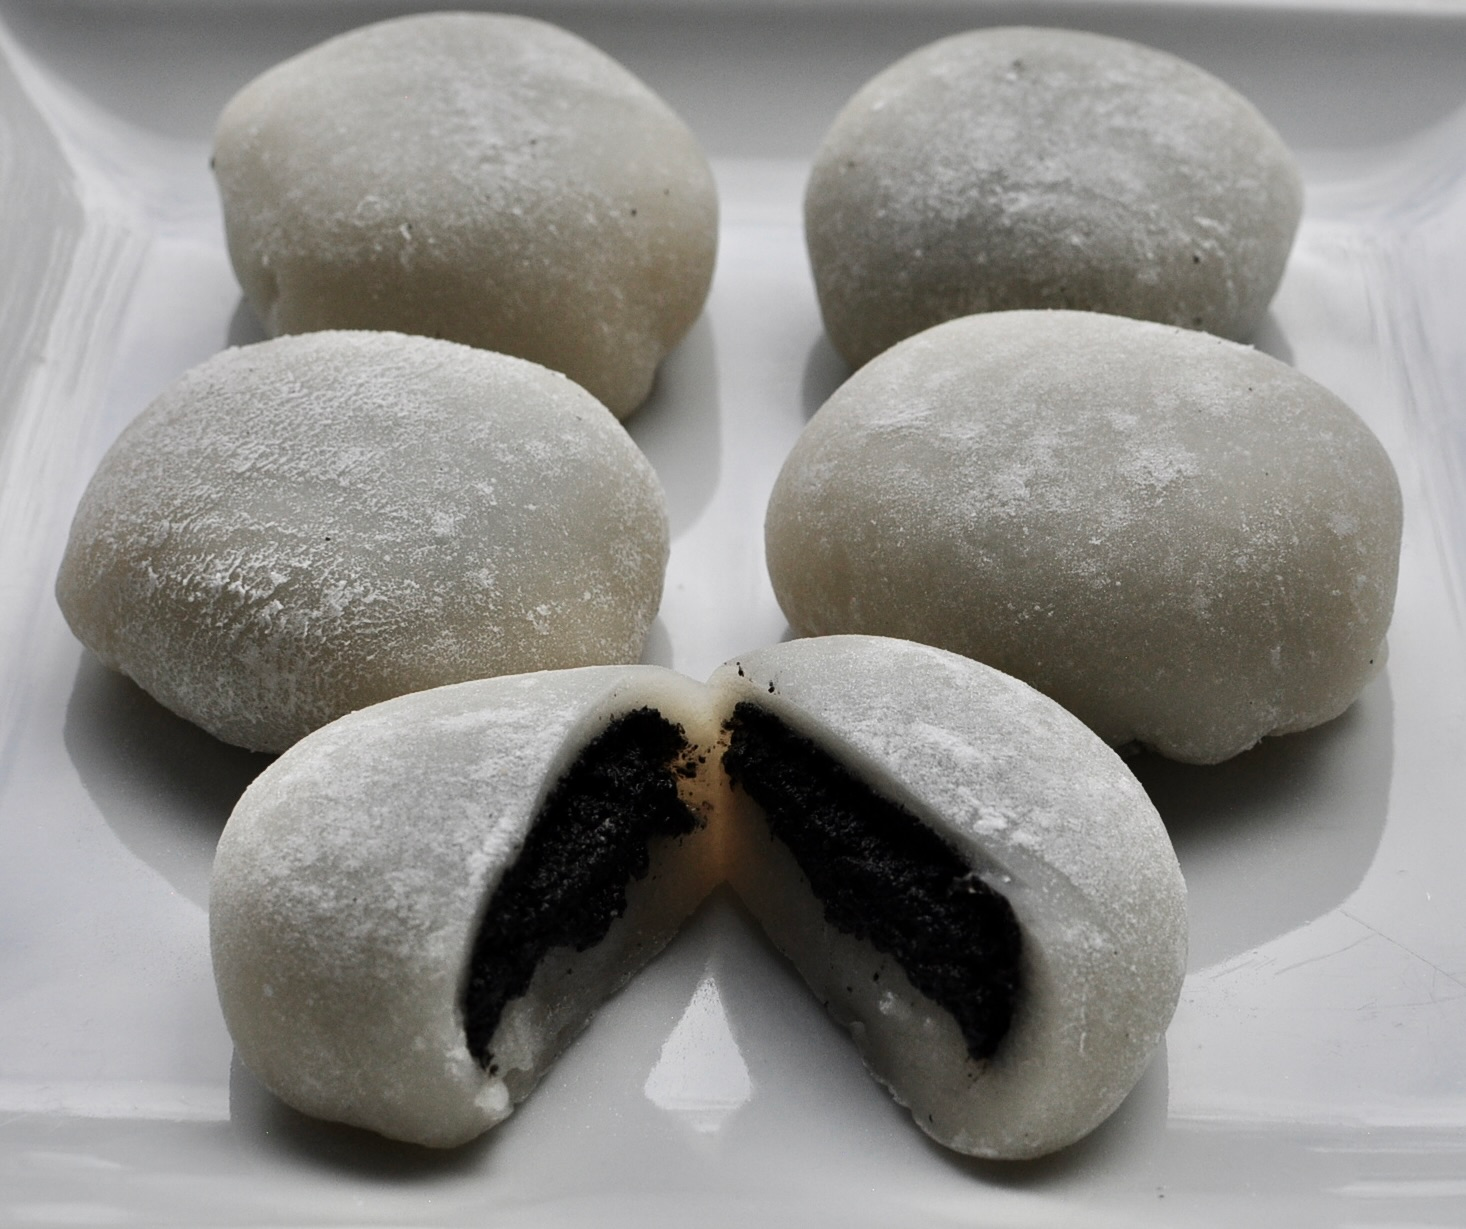
- Use honey if you want a thicker, denser paste — the perfect consistency for stuffing mochi, dango, or buns where a firm, scoopable filling is essential.
- Use granulated sugar if you want a looser, more spreadable paste — ideal for swirling into yogurt, drizzling over ice cream, or spreading thickly on warm buttered toast or swirling into brownie or cake batter.
Ways to Use Black Sesame Paste
- Filling for black sesame mochi and daifuku
- Stirred into lattes and warm milk
- Swirled into ice cream or oatmeal
- Spread on toast, pancakes, or waffles
- Folded into cookie or brownie batter
- A dramatic, savory base for noodle dressings
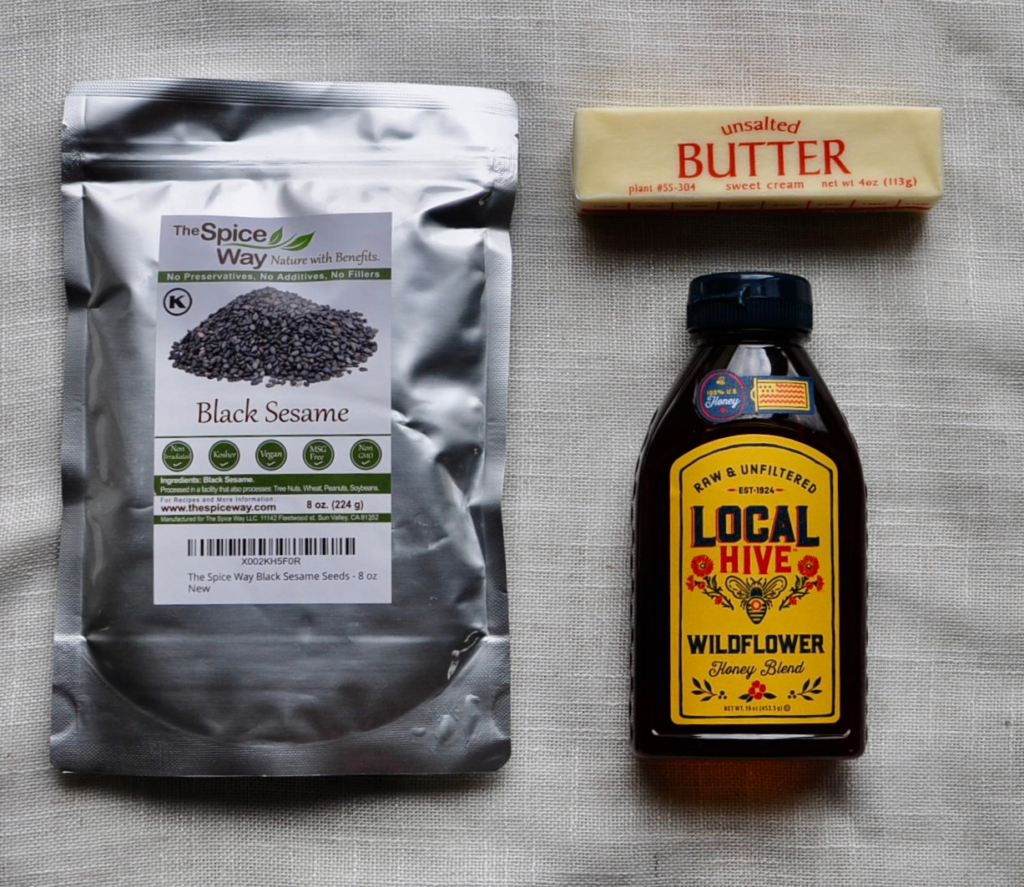
What’s in the black sesame paste
- black sesame seeds
- honey or sugar
- butter
Storage
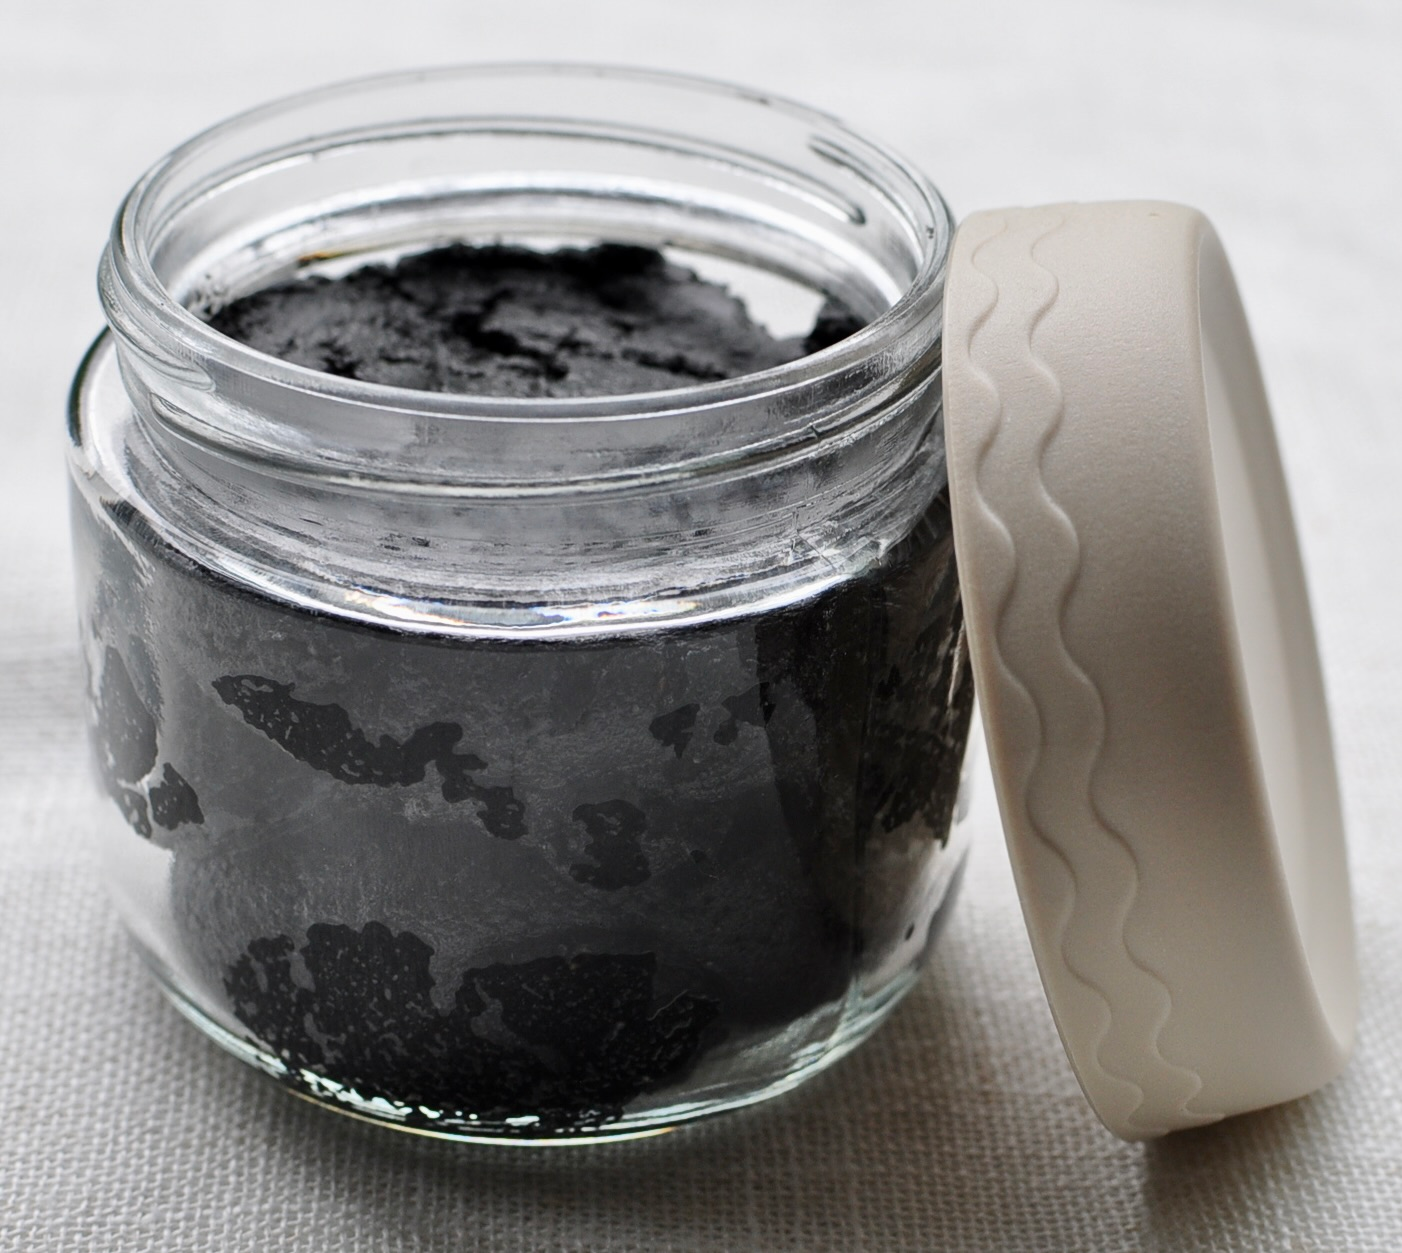
Store your homemade black sesame paste in an airtight glass jar in the refrigerator for up to 3 weeks. The oils may separate slightly — just give it a stir before using. For longer storage, freeze in small portions for up to 3 months.
PrintBlack Sesame Paste
A rich, nutty, 3-ingredient black sesame paste that comes together easily right in your food processor. Toast your seeds to release their aromatic oils, grind them into a luscious paste, and sweeten to your exact needs! Use honey for a wonderfully thick mochi filling, or swap in granulated sugar for a silky-smooth toast spread.
- Cuisine: Chinese, Japanese
Ingredients
Units
Scale
- 1 1/2 cups black sesame seeds
- 2 tablespoons honey (for a more spreadable consistency use granulated sugar)
- 1 1/2 tablespoons butter, melted
Instructions
- In a large-ish dry pan, toast the sesame seeds if they are not already toasted. Add the seeds to a cool pan and set the heat to medium. Stir constantly and lower the heat to medium-low after 3 minutes. Watch closely as the seeds start to plump after 5 minutes. Taste test a few seeds and if they feel plump between your teeth and have a crunchy burst when you bite down in it, they are done. This should take about 6 minutes.
- Let the seeds cool for a few minutes before adding them to the food processor. Grind on high speed for 1 minute. Stop and let the food processor rest for 1 to 2 minutes. Repeat this until your total grinding time is 10 minutes. While cooling between seed grinding, remove the lid and scrape down the sides if necessary. This whole process should take about 25 minutes. The mixture will turn into a thick paste.
- Add honey and melted butter. Pulse on high for 30 seconds until everything is blended smooth. You should be able to form a ball with the mixture.
- Store in an airtight container.
Equipment
❓ FAQ’s for Black Sesame Paste
What is black sesame paste made of?
Authentic black sesame paste is made from toasted black sesame seeds ground into a thick paste, often sweetened and enriched. This recipe uses just three ingredients: black sesame seeds, butter, and honey (or granulated sugar for a thinner version).
How do I know when black sesame seeds are toasted enough?
The seeds should plump up slightly after about 6 minutes in a dry pan. The best test: bite one — it should burst between your teeth with a slight pop. That means the oils are activated and ready to release during grinding.
Why isn’t my black sesame paste turning into a paste?
Two common culprits: not enough seeds in the food processor, or not enough patience. You need at least 1 ½ cups of seeds in an 8-cup processor so the blades can engage them properly. And the seeds need multiple grinding cycles (with rest breaks) for the oils to release. If it still looks like meal after 5 minutes of total processing, keep going — the transformation happens suddenly.
Can I make black sesame paste without a food processor?
Yes, but it takes serious effort. Traditionally it’s made with a suribachi (Japanese mortar and pestle). A high-powered blender can also work, though you’ll need to scrape down the sides frequently and add a touch of neutral oil to help it move.
Honey vs. sugar — what’s the difference?
Honey creates a thicker paste, perfect for mochi fillings and dense applications. Granulated sugar creates a smoother, more spreadable paste that’s ideal for toast, drizzling, and swirling.
Can I skip the butter?
Yes — for a vegan version, substitute the butter with a neutral oil like grapeseed, light sesame oil, walnut oil or melted coconut oil. The texture will be slightly less rich but still delicious.
Why does my food processor get hot while making this?
Grinding seeds is hard work for the motor! That’s why this recipe builds in 1–2 minute rest breaks between each minute of processing. Total active time is about 10 minutes, but full recipe time is around 25 minutes.
How long does homemade black sesame paste last?
Stored in an airtight jar in the fridge, it keeps well for up to 3 weeks. For longer storage, freeze in small portions for up to 3 months. Stir before using if the oils separate slightly.
Is black sesame paste the same as tahini?
No — tahini is made from hulled white sesame seeds and has a milder, slightly bitter flavor. Black sesame paste is made from whole black sesame seeds and has a much deeper, nuttier, almost smoky character with a gorgeous inky color.
What can I use black sesame paste for?
It’s incredibly versatile! Use it as a filling for mochi and dango, a swirl in lattes and ice cream, a spread for toast or pancakes, a mix-in for cookie or brownie dough, or even as a base for savory noodle dressings.
SHOP FOR THIS RECIPE
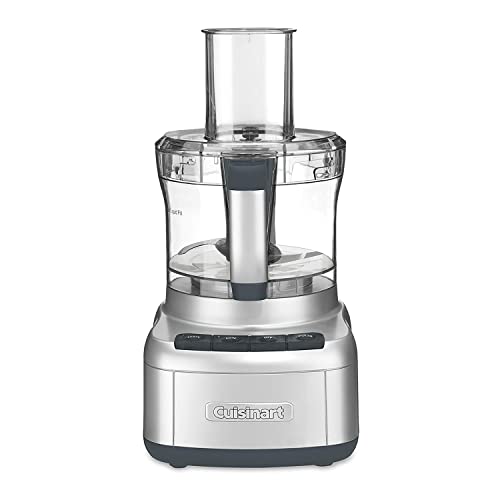
Cuisinart 8 Cup Food Processor, 350-Watt Motor, Medium to Fine Slicing Discs
Shop Now
$128.56
I am not sure how I would be able to function in my kitchen without one. For someone who cooks as much as I do, I find chopping to be such a chore. Chopping, mincing, grating, slicing, shredding, this does it all. And clean up is tossing all the parts into the dishwasher.
We earn a commission if you make a purchase, at no additional cost to you.
07/28/2026 05:01 am GMT

Fusion Select Roasted Black Sesame Seeds - 8 oz.
Shop Now
$9.49
We earn a commission if you make a purchase, at no additional cost to you.
07/28/2026 01:03 pm GMT

Local Hive Wildflower Raw & Unfiltered 16 oz
Shop Now
$11.99
We earn a commission if you make a purchase, at no additional cost to you.
07/28/2026 12:05 pm GMT
Categories:
 Purple Ube Chia Pudding
Looking for a breakfast that is as ridiculously good-looking as it is good for you?
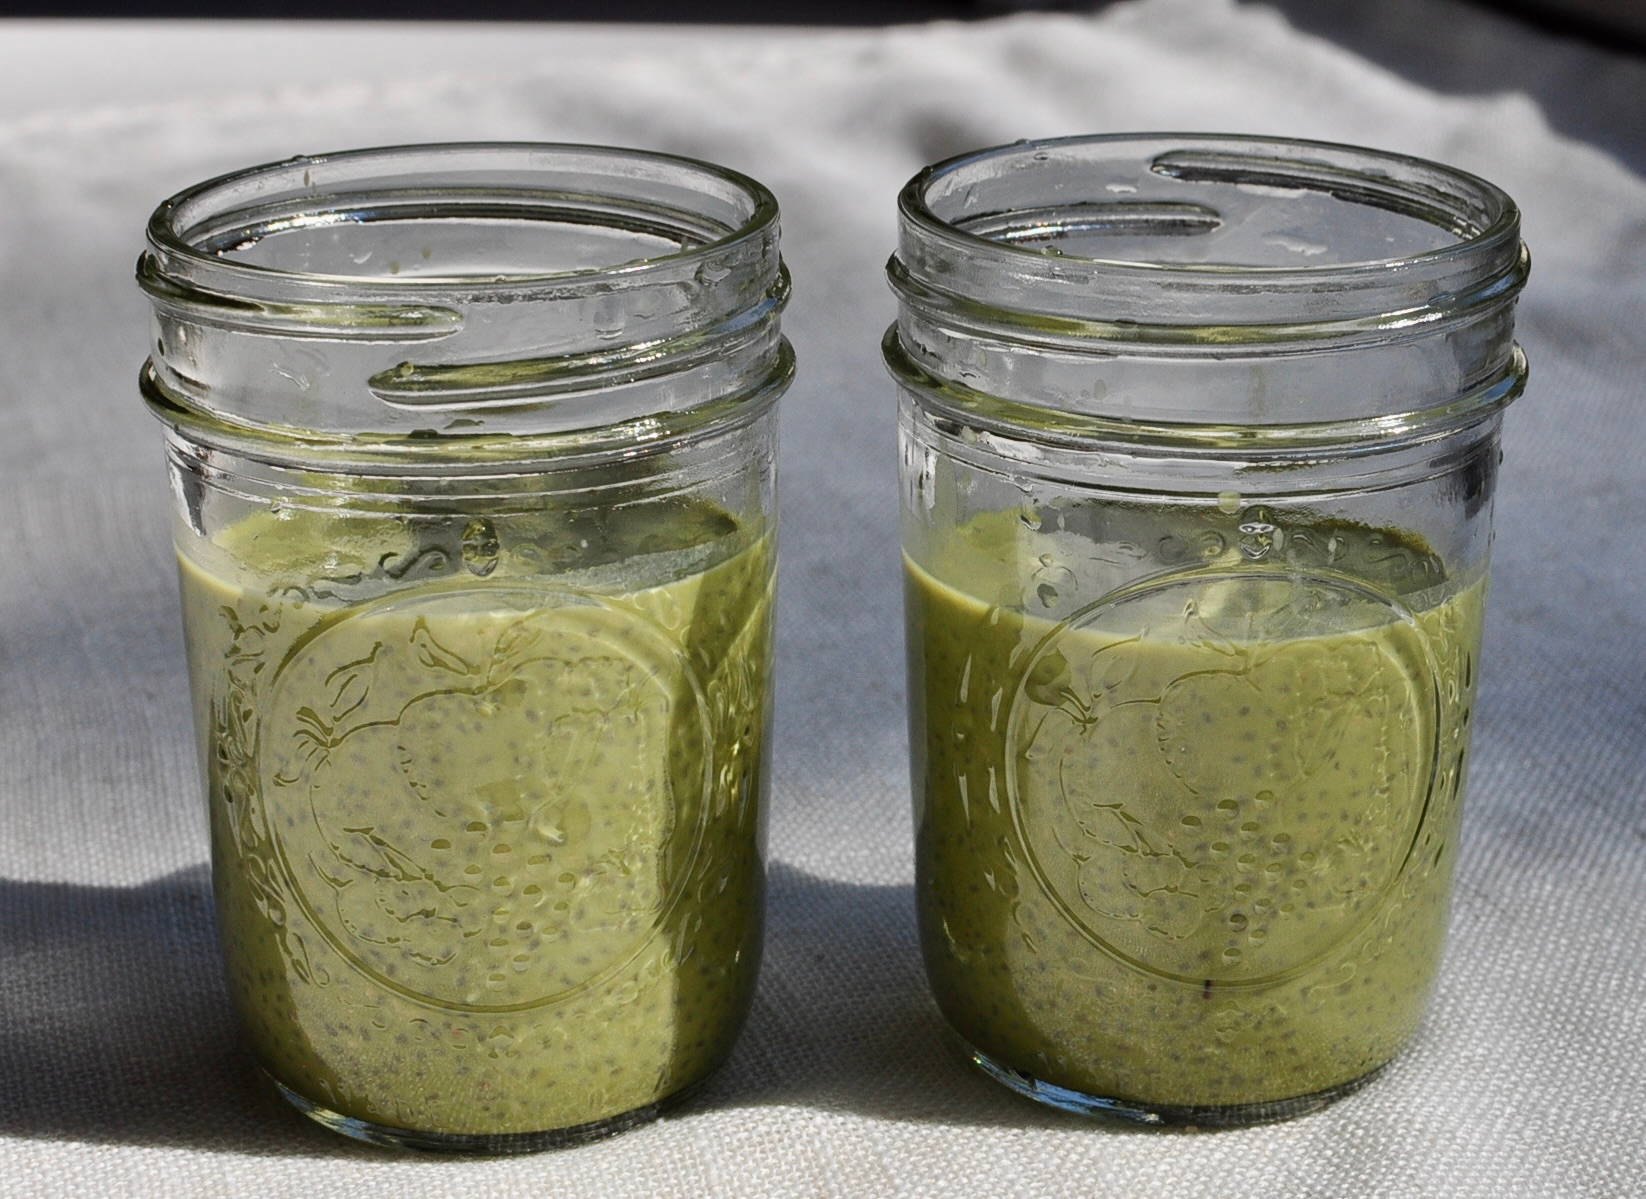 Matcha Chia Seed Pudding
Meet your new morning ritual: Matcha Chia Seed Pudding. It’s the lovechild of your beloved
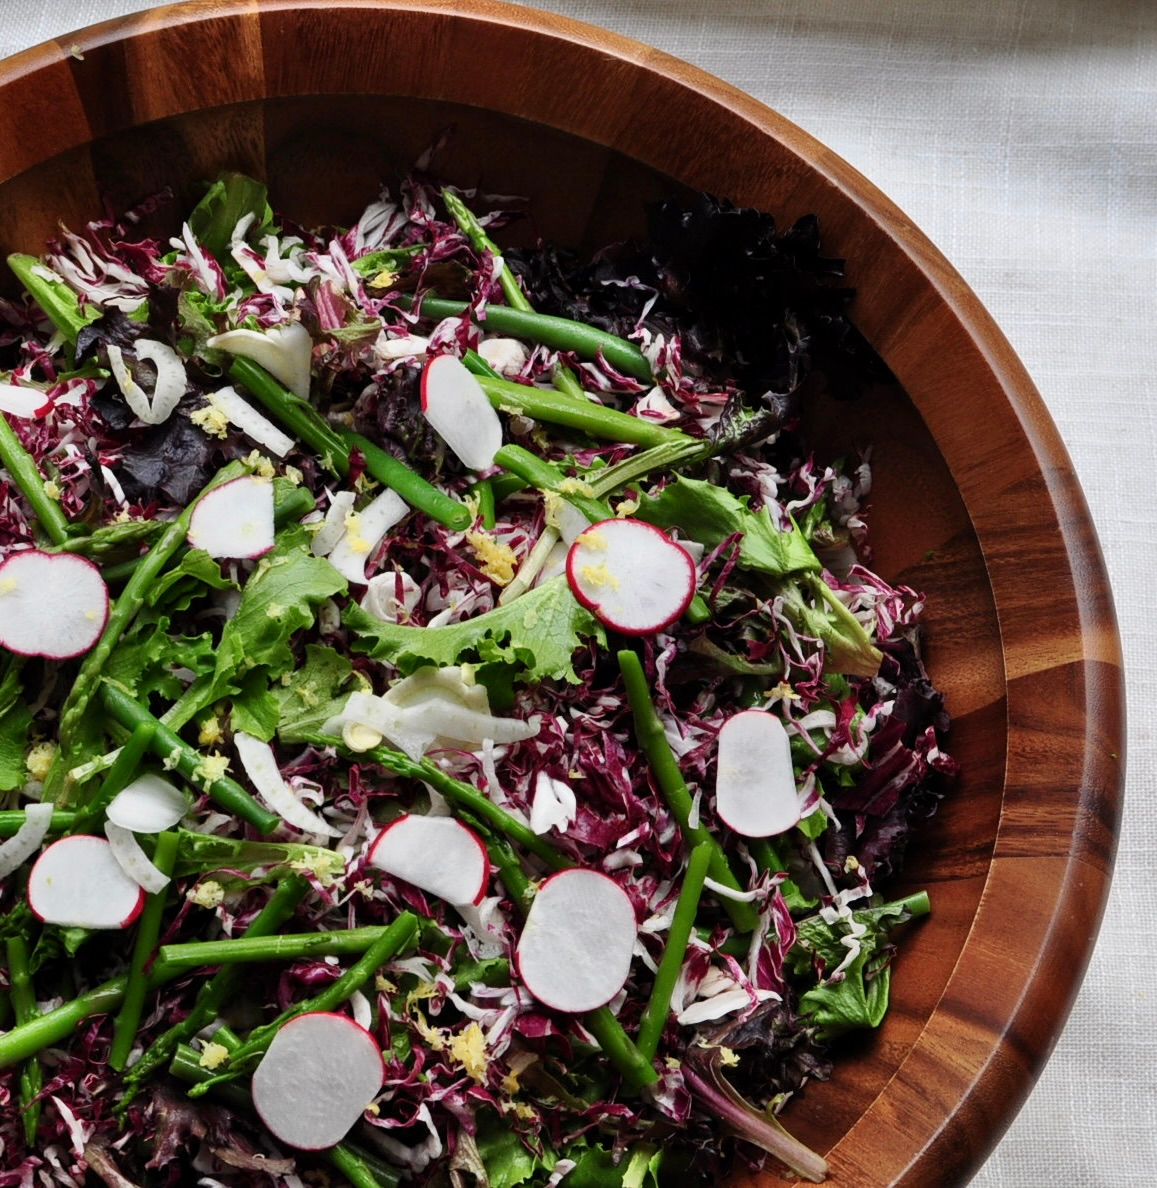 Balthazar Inspired Salad with Lemon Truffle Dressing
This isn’t just a salad — it’s the Balthazar salad. Crisp romaine, radicchio, and fennel
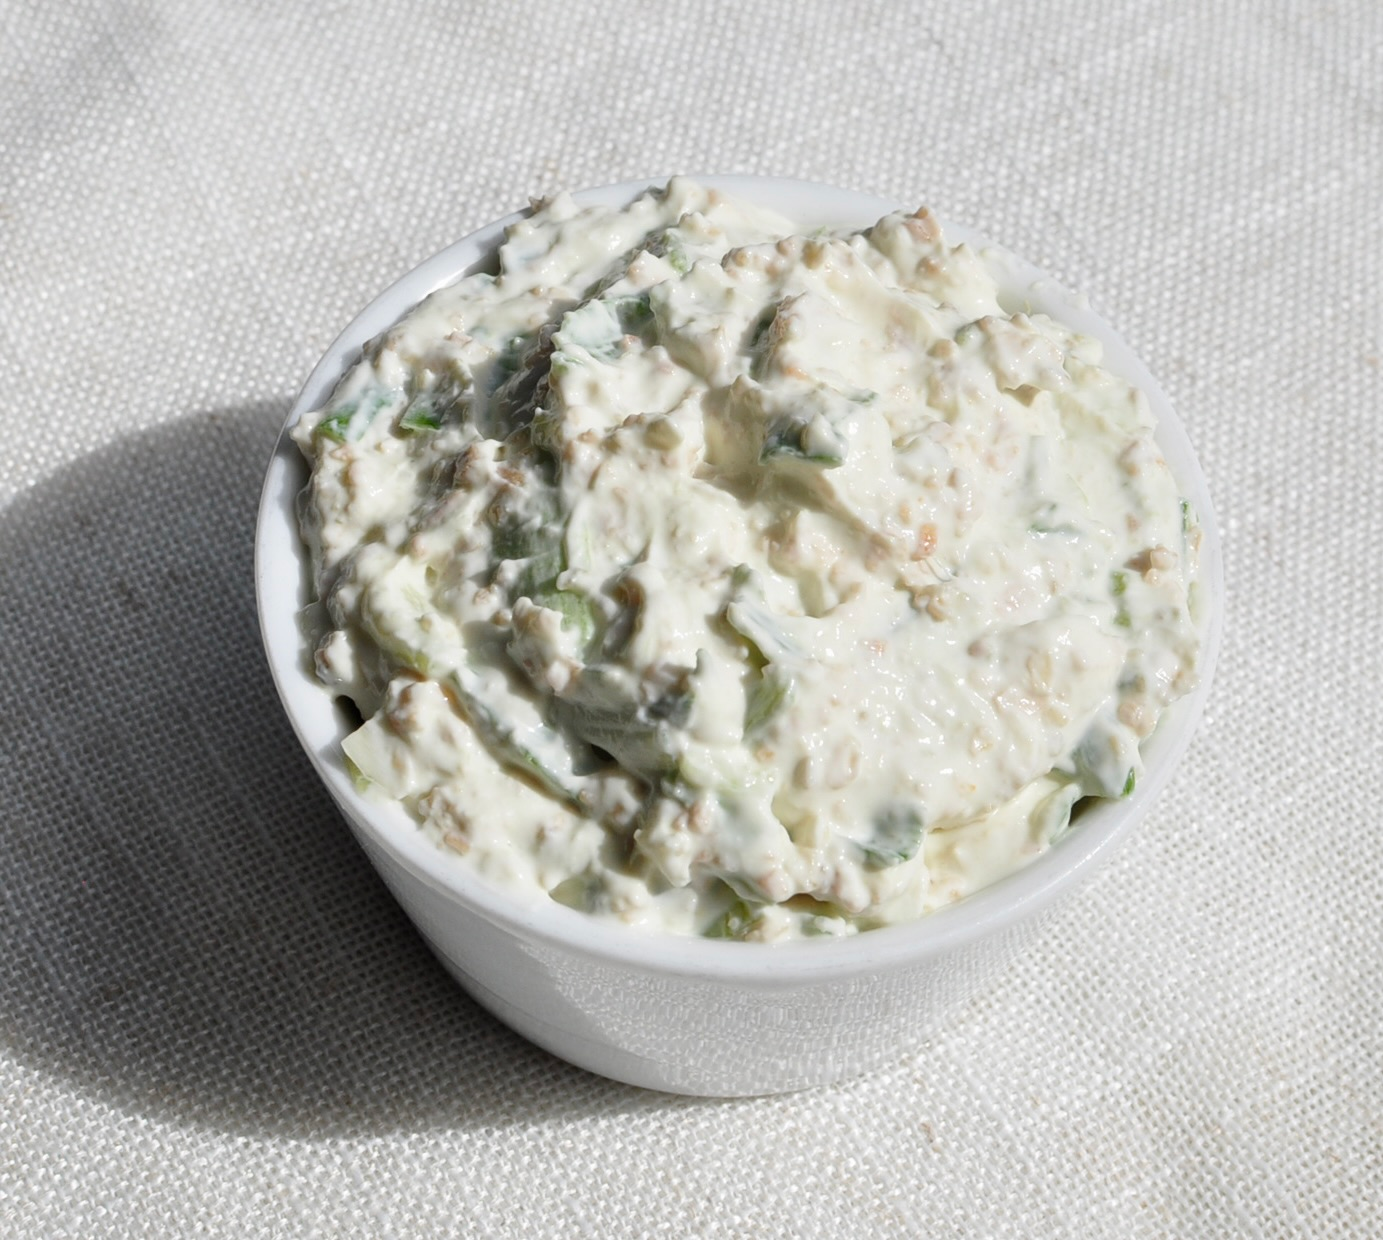 Homemade French Onion Dip
Say goodbye to sad soup-mix packets. This homemade French onion dip is fresh, creamy, and
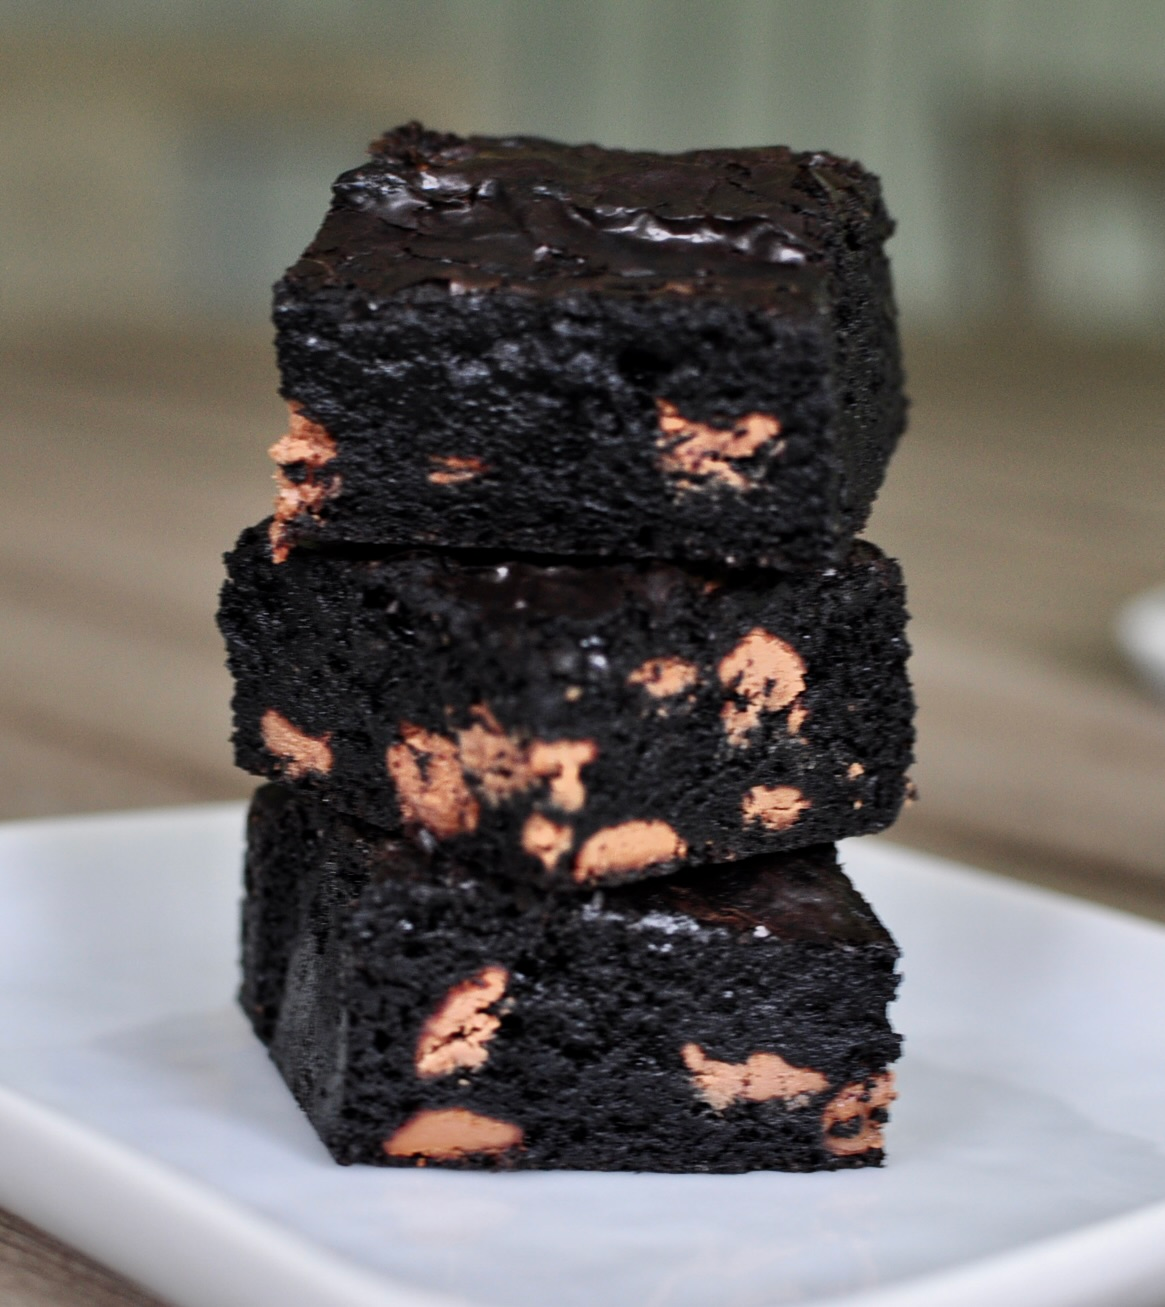 Chewy, Fudgy Black Cocoa Brownies
These Black Cocoa Brownies are not your average brownie. Made with striking black cocoa powder,
 Coconut Cream Buns | Lai Yau Bao
Soft, cloud-like milk bread topped with toasty coconut shreds and split down the middle to
 Crispy and Chewy Shanghai UBE Mochi Tots
Meet your new favorite bite-sized UBE treat — Shanghai Ube Mochi Tots! These little purple
 Shanghai Butter Mochi Tots
Meet your new favorite snack: Shanghai Butter Mochi Tots! These bite-sized treats are baked in
 Real Ice Cream Might Be Good for You
What if your favorite dessert wasn’t the dietary villain you’ve been told it is? Groundbreaking