

Pan-Seared Oven Finished Duck Breasts
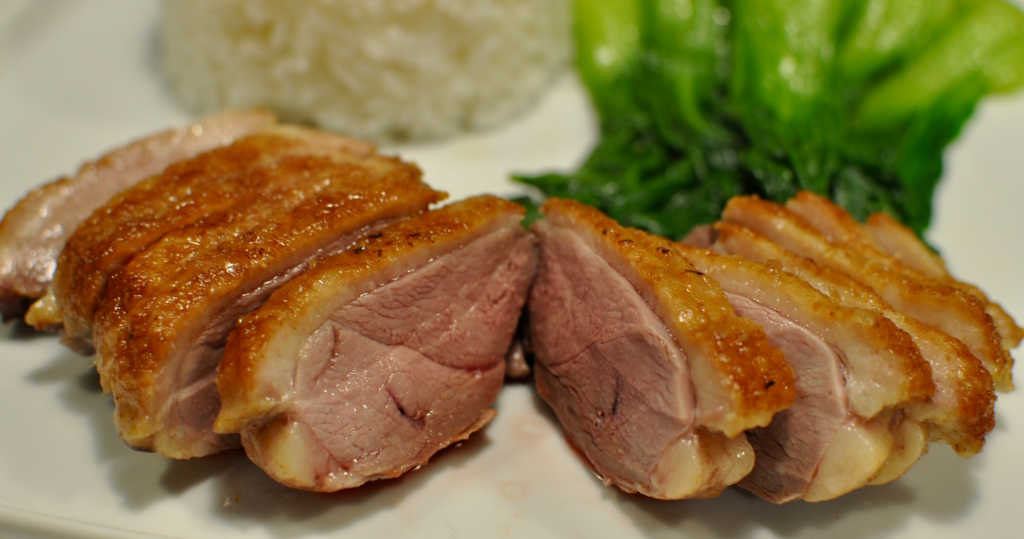
The Easiest Way to Make Restaurant-Style Duck at Home
Duck has a reputation. People treat it like the fancy cousin who only shows up at holidays and white-tablecloth restaurants. But these Pan Seared Oven Finished Duck Breasts show that duck is just a friendly red meat in a very nice jacket of crispy skin. Once you’ve made it at home, the $42 restaurant plate will feel like a personal insult.
Why Pan Seared Oven Finished Duck Breasts Work So Well
If you cook duck only on the stovetop, it can go from “perfectly pink” to “pencil eraser” fast. Searing first renders the fat and crisps the skin. Then the oven finishes the meat with gentle, even heat, so it stays tender and juicy instead of turning tough. Your stove and oven each do what they’re best at.
Duck Is a Red Meat (Treat It Like One)
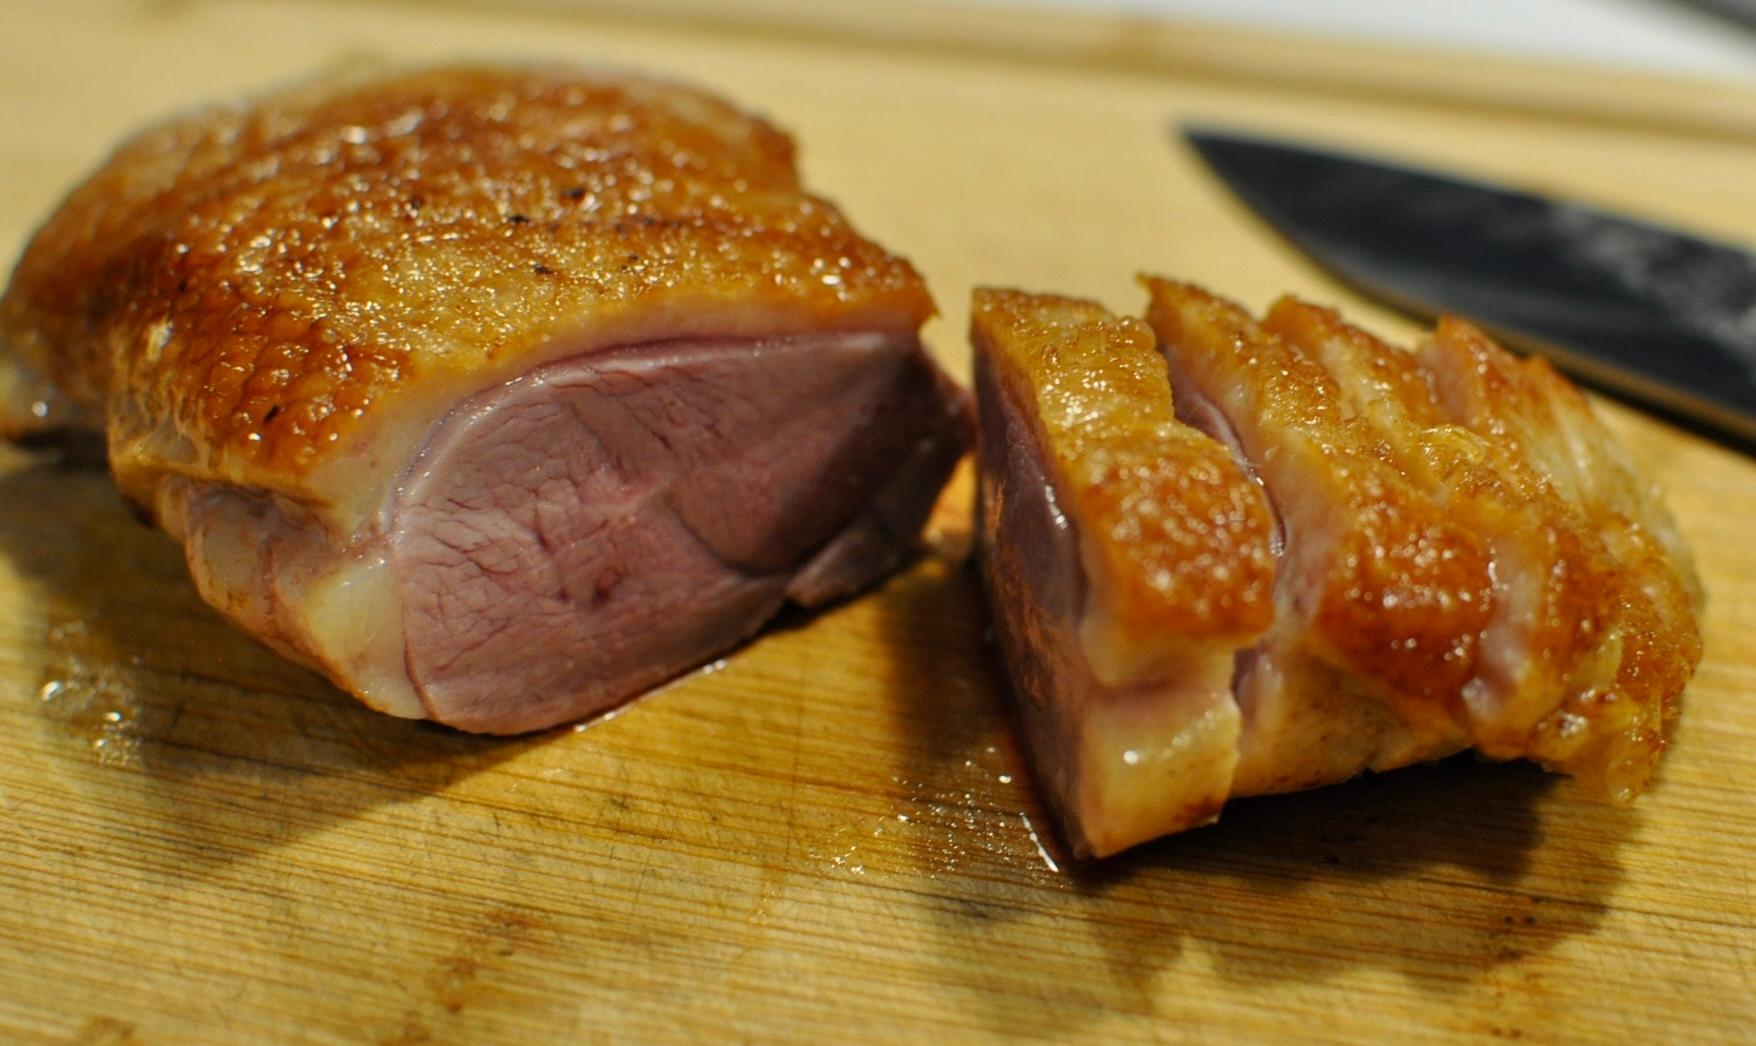
Duck isn’t chicken, so it doesn’t need to be cooked like chicken. Duck breast is rich, meaty, and at its best served medium-rare or medium, like a good steak. My personal favorite is medium. It’s still tender and juicy, with a little more confidence.
The Secret Is a Cold Pan (Yes, Really)
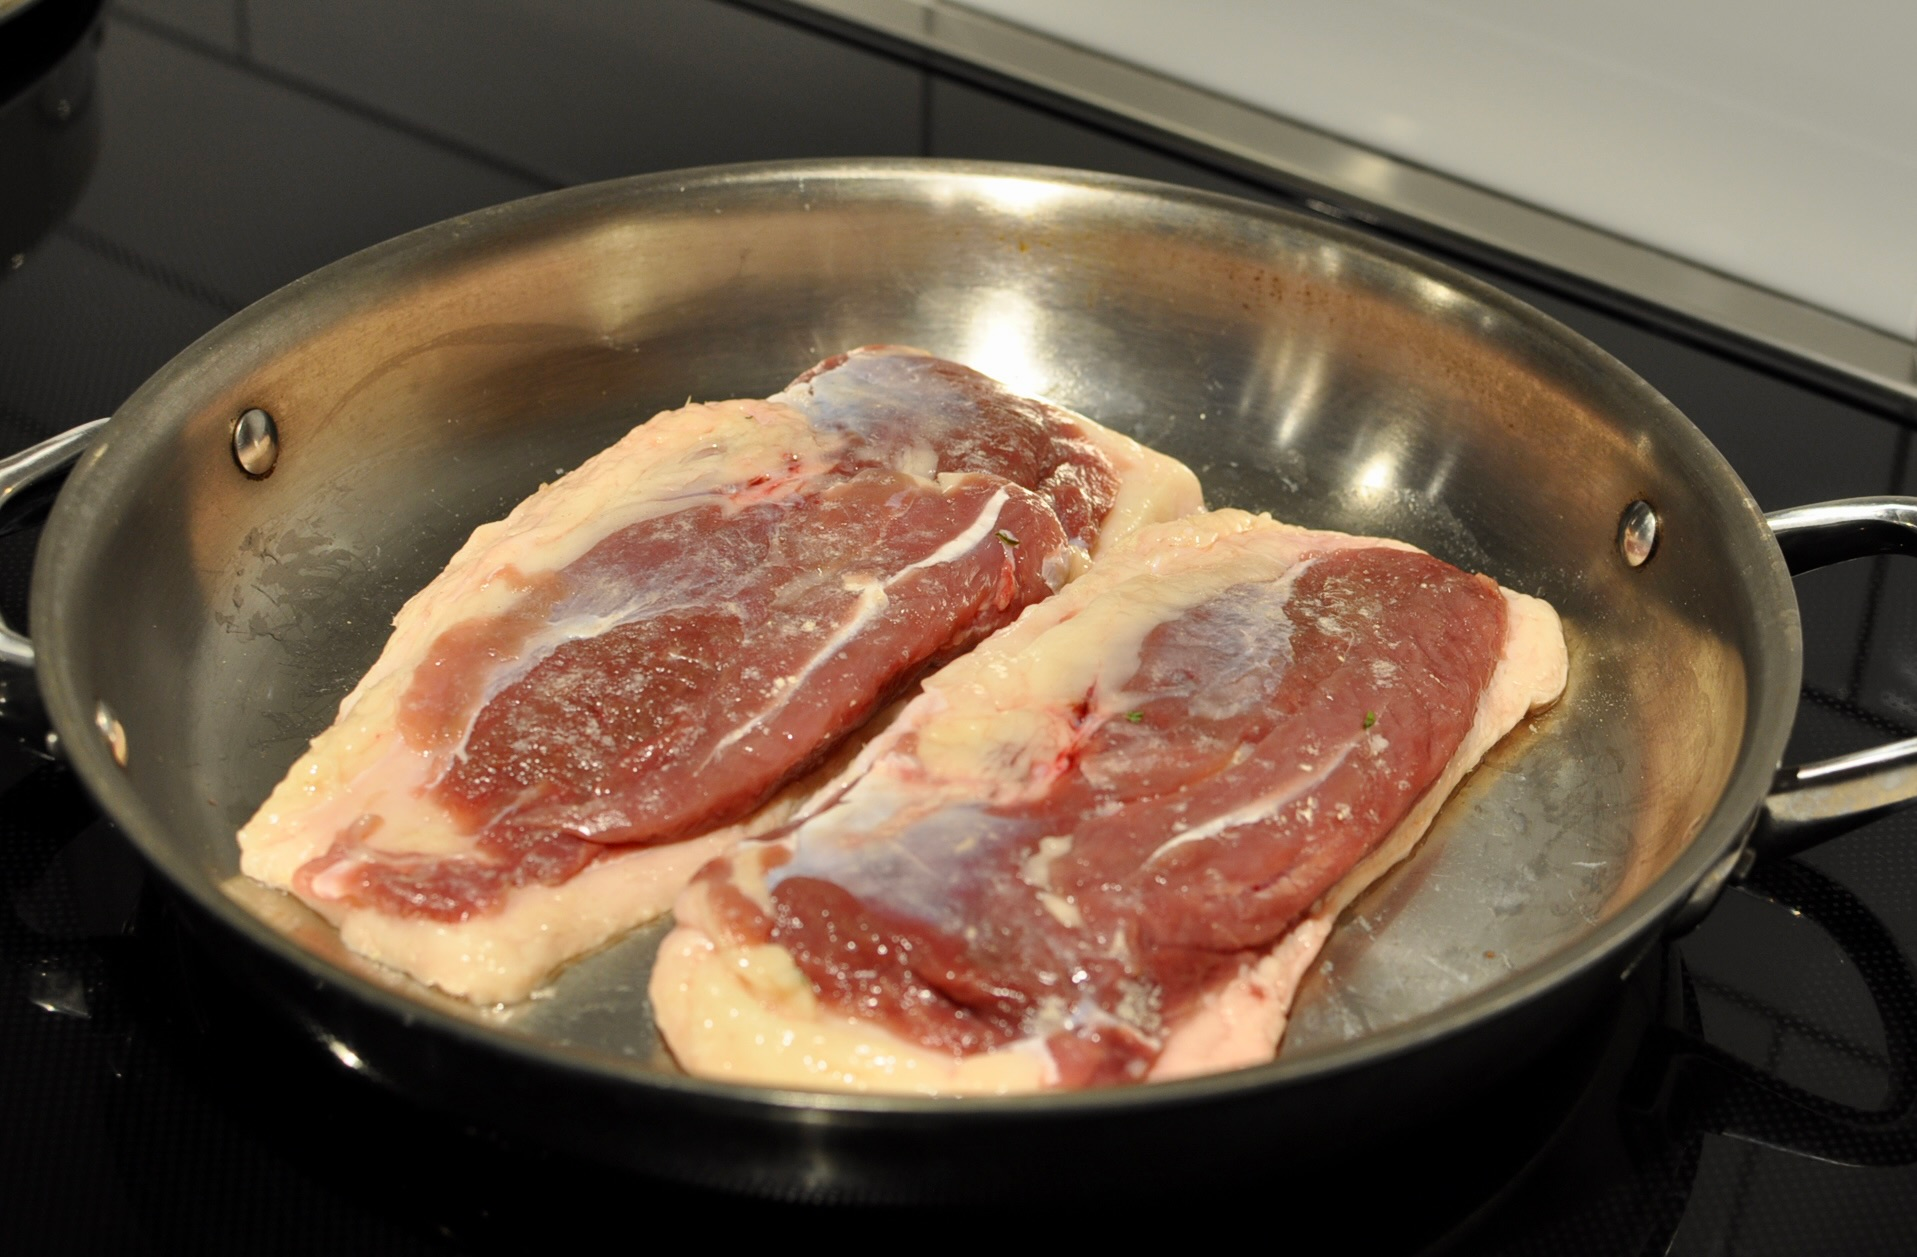
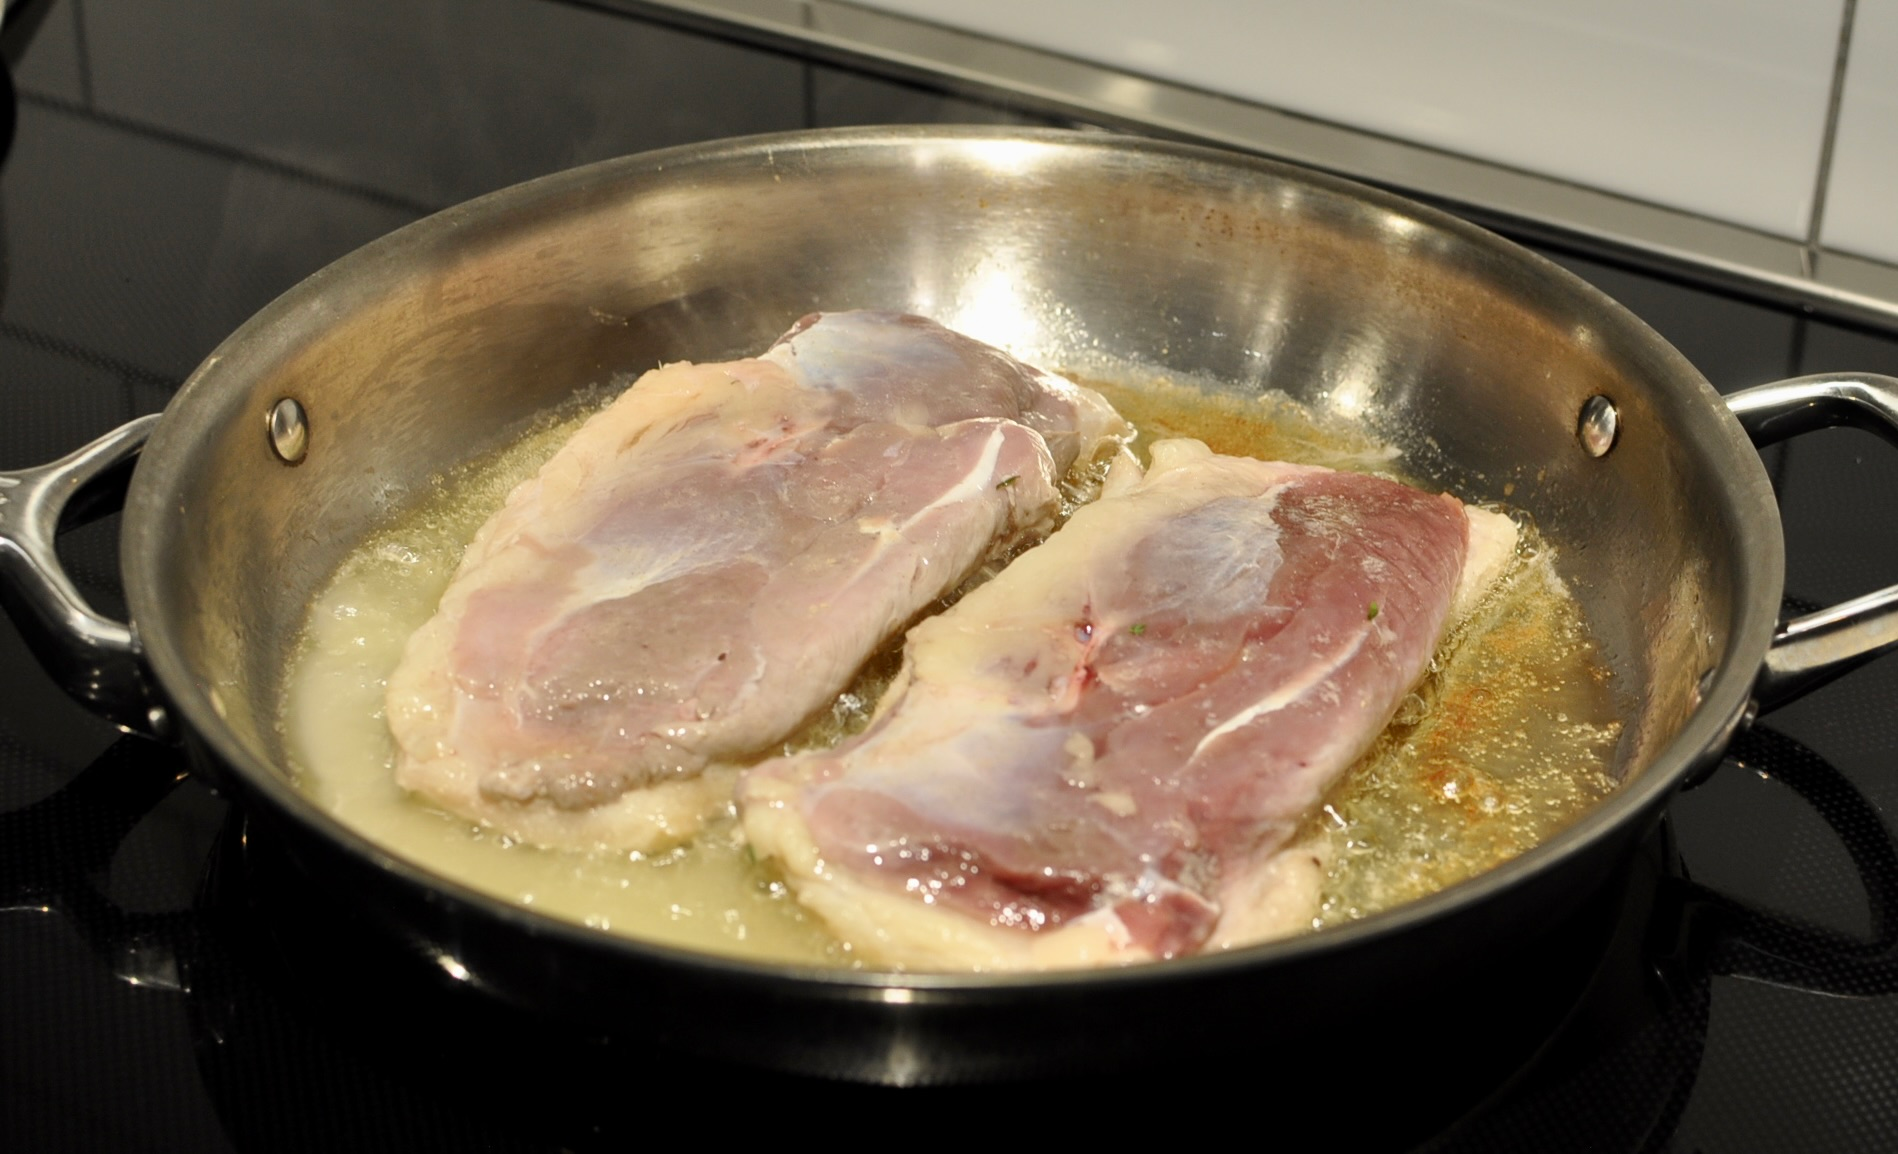
Starting the duck skin side down in a cold pan feels wrong, like wearing socks with sandals. But it’s the trick to great skin. As the pan heats slowly, the fat renders out gradually, so the skin gets thin, crispy, and golden instead of rubbery. Putting a second pan on top keeps the breasts flat so every bit of skin touches the heat. Listen for the sizzle. That’s the sound of things going right.
Simple Seasoning, Big Flavor
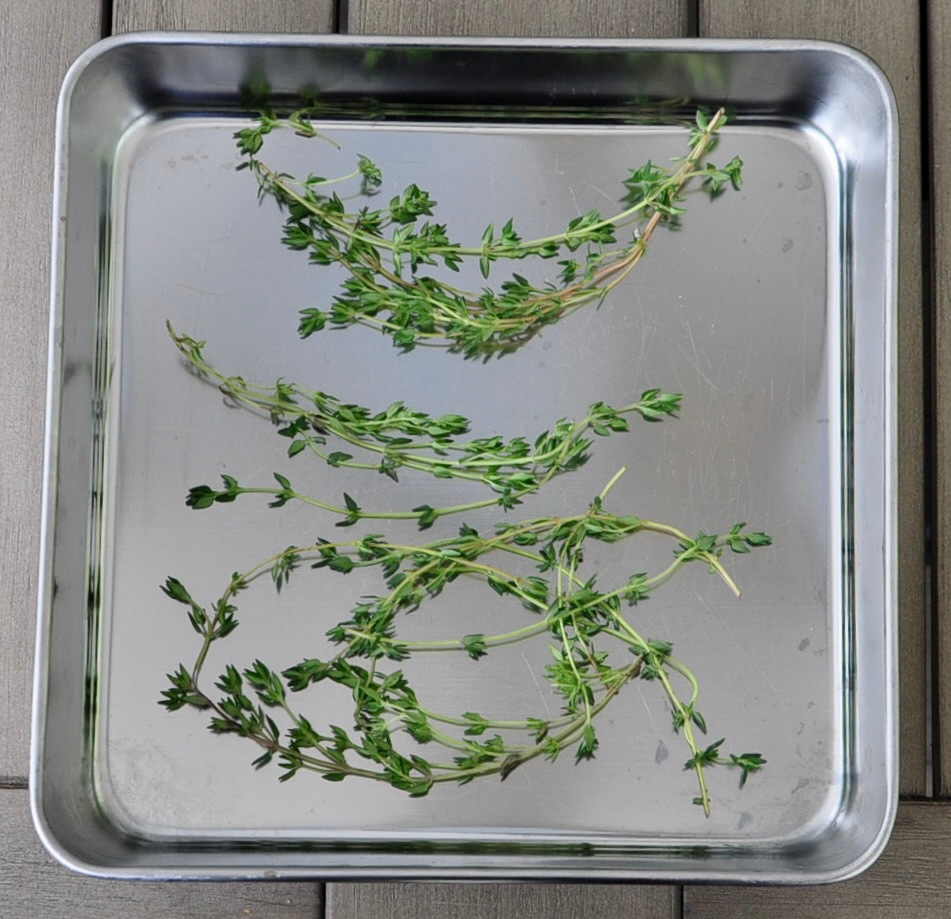
You don’t need a complicated rub. Salt, white pepper, and a few sprigs of fresh thyme are enough. The thyme adds a subtle, fresh, floral note, and the salt and white pepper stay out of the way so the rich flavor of the duck comes through.
Bonus: Free Duck Fat
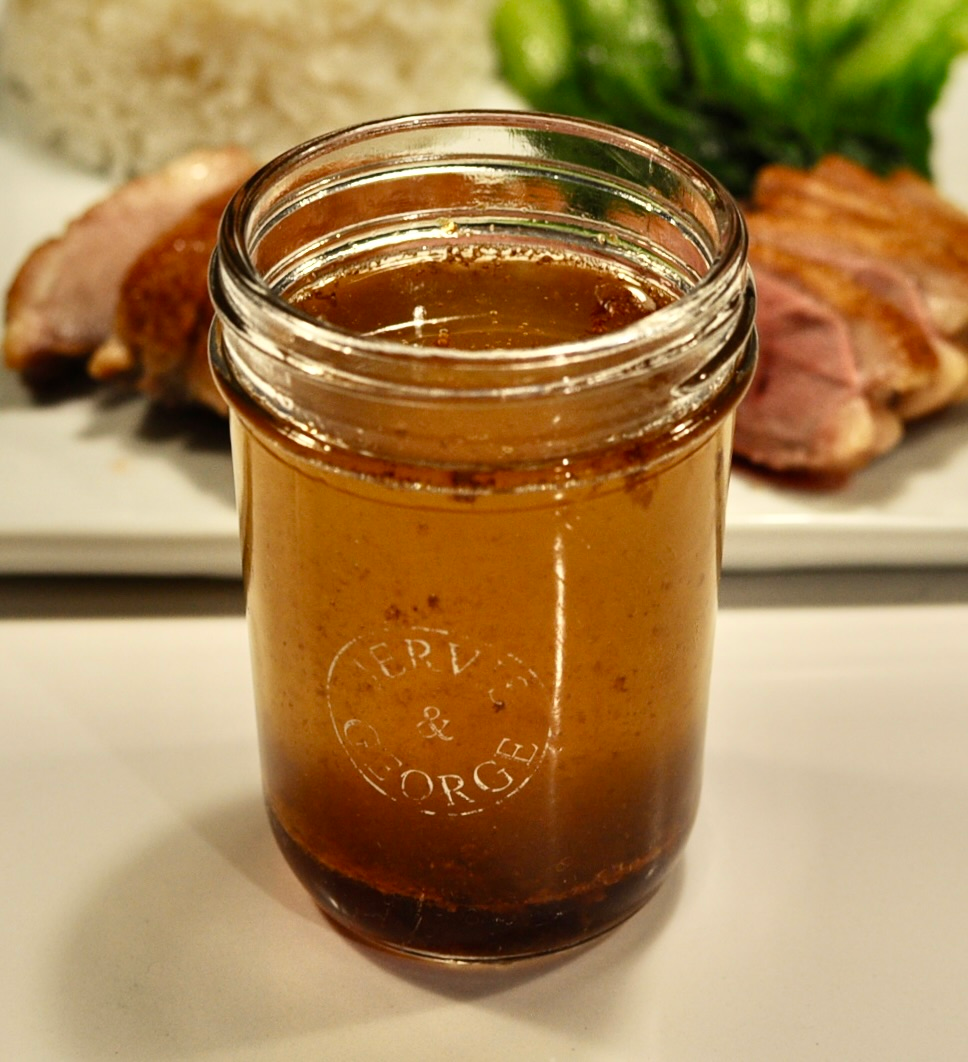
This recipe pays you back. All the fat that renders out is liquid gold for cooking. Strain it into a jar and keep it in the fridge for crispy roasted potatoes, sautéed greens, fried eggs, or anything that could use a little extra richness.
More recipes that looks fancy but is so easy…

Broiled Lobster Tails
These Easy Broiled Lobster Tails are elegant, foolproof, and restaurant-worthy — right from your own oven. With a simple 1-minute-per-ounce broiling rule, step-by-step butterflying instructions, and a rich compound butter finish, you’ll never guess at lobster doneness again. Perfect for date nights, holidays, or whenever you’re feeling fancy.
Sous Vide Petite Filet
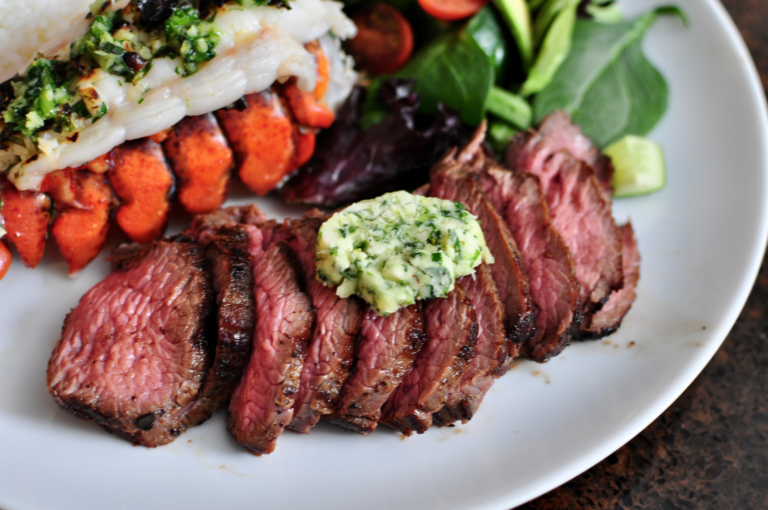
The Petite Filet, also known as Petite Tender, is a lean and tender beef cut from the cow’s shoulder. It offers a flavorful alternative to filet mignon at a lower price. Best cooked via sous vide at 129°F for medium rare, it requires a quick sear for optimal taste and presentation.
Visual Step-by-Step Guide for Making Pan-Seared, Oven-Finished Duck Breasts




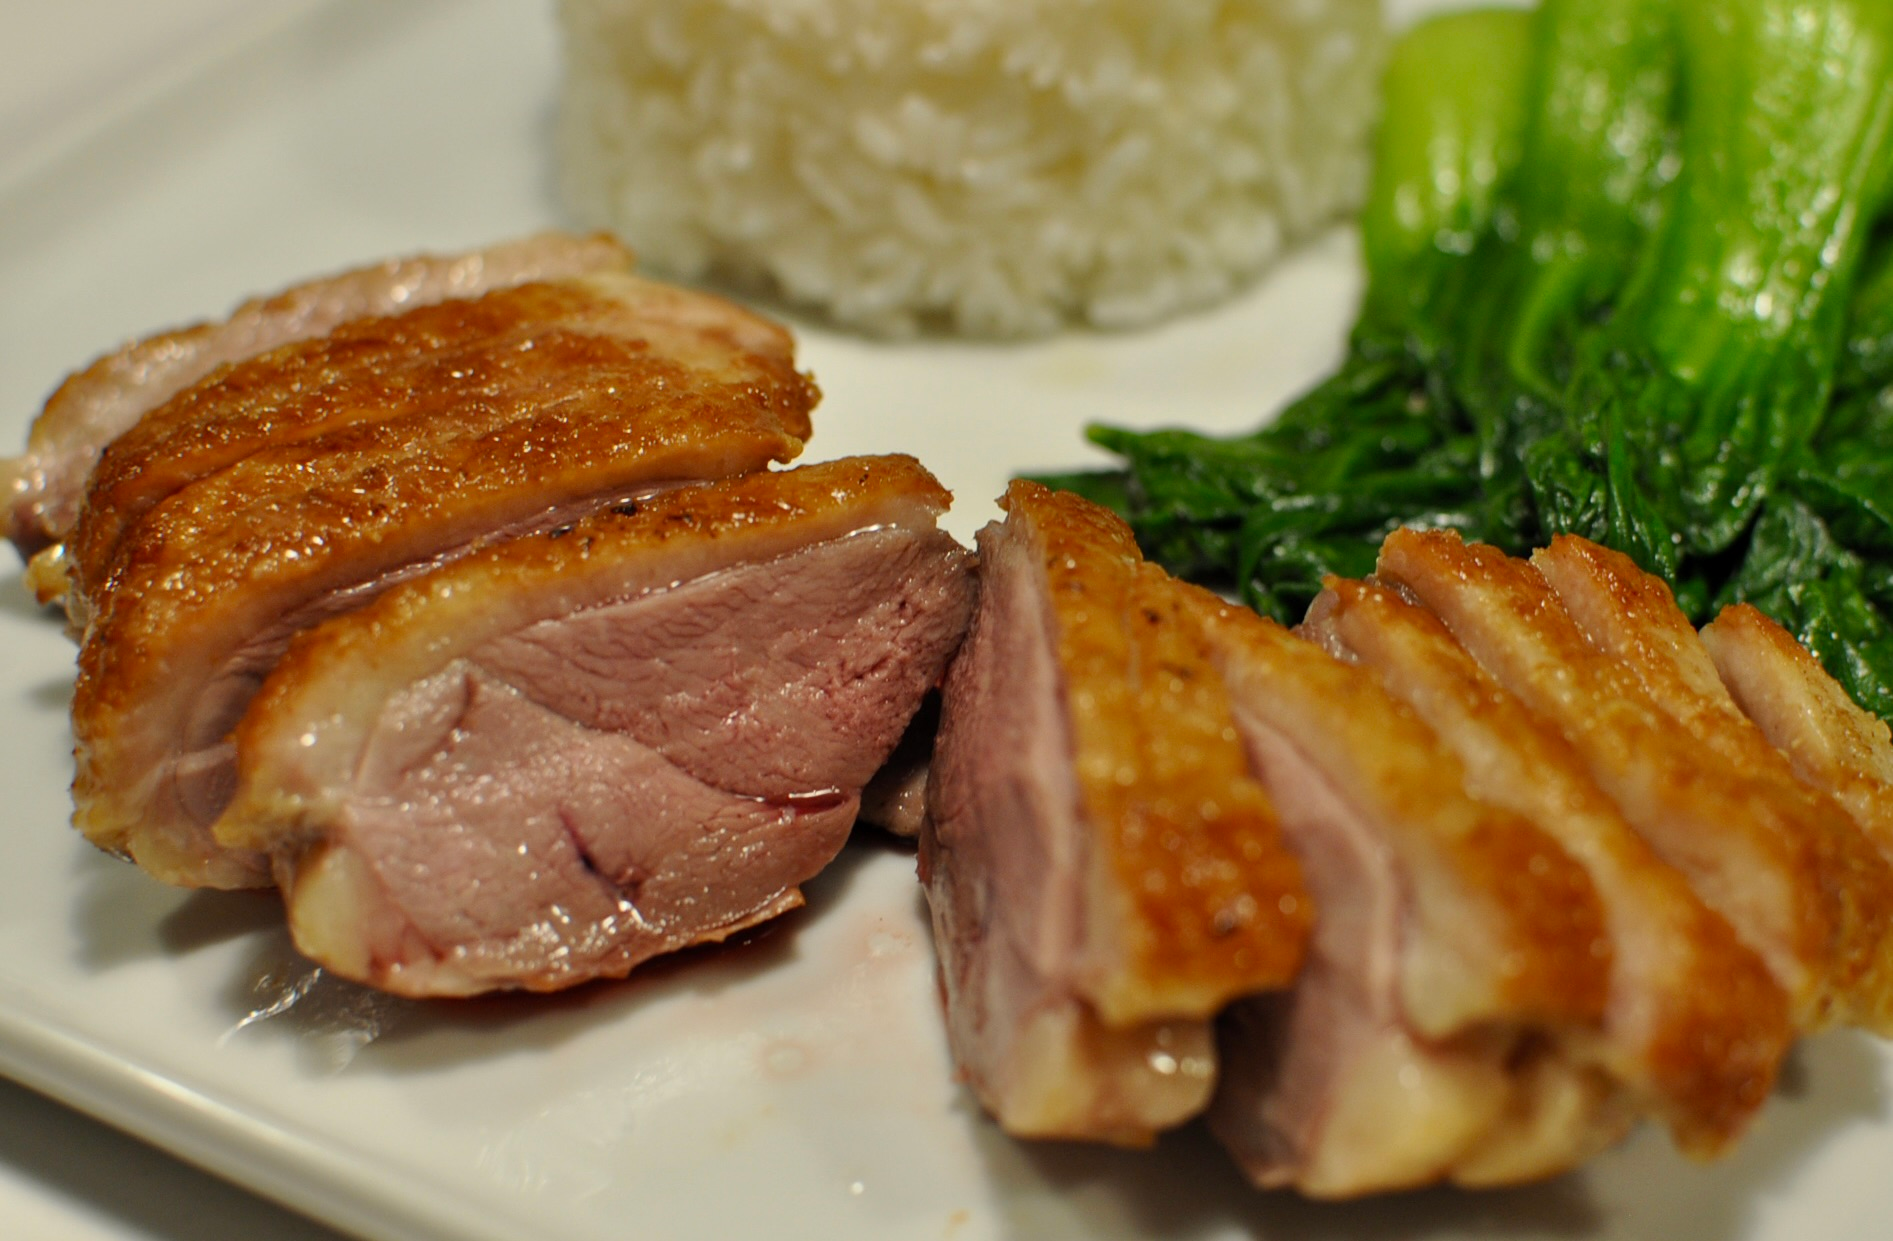
What’s in the duck breasts
- skin-on, boneless duck breasts
- salt
- white peppers
- fresh thyme

Pan-Seared Oven-Finished Duck Breast
Pan seared oven finished duck breasts with crispy, golden skin and juicy, tender meat, seasoned simply with salt, white pepper, and fresh thyme. A cold-pan sear renders the fat, and a quick trip to the oven finishes it perfectly. Restaurant-worthy, and almost suspiciously easy.
- Prep Time: 10 minutes
- Cook Time: 20 minutes
- Total Time: 37 minutes (includes resting time)
- Yield: 2 servings 1x
- Category: Dinner
- Method: Oven, Stovetop
- Cuisine: American, French
- Diet: Dairy-Free, Gluten-Free, Keto, Low-Carb, Paleo
Ingredients
- 2 duck breasts, boneless, skin-on
- 1 teaspoon salt
- 1/2 teaspoon white pepper
- fresh thyme, optional
Instructions
- Pat the duck dry with a paper towel. With a sharp knife, score the skin of the duck breast, cutting through to just the top surface of the skin. Be careful not to pierce the flesh.
- Using about 1/2 teaspoon of salt and 1/4 teaspoon of white pepper per duck breast, sprinkle both sides with salt and white pepper, using more salt on the skin side than the flesh side.
- Lay a few sprigs on thyme across a dish or pan and place the duck breasts over the thyme, flesh side down. Top with more sprigs of thyme on top of the skin side of the duck breasts. You can cover and refrigerate the duck for a few hours or overnight until ready to cook. Or you can leave the duck on the counter if cooking right away. Just be sure the duck is out of the fridge for about an hour to acclimate the meat to room temperature before cooking.
- Preheat oven to 350°F.
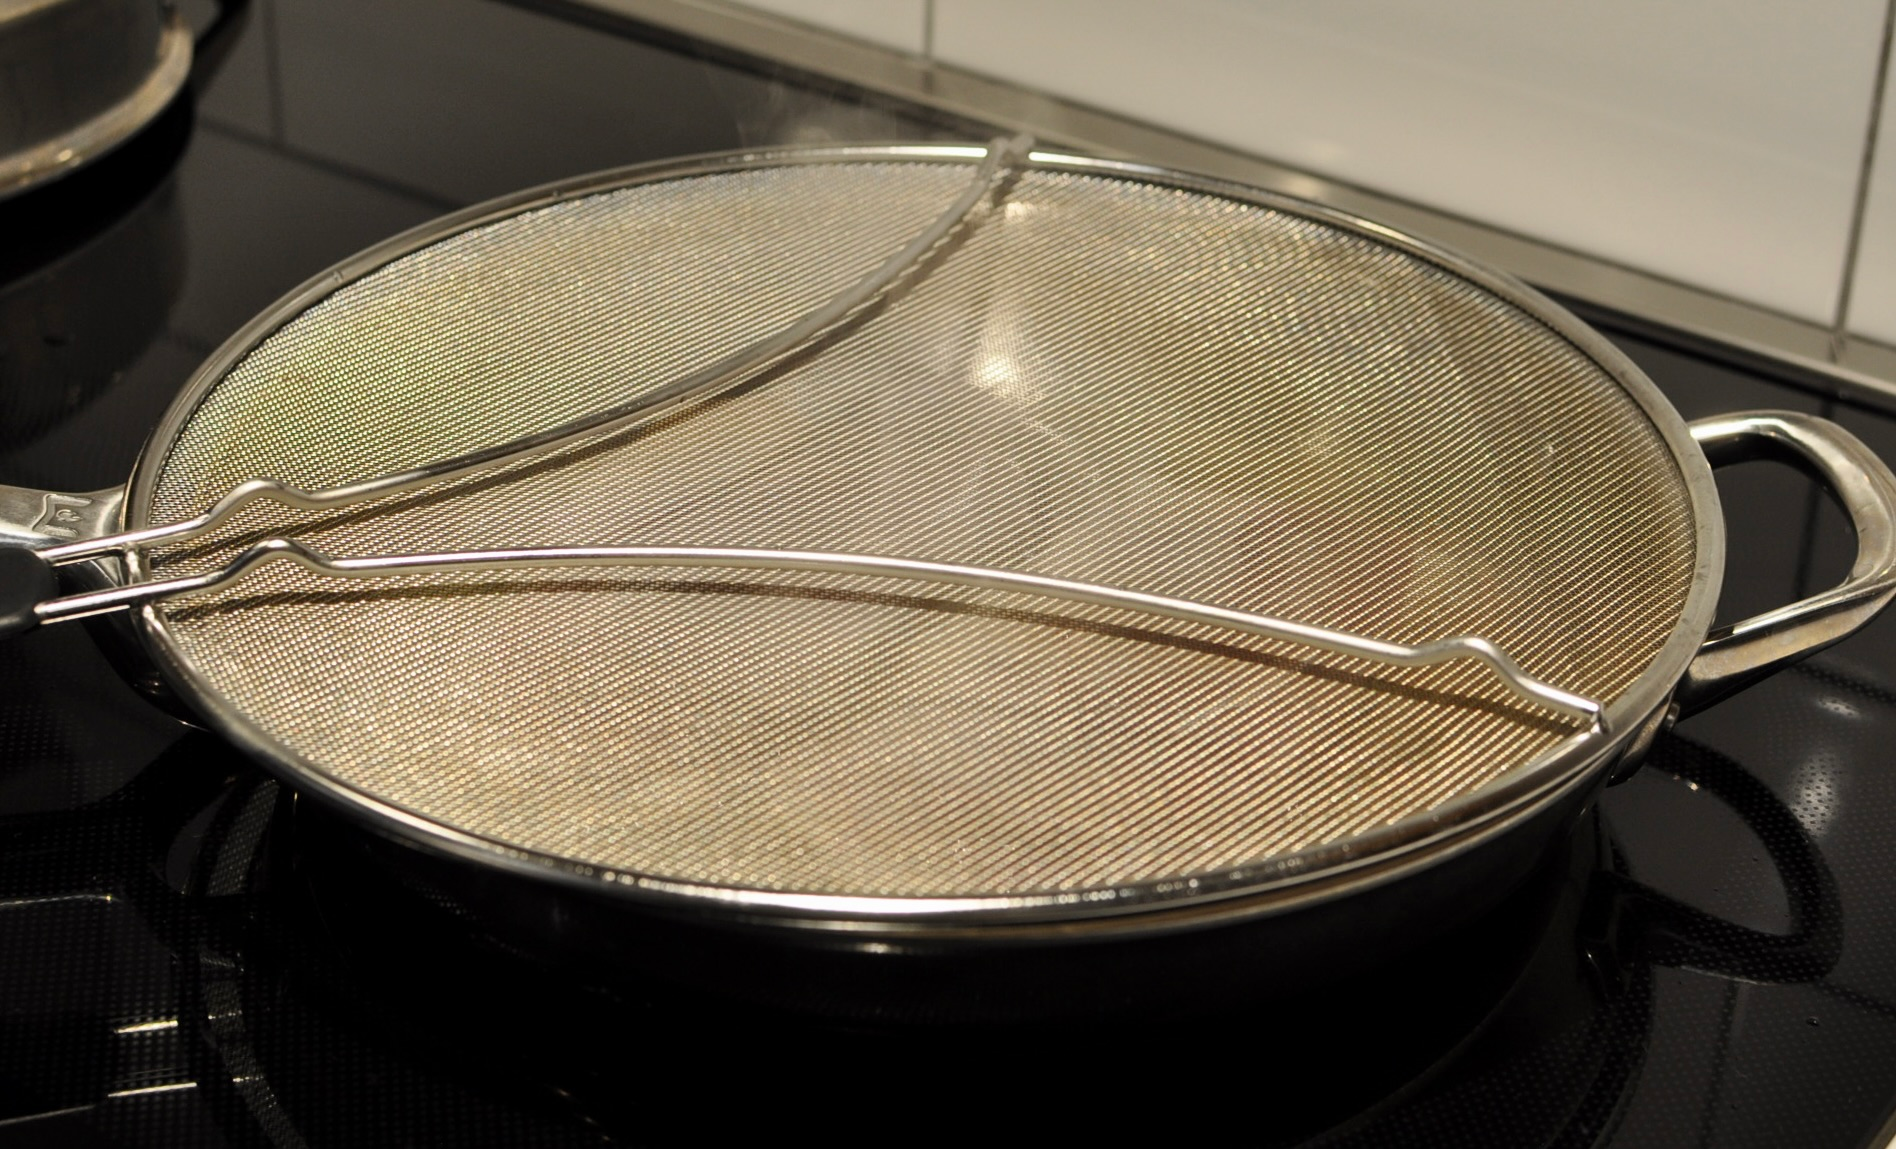
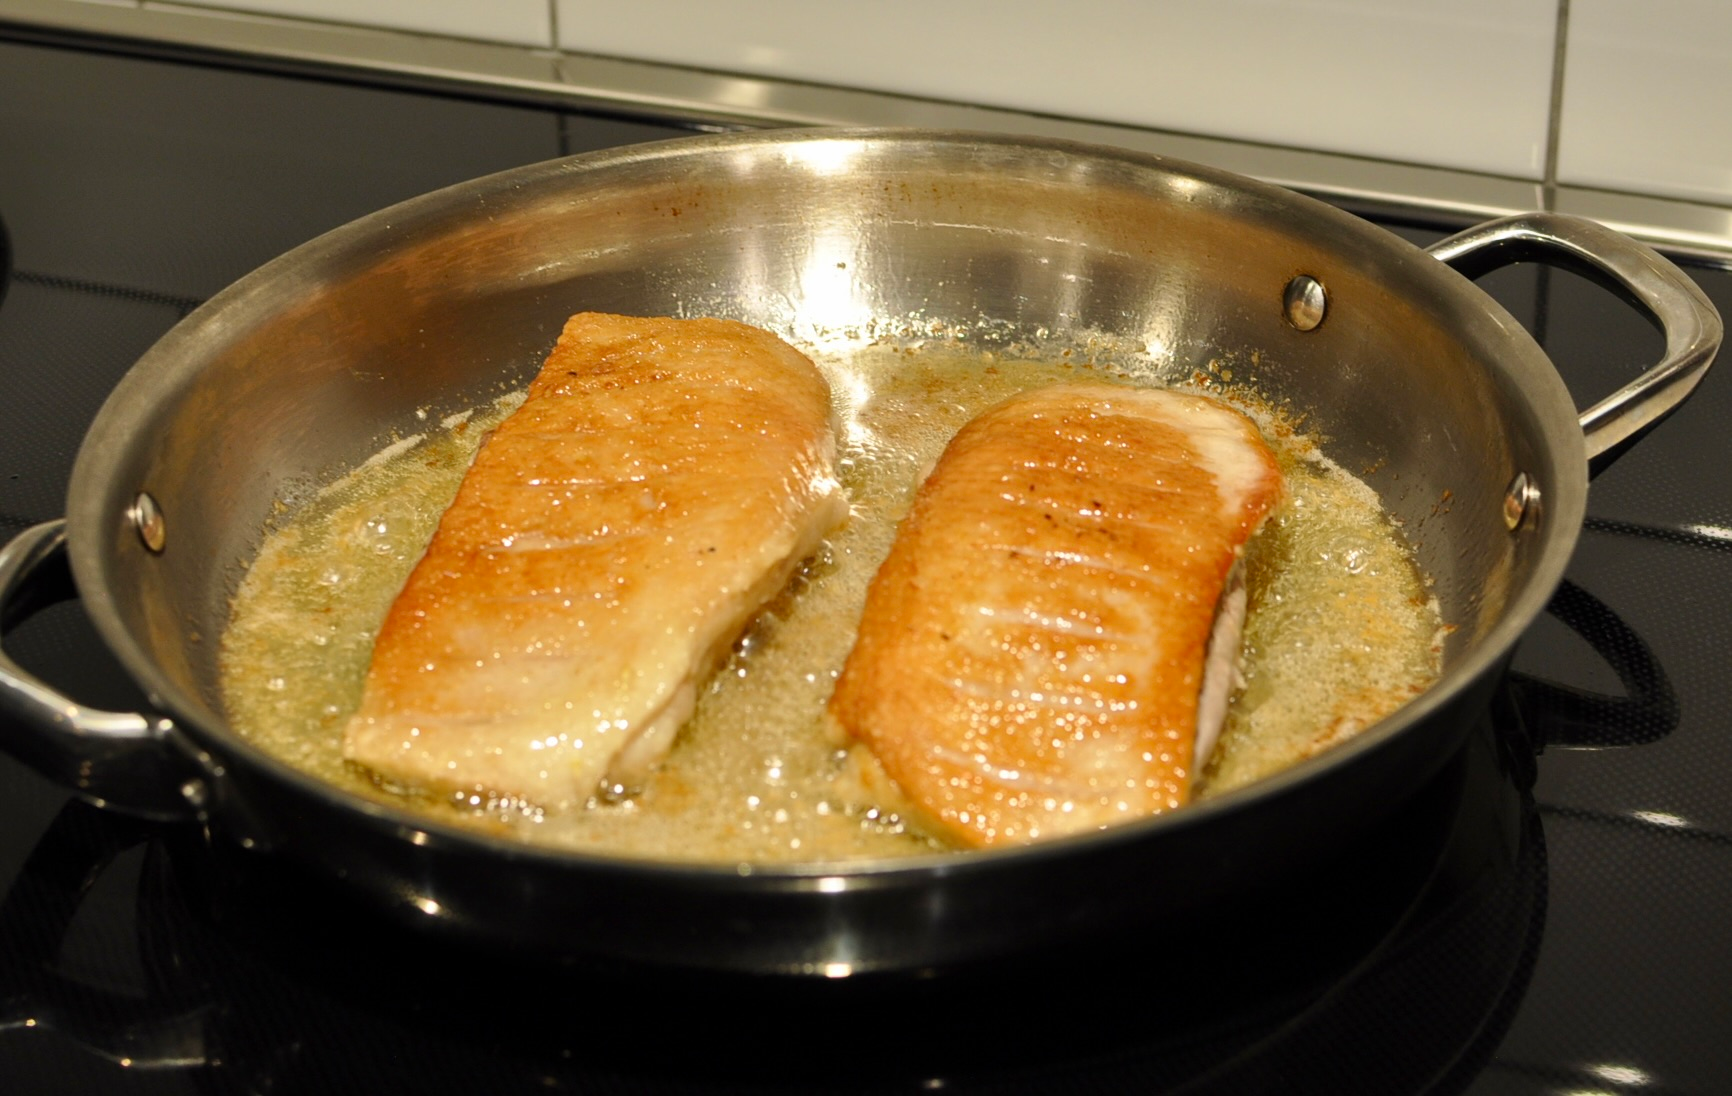
- Remove the thyme from the duck breasts and discard. Place the ducks, skin side down on a cold pan. Then place another pan over the duck breasts to help them lay flat while it is being seared. Place the pans on the stove on medium heat and let that cook for 10 minutes. You will start to hear the duck fat render and sizzle after a few minutes. After 10 minutes, remove the pan sitting on top of the beasts and check on the skin to make sure it is nicely browned. You can continue to sear for another 2 to 3 minutes if you prefer a more crispy brown sear on the skin. You do not need to replace the pan on top of the breasts if cooking longer.
- Flip the duck breasts over so the flesh side is down. The skin might be slightly stuck to the pan, just gently scrape the breast off. Cook for 1 more minute, flesh side down. Then transfer the pan to the pre-heated oven to finish cooking.
- Bake for 6 minutes for medium-rare. For medium, bake for 7 to 8 minutes. Internal temperature for medium-rare is 130°F and medium is 140°F.
- Immediately transfer the duck to plate and let them rest for 5 to 7 minutes vefore slicing and serving.
Nutrition
- Serving Size: 1 duck breast (about 6 oz cooked)
- Calories: 315 kcal
- Sugar: 0 g
- Sodium: 1290 mg
- Fat: 17 g
- Saturated Fat: 4.5 g
- Unsaturated Fat: 12 g
- Trans Fat: 0 g
- Carbohydrates: 0 g
- Fiber: 0 g
- Protein: 36 g
- Cholesterol: 210 mg
❓ FAQ’s for Pan-Seared Oven-Finished Duck Breasts
For medium-rare, take it out at 130°F. For medium, take it out at 140°F. The temperature will rise a few degrees while it rests. Many chefs serve duck breast pink because it’s a red meat.
A cold start renders the fat slowly, which gives you crispy, thin skin instead of a thick, chewy layer of fat. A hot pan sears the outside before the fat underneath can melt.
Scoring helps the fat render, keeps the skin from curling, and helps the salt get in. Cut only through the skin and fat, not into the meat, or you’ll lose juices.
The oven cooks the meat gently and evenly after the sear, so it stays tender and doesn’t overcook the way it can with a stovetop-only method.
Yes. Season it, top it with thyme (or not, it’s up to you!), cover it, and refrigerate for a few hours or overnight. Let it sit out for about an hour before cooking so it cooks evenly.
Strain it into a clean jar and refrigerate it for up to 6 months. Use it for roasting potatoes, sautéing vegetables, or frying eggs.
White pepper has a milder, earthier heat that goes well with duck, and it doesn’t leave black specks on that nice golden skin.
A heavy oven-safe skillet, either cast iron or stainless steel. Avoid nonstick if it isn’t oven-safe.
Resting for 5 to 7 minutes lets the juices settle back into the meat. If you slice it right away, the juices end up on your cutting board.
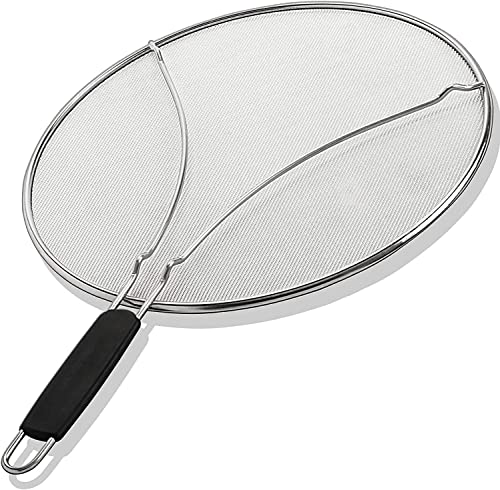
SHOP FOR THIS RECIPE



 Strawberry Mochi Squares
 Easy Blanched Shanghai Bok Choy
 Strawberry Chia Seed Jam
 Matcha Mochi Squares
 Counter Culture: What to Keep Out of Your Fridge
 Banana Protein Muffins
 Blueberry Chia Seed Jam
 Chocolate Cupcakes
 Vanilla Cupcakes