

The Ultimate Homemade French Butter Recipe | European Style Cultured Butter
Welcome to the recipe that changed my relationship with bread. And with baking. And honestly, with butter in general.
This homemade French butter is not a gimmick, a trend, or something that only works if you live within croissant-smelling distance of Paris. It’s three ingredients, one stand mixer, a little patience, and about 10 minutes of actual effort spread across two days — the rest is just time doing its thing.
Why You’ll Love This Recipe
- Superior Flavor: By using high-quality cream and a traditional culturing process, you achieve a depth of flavor that commercial sweet cream butters simply can’t match.
- Higher Butterfat Content: Unlike standard American butter, this French-inspired version has a lower moisture content, making it the secret weapon for professional-grade baking and silkier sauces.
- Total Customization: Master the base recipe, then experiment with flaky sea salt, crushed herbs, or honey for a bespoke finishing butter.
What Makes Homemade French Butter Different from Regular Butter
French butter is made using cultured cream, which gives it a distinctive, slightly tangy taste, while American butter is typically made from sweet cream with a more neutral flavor. That tang? That’s the whole personality. The process involves adding live bacteria to the cream and allowing it to rest, typically 12–48 hours. This fermentation results in lactic acid, imparting the butter with a distinctive tangy flavor. Here, I use Fage 5% yogurt and it does that job beautifully.
The higher fat content and lower water content in French butter can improve the texture of baked goods, making them flakier and lighter. It also has a rich, distinct flavor that can enhance the overall taste of pastries and other baked goods. So yes — making this butter will also make you a better baker. You’re welcome.
The Secret to Beurre Maison
The hallmark of great French butter is the fermentation process. By allowing the cream to culture slightly before churning, you develop those characteristic tangy notes and a remarkably smooth texture. This recipe guides you through the traditional churning method using a stand mixer, yielding fresh butter and nutritious buttermilk.
Why You Need a Stand Mixer (Trust Me, You Really Do)
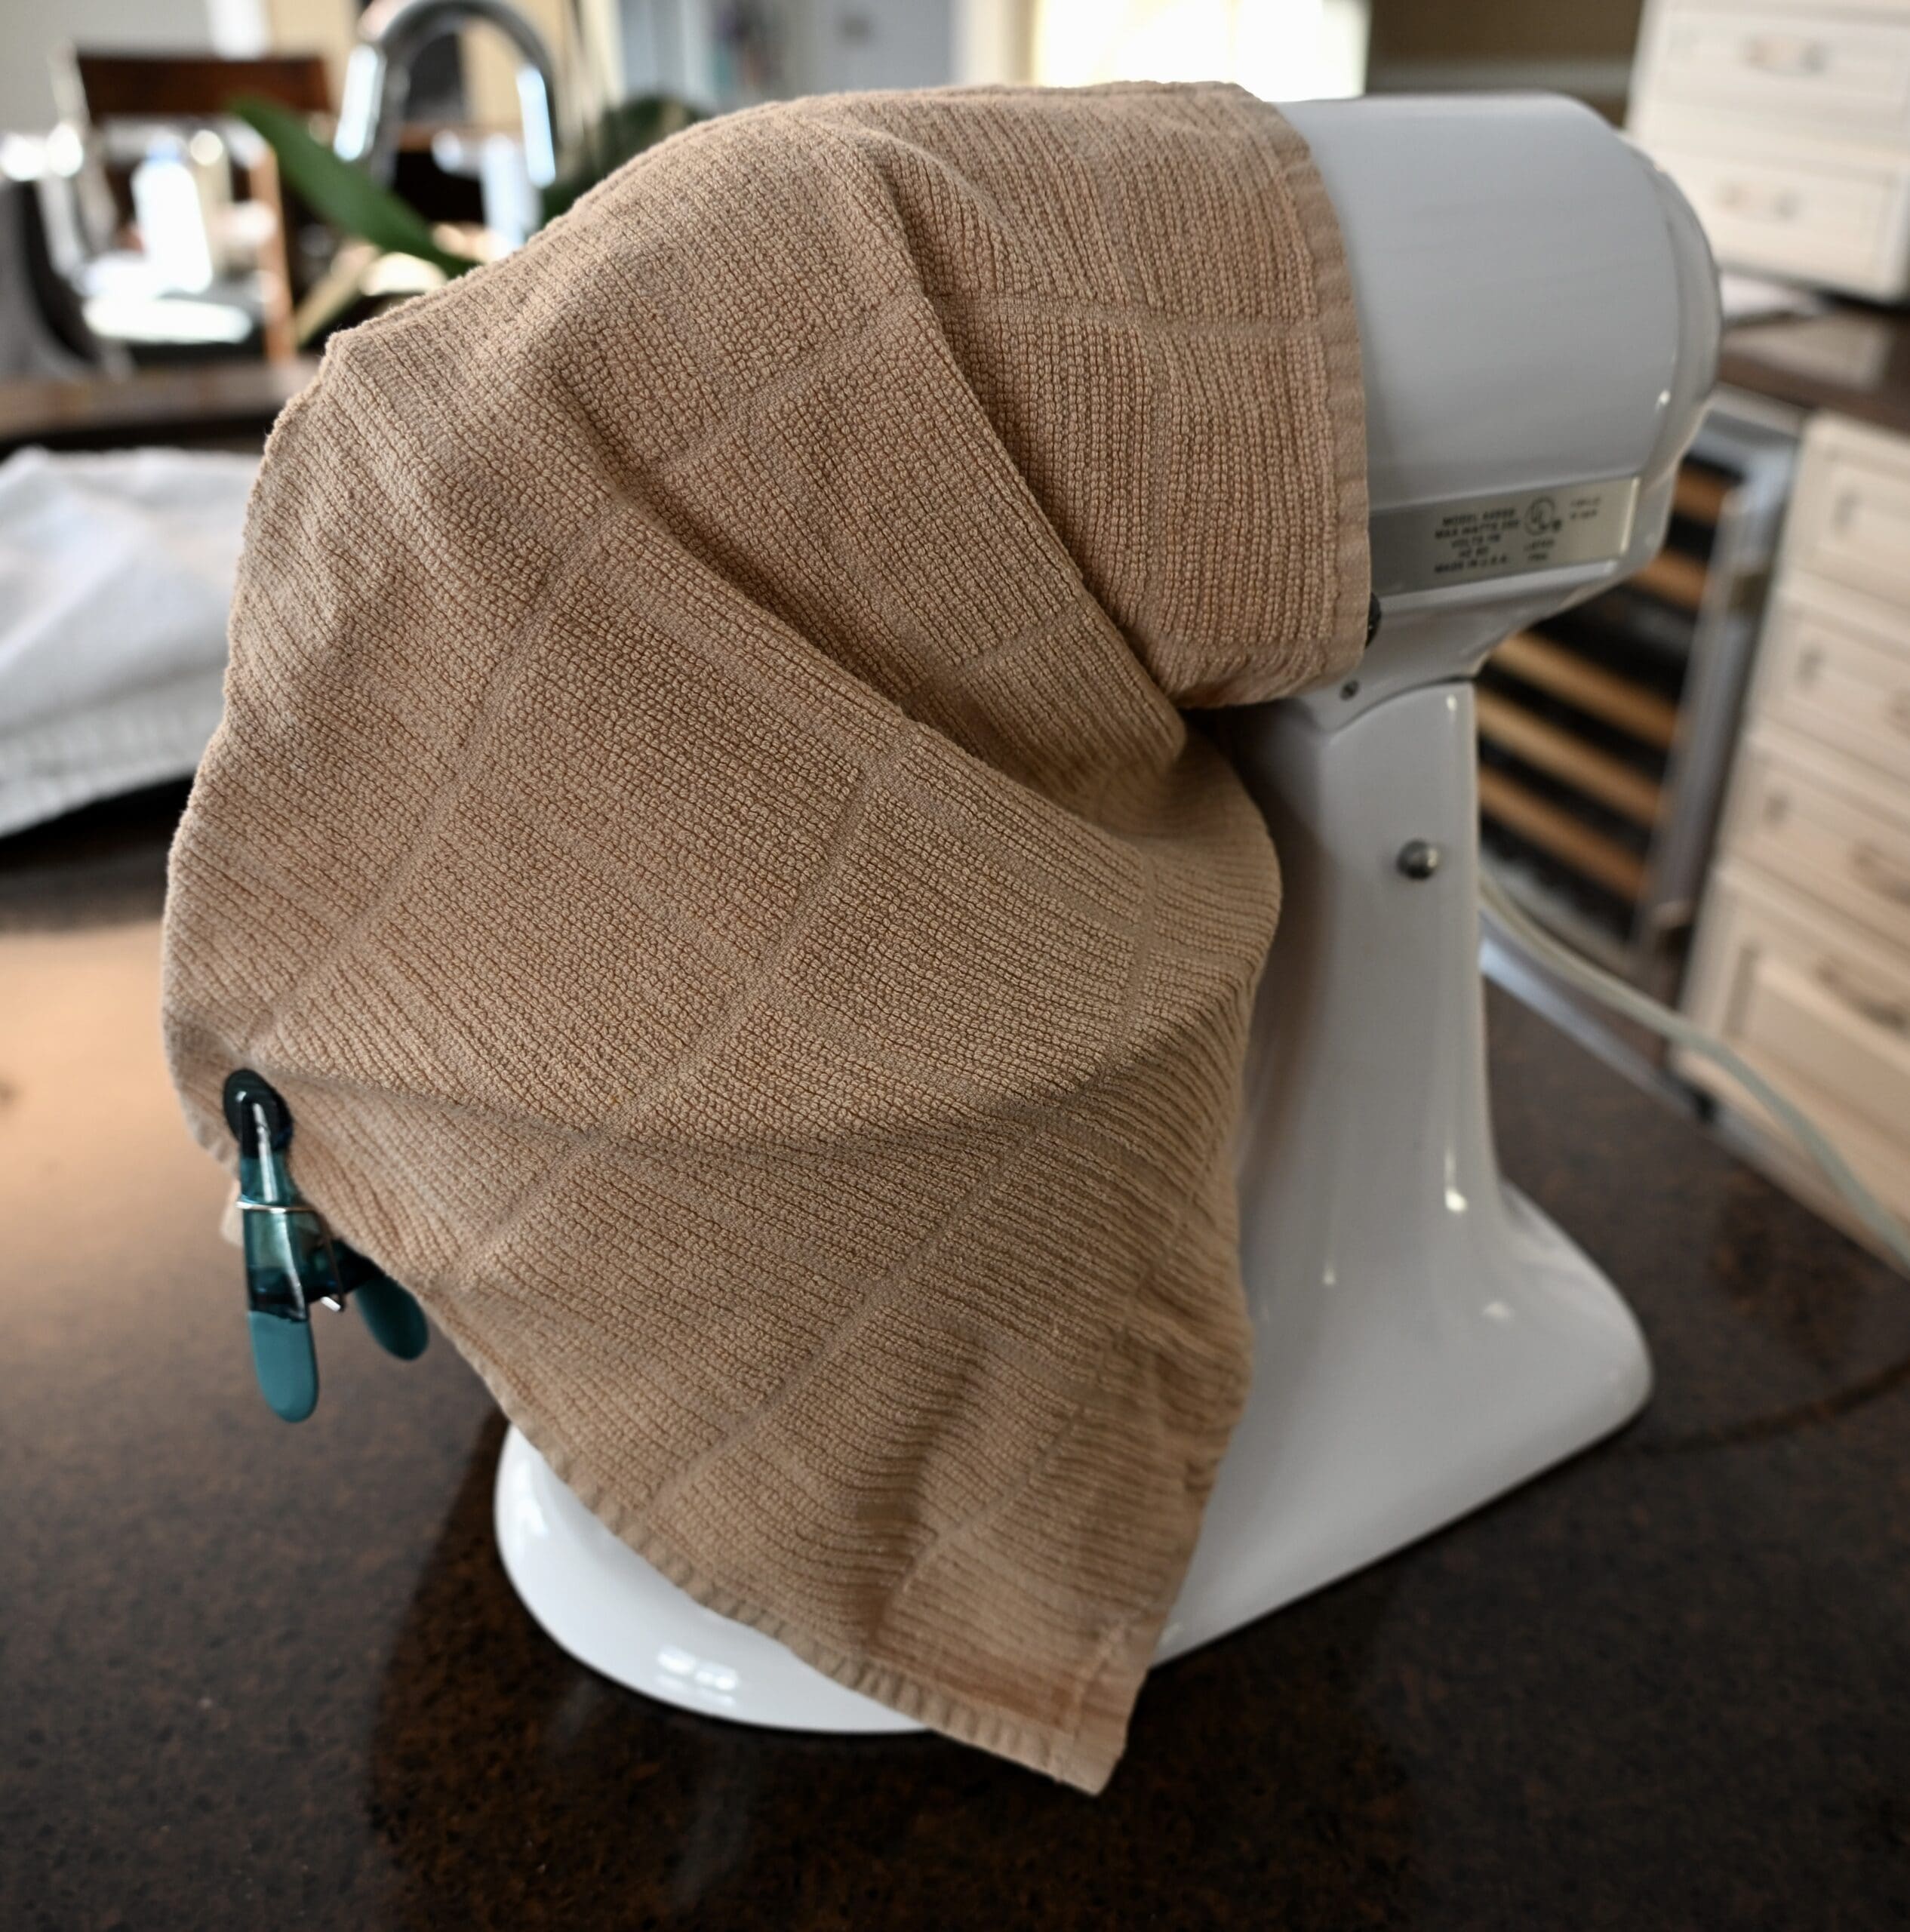
You can mix this by hand. People also used to churn butter in a wooden barrel for three hours. We’ve evolved. A stand mixer with the whisk attachment handles the heavy lifting — and there is a fair amount of buttermilk-flying drama involved once separation begins. When whisking the butter in a stand mixer, it can transition from looking like chunky whipped cream to butter clumps very quickly, and buttermilk liquid will start flinging everywhere. Wrap a towel around your mixer — or better yet, grab a mixer shield so you can also save the buttermilk for your next baking project. Real buttermilk from real butter? That’s a bonus ingredient with so many ways to use it up.
The Ice Water Rinse: The Step That Makes All the Difference
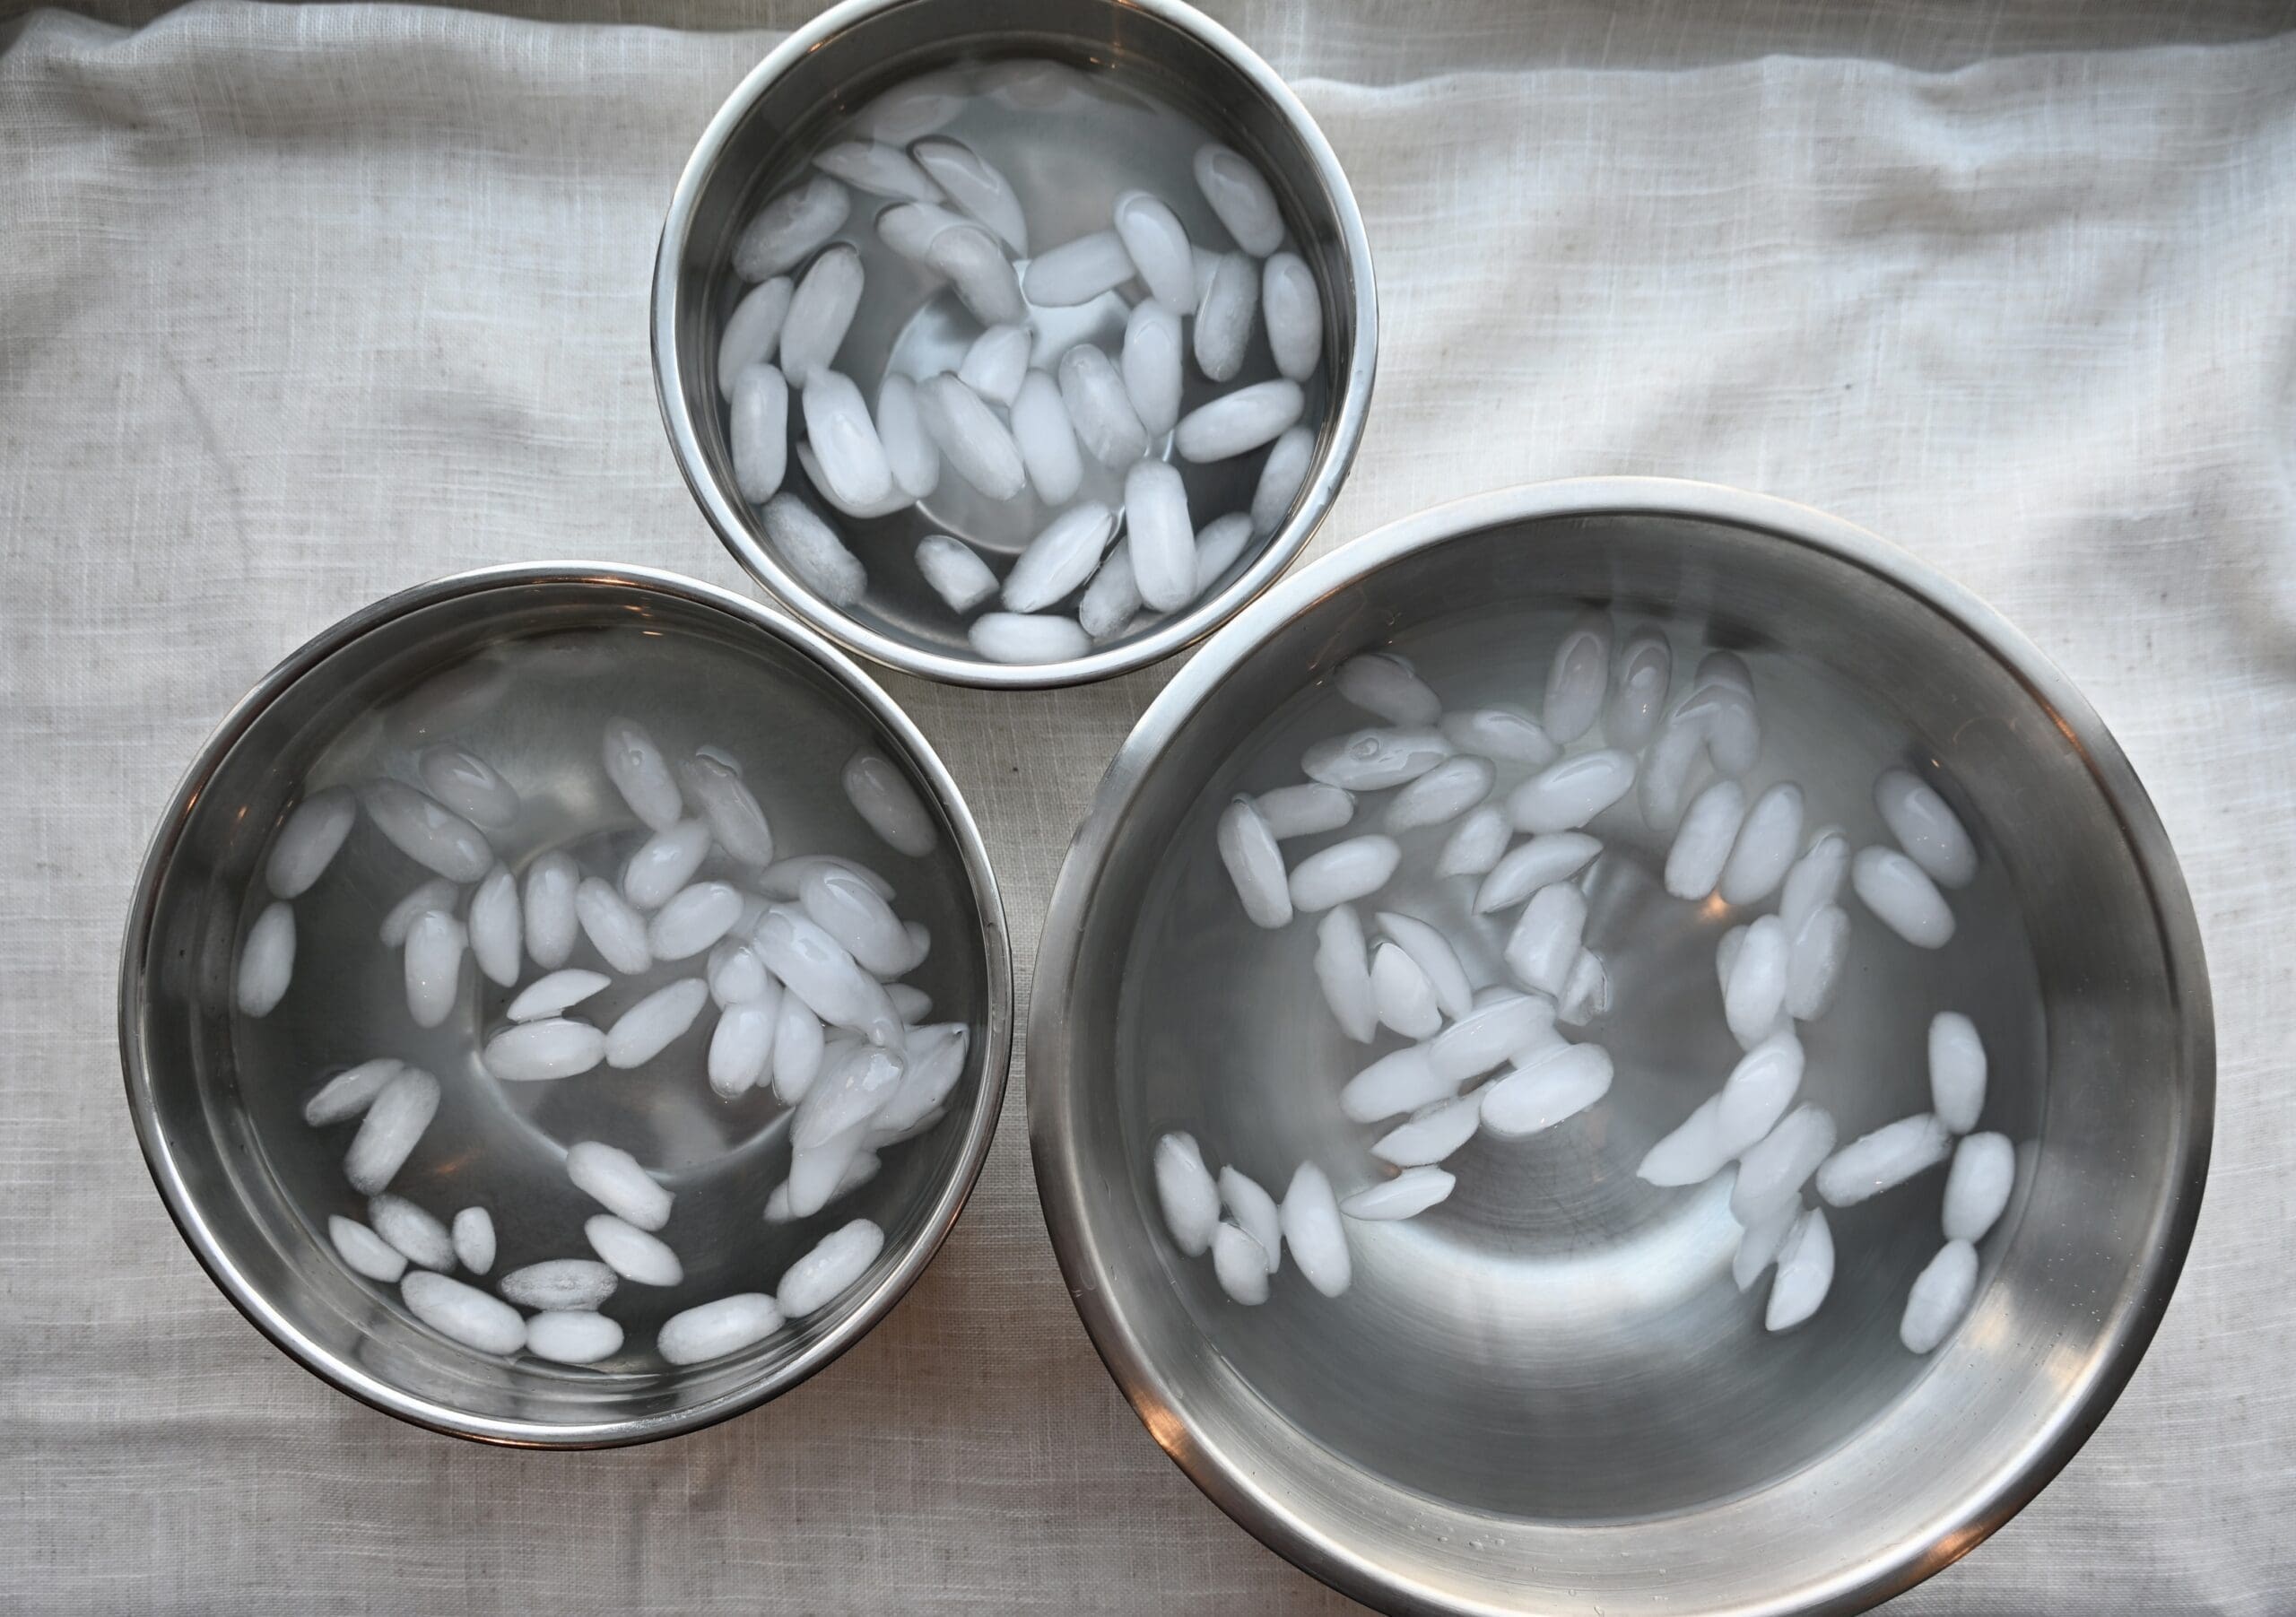
Once your butter has separated, prepare three large bowls of ice water. Form the butter into a ball, squeezing out as much liquid as possible. Place the butter ball into a bowl of ice water, squeezing gently to remove any remaining liquid. Repeat this process, refreshing the ice water twice more, until the water runs clear. This step removes residual buttermilk, which is what keeps your butter fresh and tasting clean — not funky. Then knead in your salt, shape it, and wrap it in parchment paper. Done. Chef’s kiss. Literal chef’s kiss.
From French Butter to Better Bread — The Delicious Domino Effect
Here’s something no one tells you about making homemade French butter: it raises your entire baking bar. Once you have butter this good, ordinary bread feels like a letdown. Once you are finished, you’ll be spreading homemade French butter on everything from warm, crusty baguettes to flaky croissants. In this house, every new loaf comes with one non-negotiable question from my kids: “Did you also make French butter?” The answer is always yes. It has to be.
Let’s make the best butter you will ever taste.
Butter? Yes, French Please
What’s in this?
- Heavy Cream
- Yogurt
- Salt
French Butter
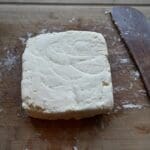
There are a few things in life, after experiencing something for the first time, that made me feel like I was missing out all this time. French Butter is on the top of this list. I love butter, I love cooking and baking with butter, I love eating butter and the more the merrier. I was always intrigued by French Butter but didn’t love the fact that it’s time consuming and messy to make. But I had to try. Honestly, the effort level wasn’t as bad as I anticipated. The actual amount of work involved is easy and simple. The hardest part was just waiting for the next step, as it can take up to 2 days from start to finish. But it truly is so easy and absolutely worth it. Make this. You won’t regret it.
- Prep Time: 10 minutes
- Cook Time: 2 days
- Total Time: 48 hours 10 minutes
- Yield: 190 to 277 grams 1x
- Category: Appetizer, Breakfast, Side Dish
- Cuisine: French
Ingredients
- 2 cups of heavy cream (1 pint)
- 1.5 tablespoons of yogurt (I use Fage 5%)
- 1/4 teaspoon of salt
Instructions
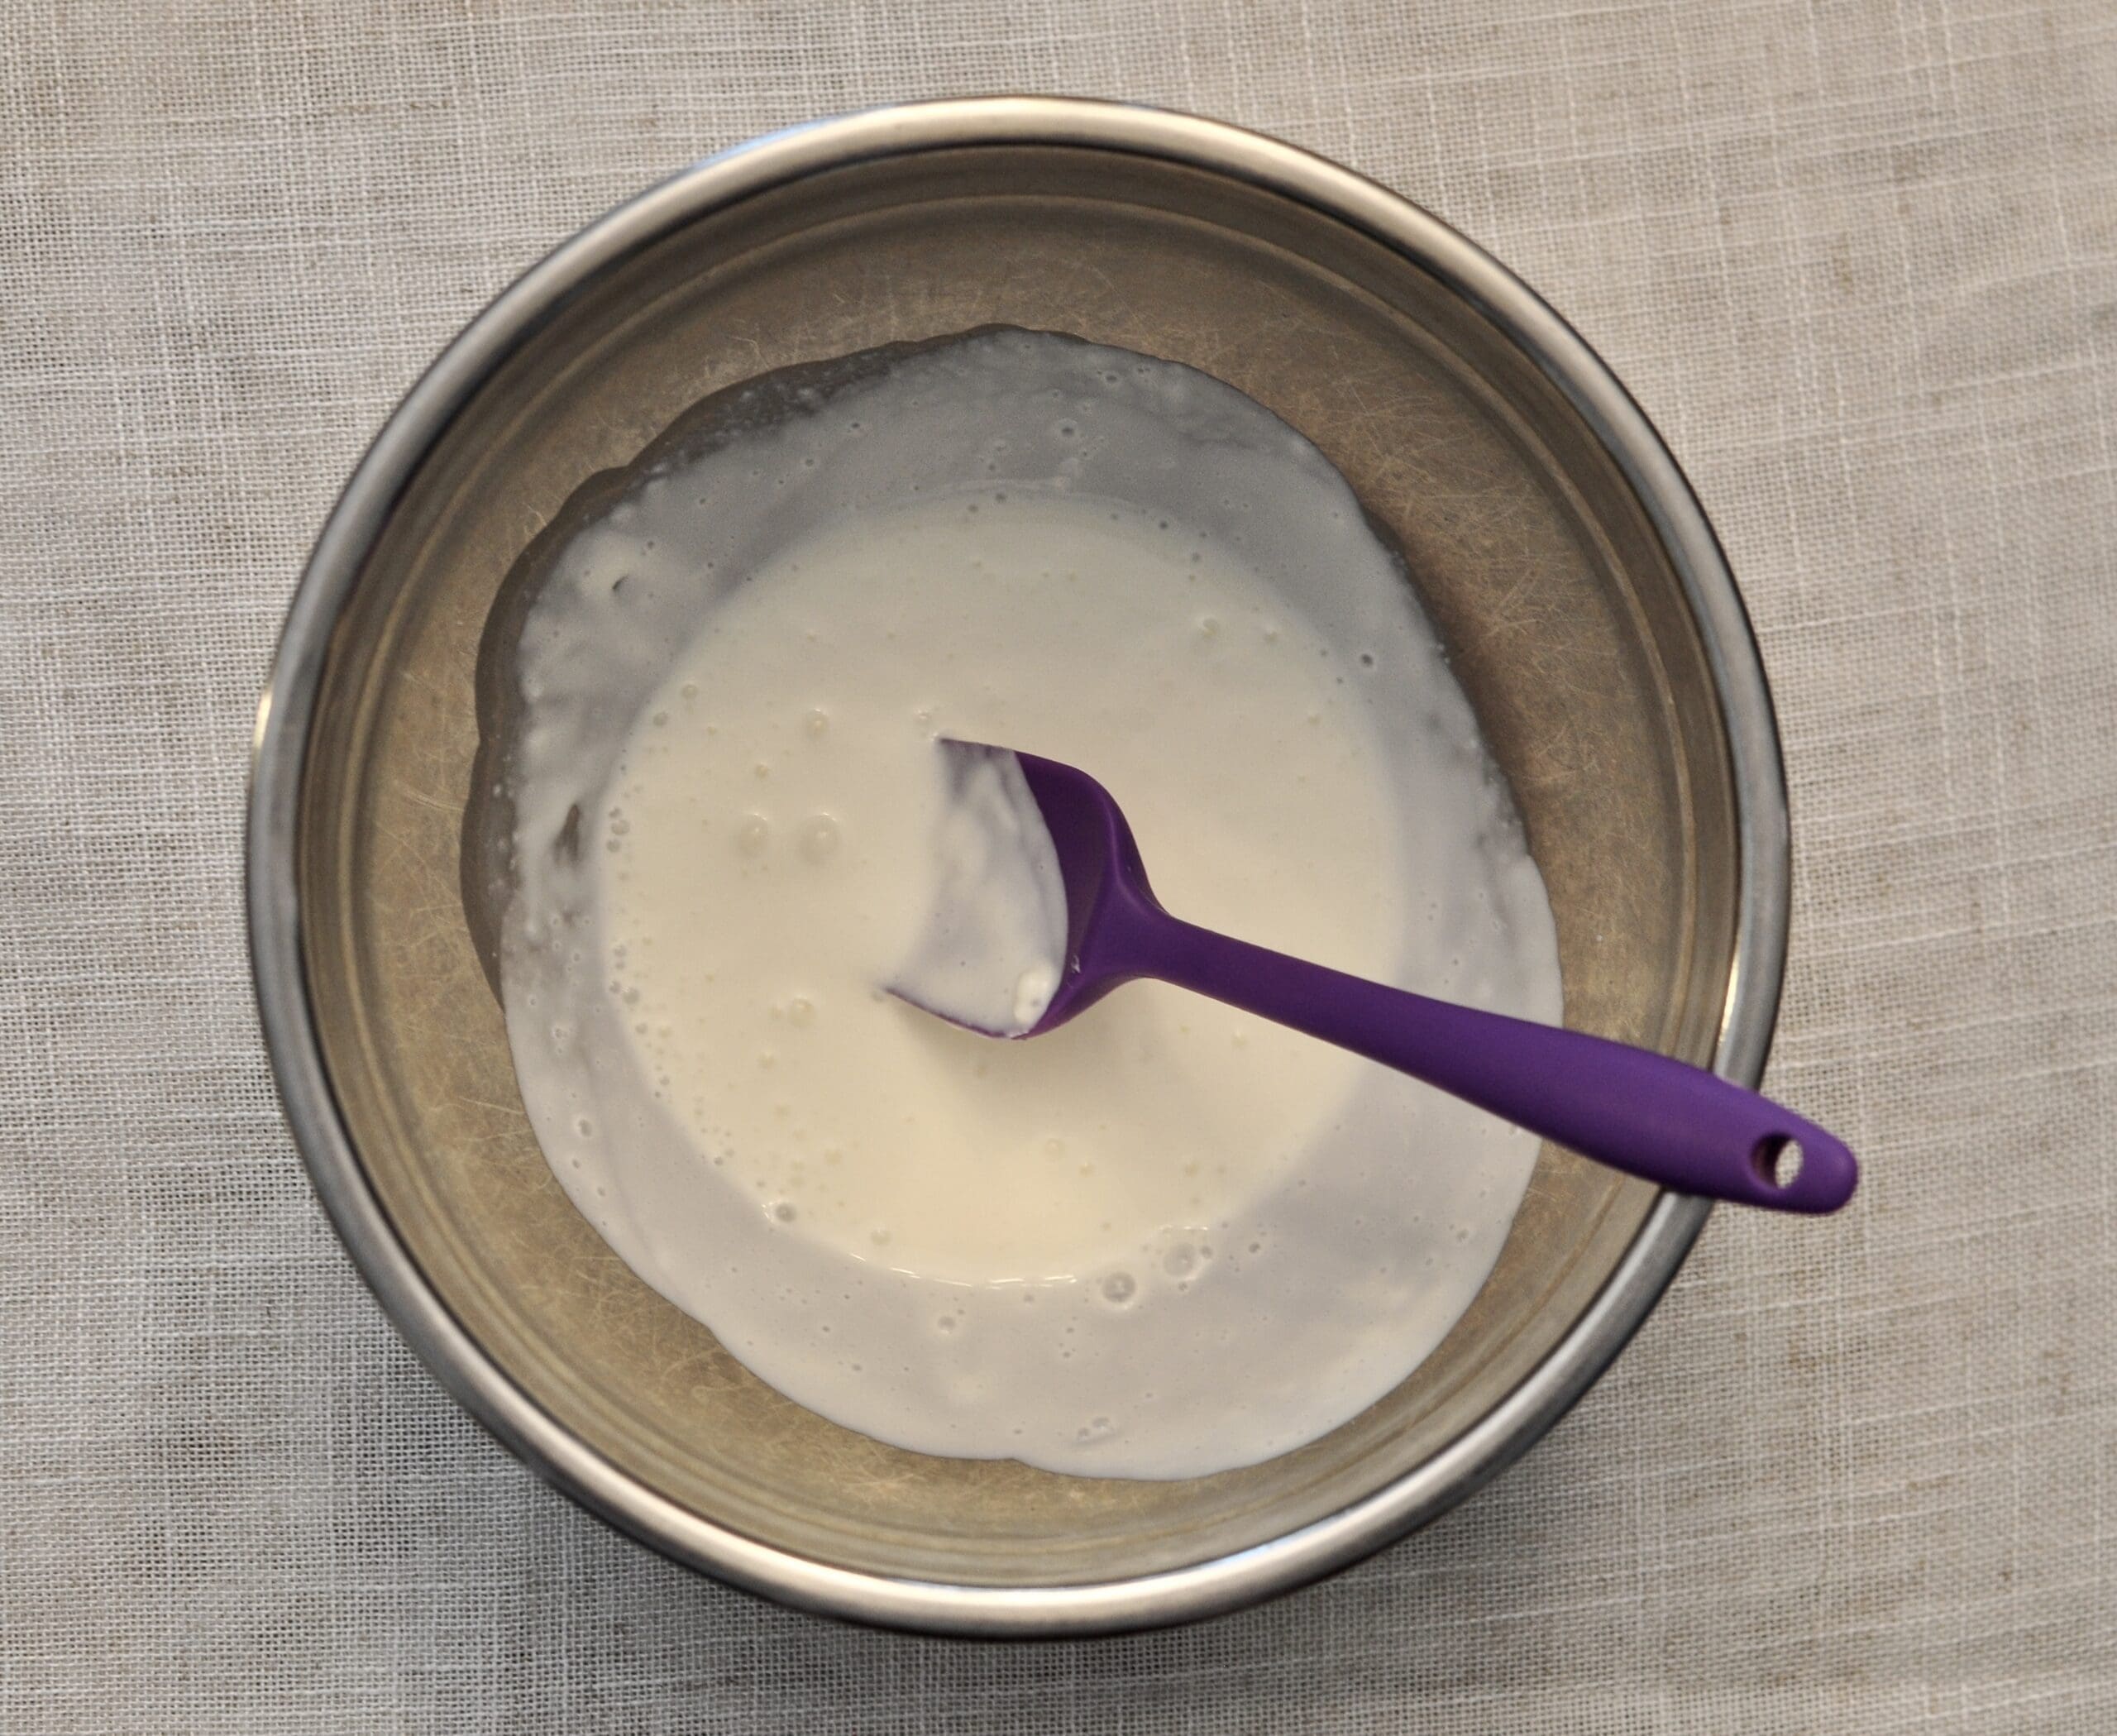
- In a lidded container, whisk the heavy cream and yogurt together. Cover the container with the lid (or cover with saran wrap if not using a lidded container).Let the mixture sit at room temperature, between 70 to 75 degrees F (21 to 24 C) for at least 24 hours and up to 48 hours.
- Check the mixture after 24 hours to see if it has thickened. Look for a thin yogurt consistency (not the thick greek kind) and should smell fresh and tangy.
- After the cream mixture has thickened, place the bowl in the fridge to chill for 1 to 2 hours. This will help with the whipping process.
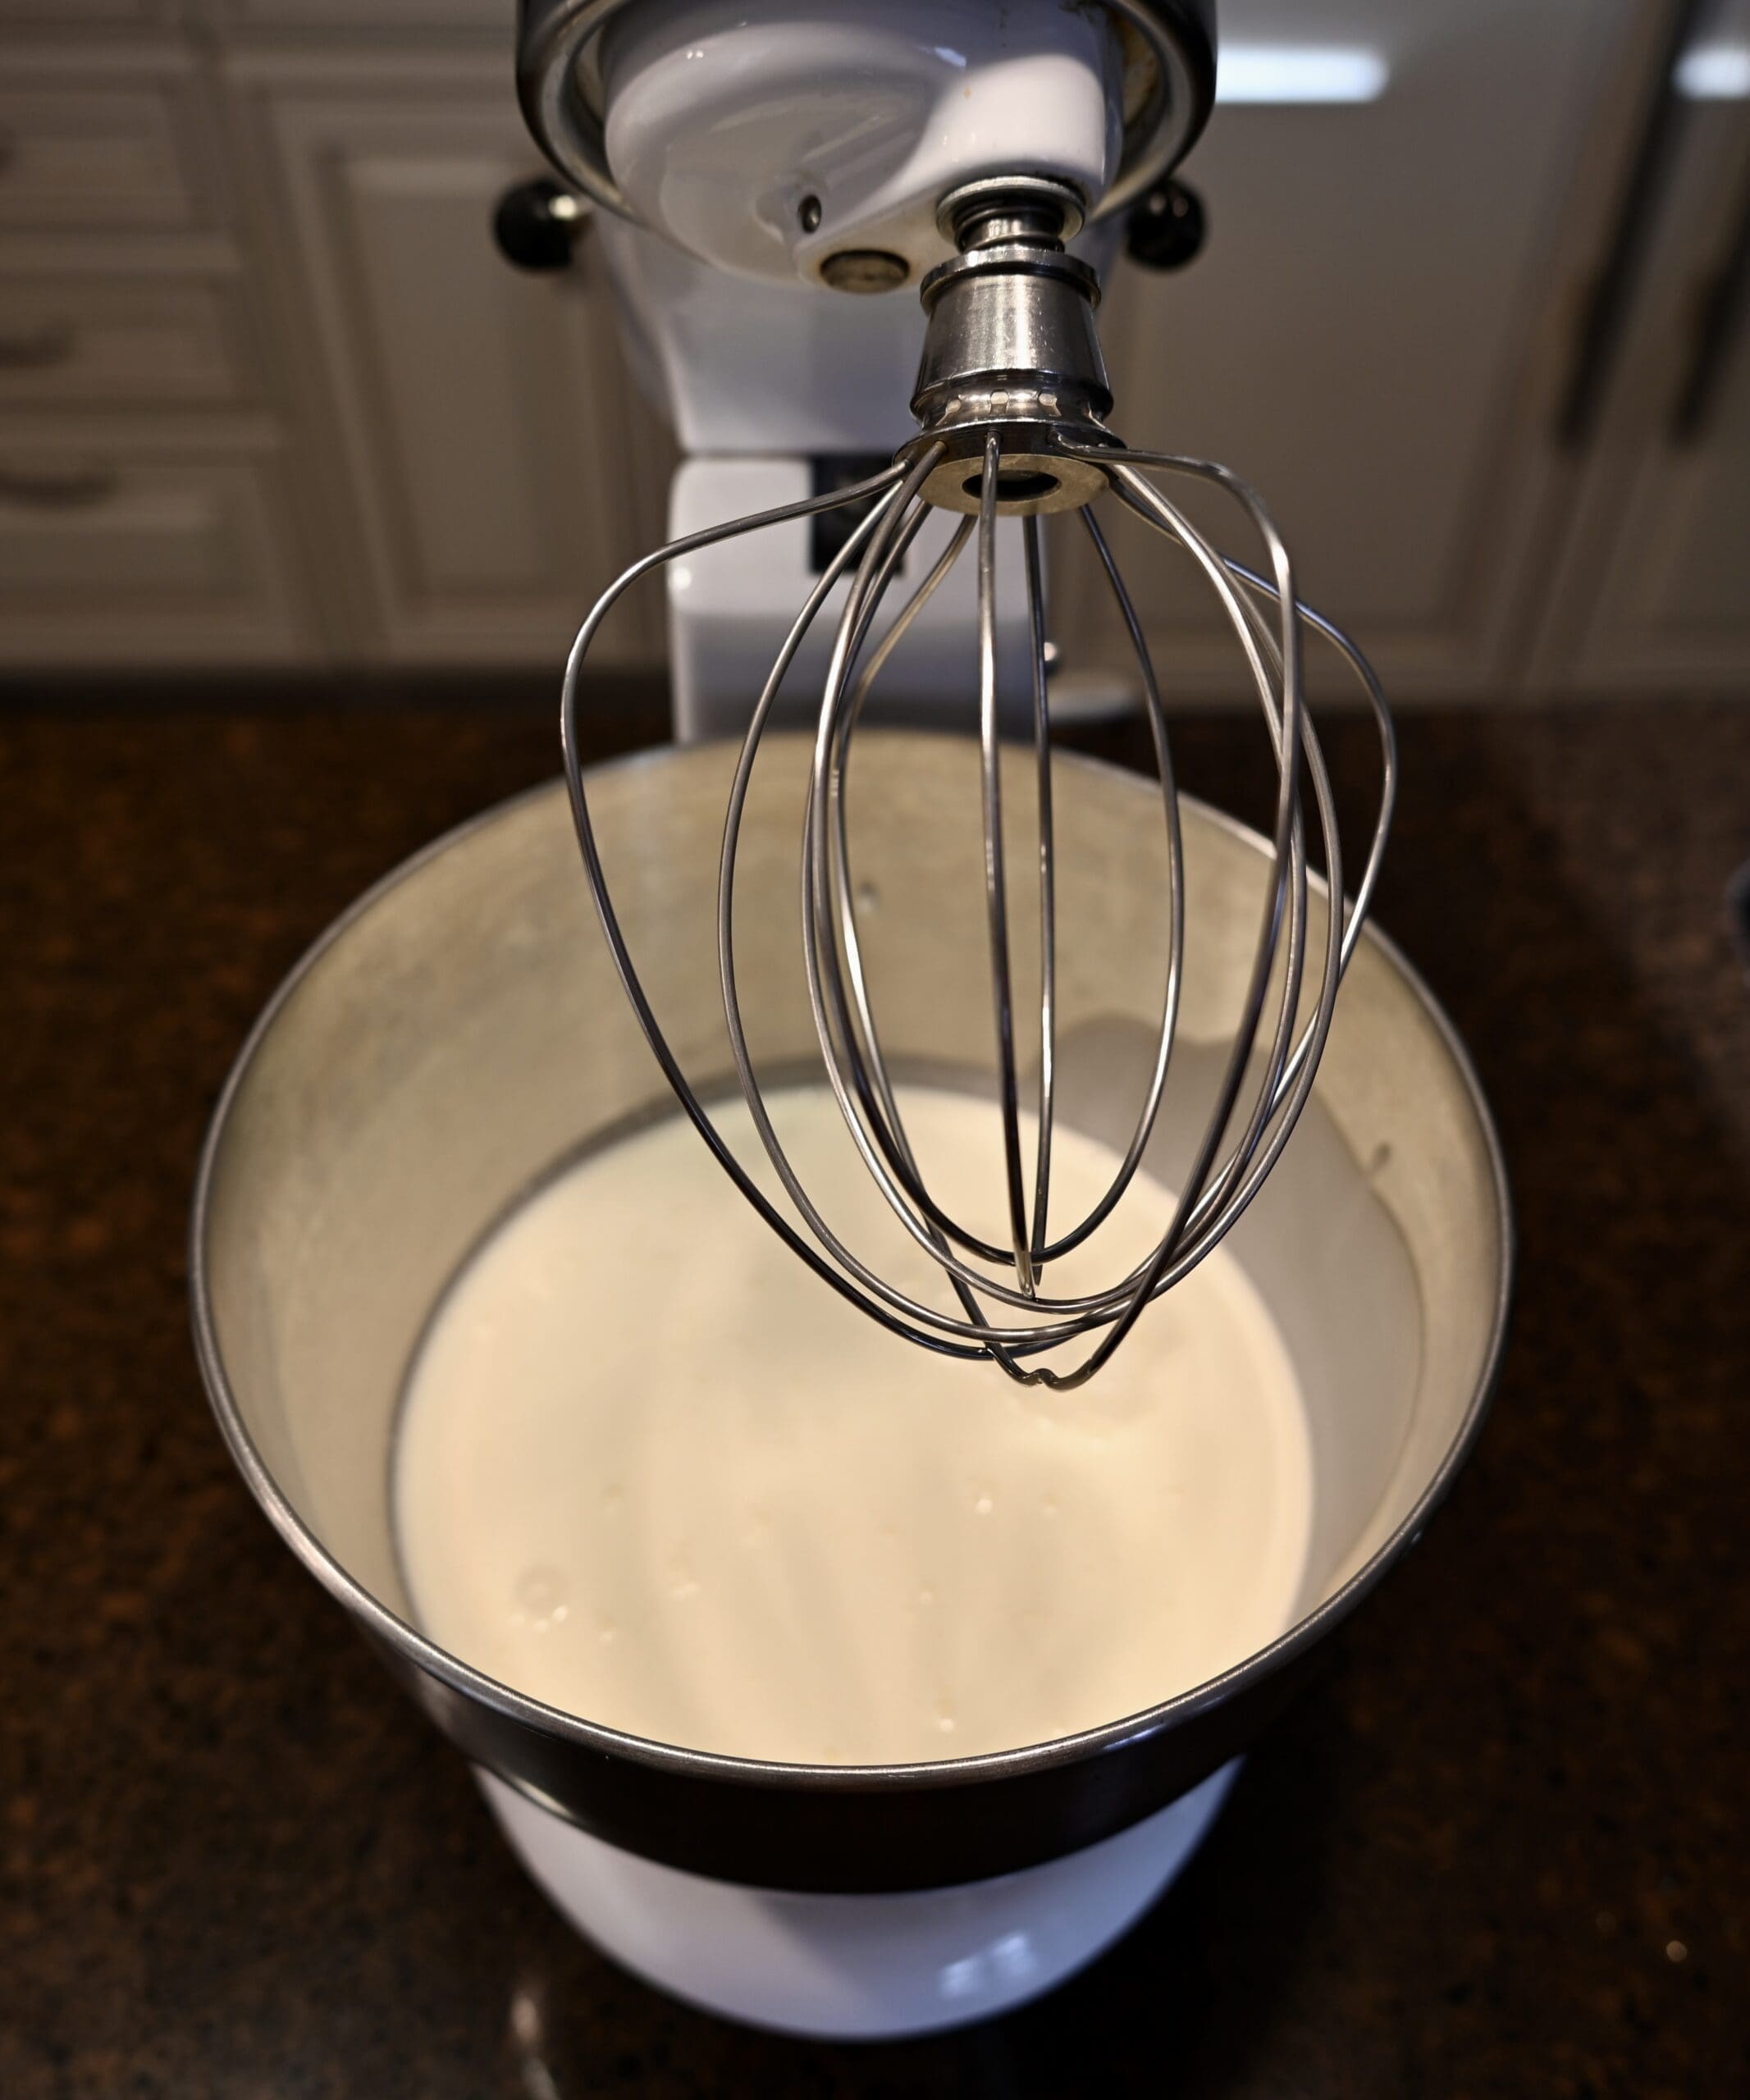
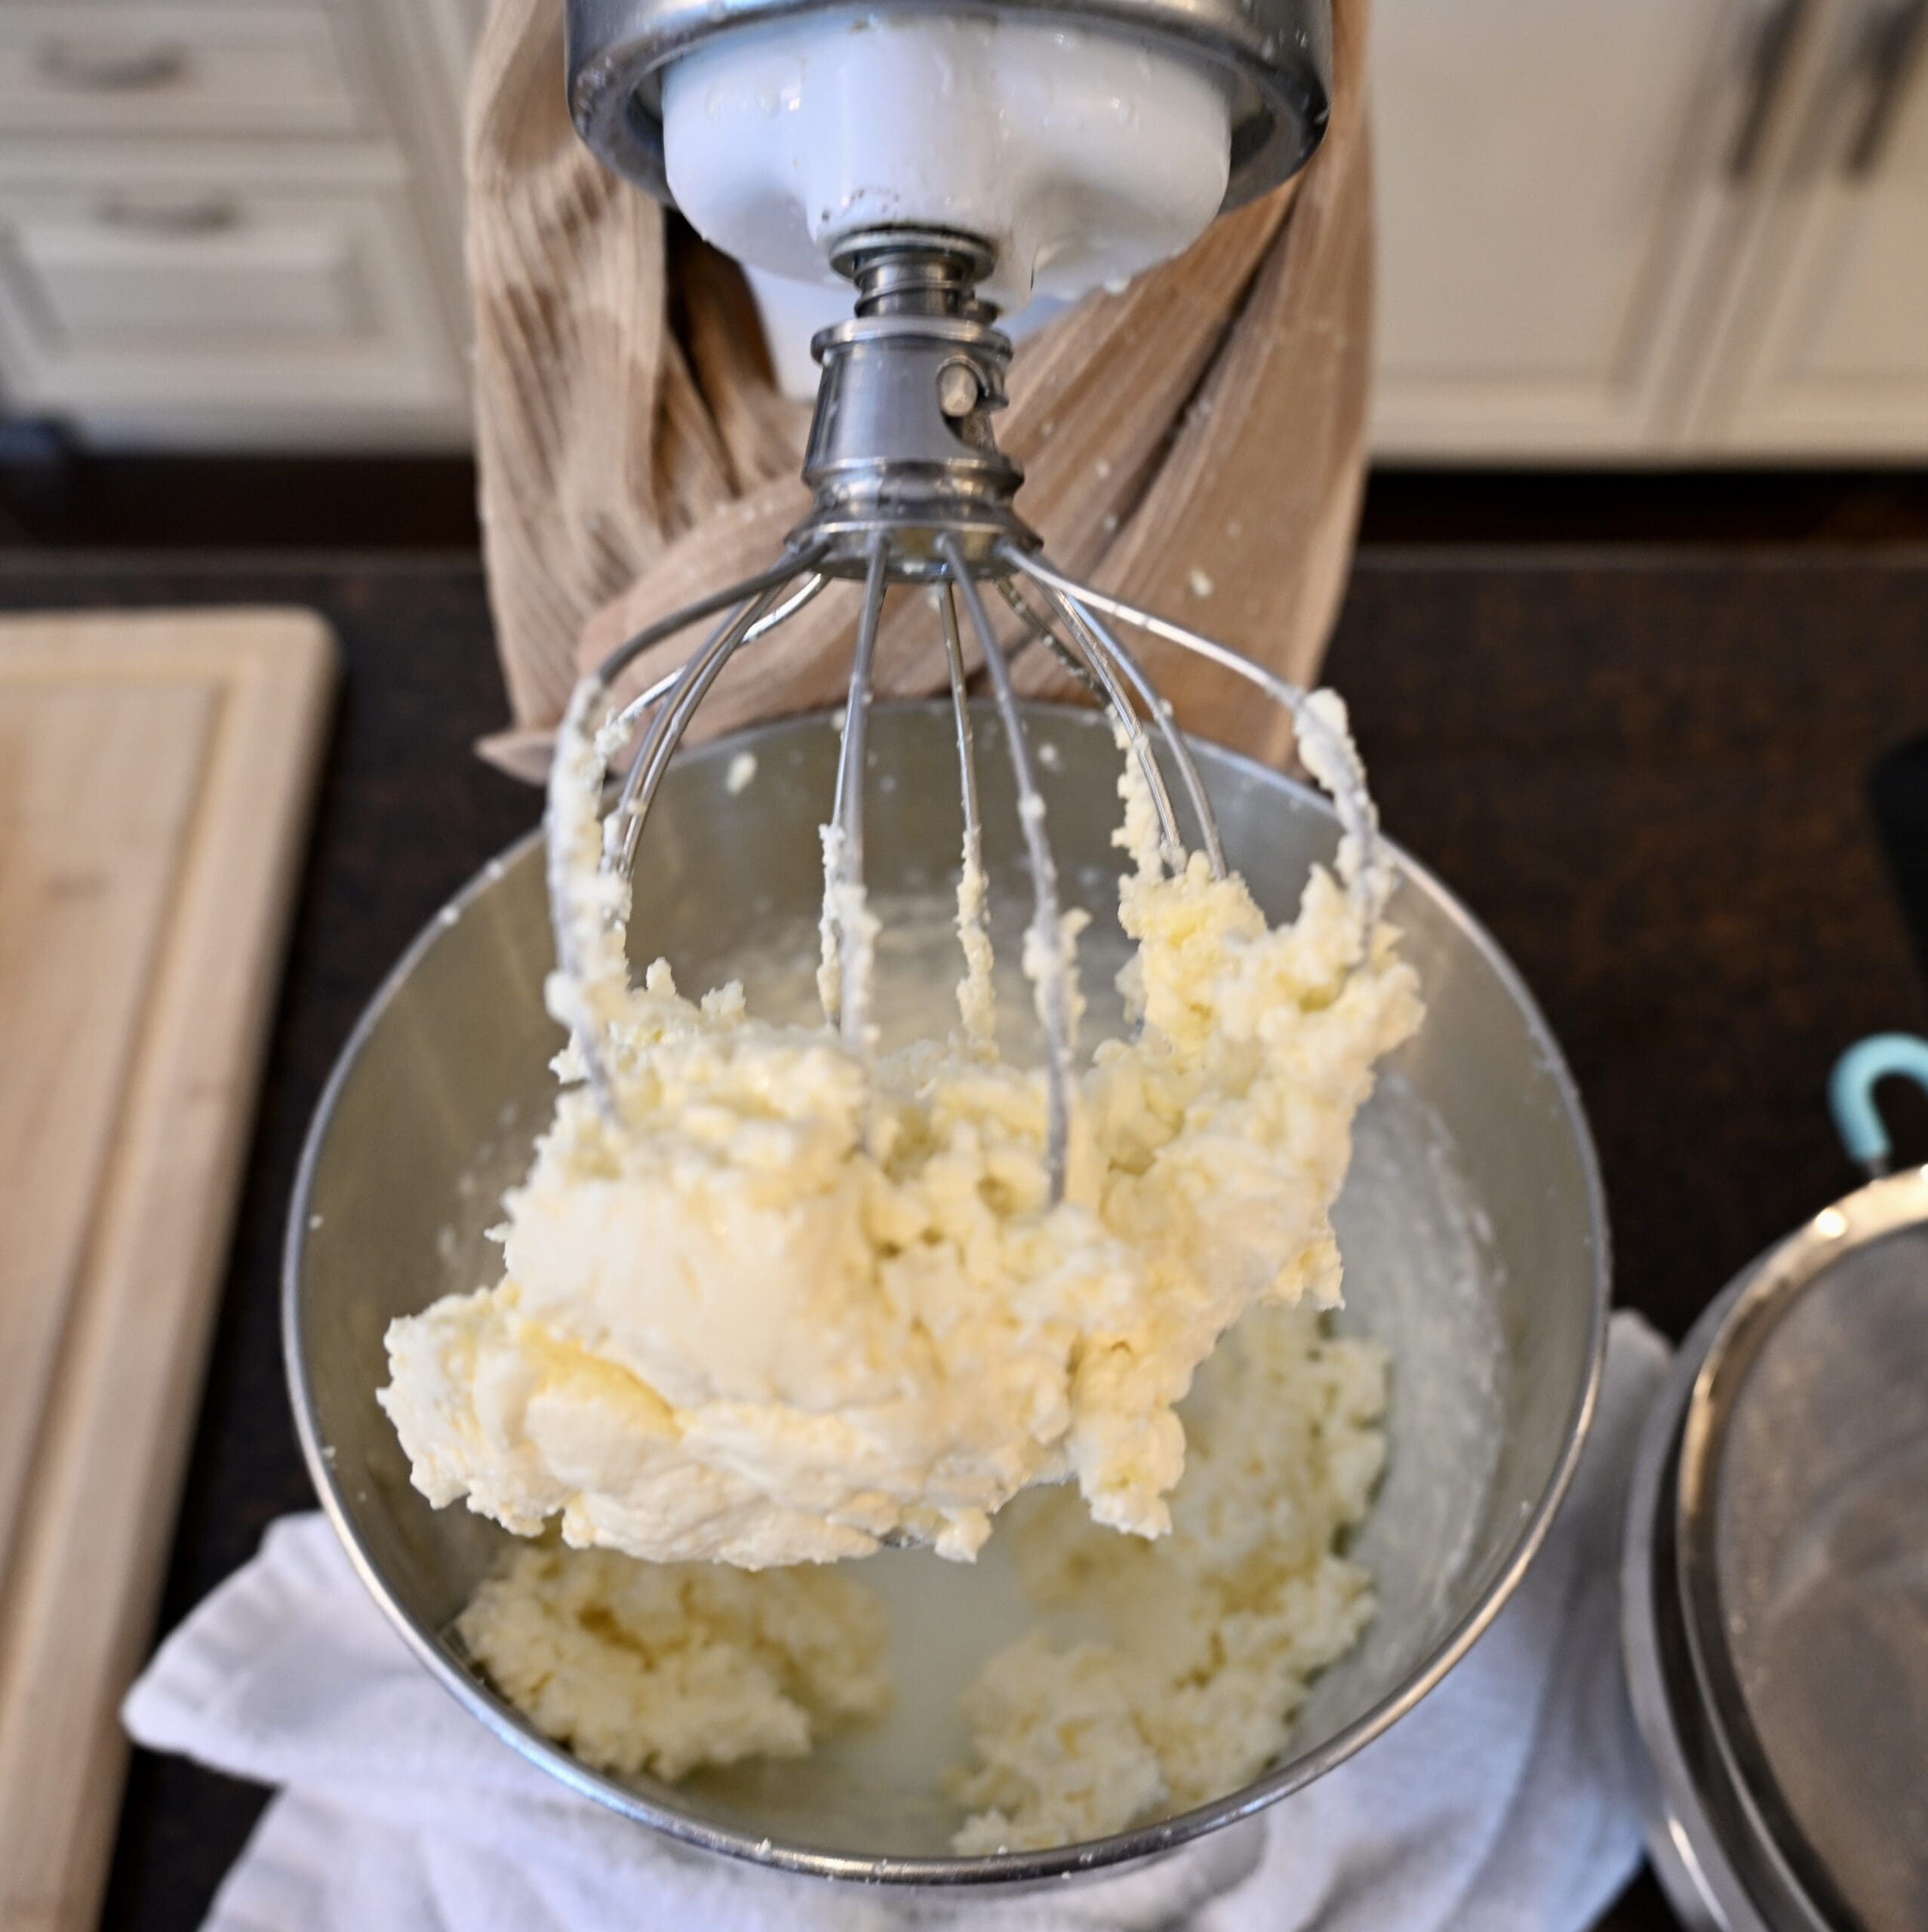
- Transfer the chilled cream to the bowl of your stand mixture with the whisk attachment. Mix on medium speed and immediately cover the bowl with a towel and clip the towel (with something like potato chip clips or binder clips) so the towel is very snug around the bowl. You may start to hear splashing in the bowl after 7 or 8 minutes. This is when the whipped cream starts separating into curds from the buttermilk. Continue to mix for about 3 to 4 more minutes and you will hear lots of splashing, for a total mixing time of about 12 minutes.
- While the cream is mixing, prepare 3 large bowls of ice water.
- Turn off the mixer and check your cream mixture. All the butter should be clinging to the whisk, with no separate curds remaining. If there are still curds not attached to the whisk, continue to whisk for another minute or until there are no curds left swimming in the buttermilk.
- Lift the whisk up off the buttermilk mixture and remove the bowl. Pour the buttermilk into a separate bowl through a strainer.
- Using your hands, thoroughly remove the butter off the whisk as you press the butter into a ball. If there are any curds on the strainer, combine that with your butter ball.
- Place the butter ball into the first ice bowl. With the ball submerged, squeeze the butter to remove as much buttermilk as possible. Give it about 3 or 4 good squeezes. Try to keep your fingers close together as you squeeze so that the butter doesn’t seep between your fingers as you squeeze. This will help keep the butter in a ball shape. The water will turn a cloudy white color.
- Move the butter into the second bowl and repeat step 9. Then move the butter into the third bowl and repeat step 9 again. This time the water should be clear.
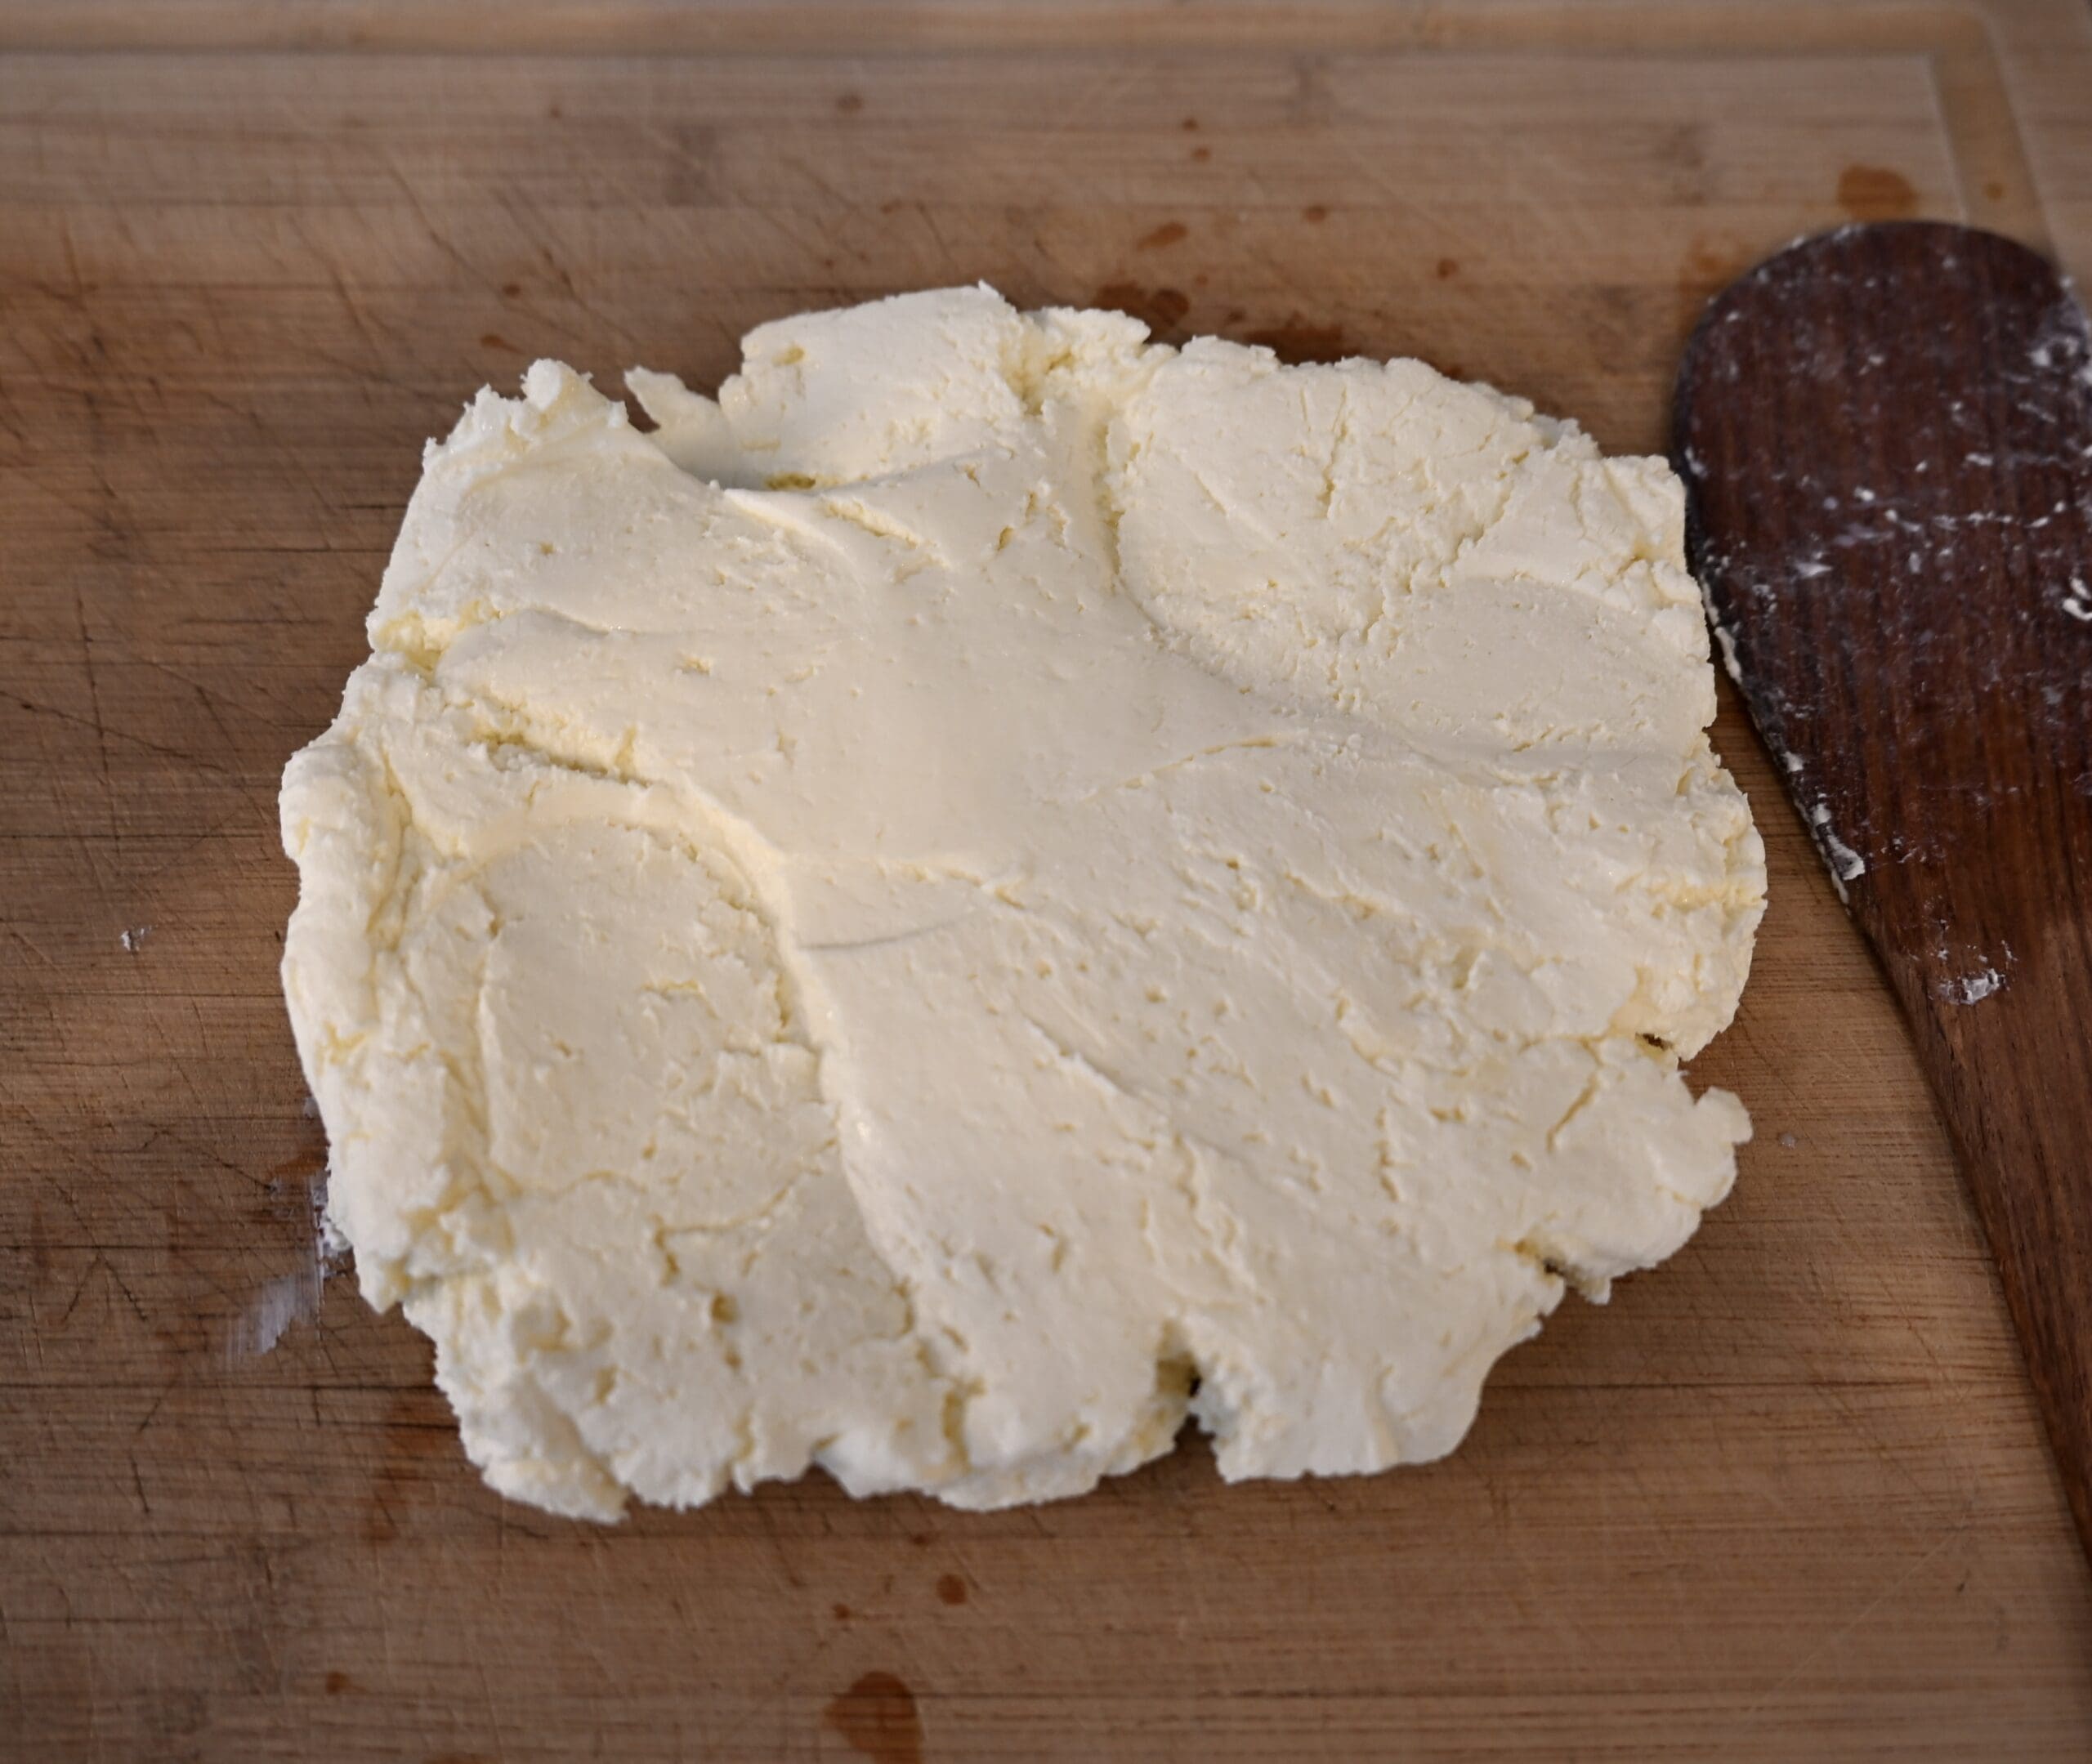
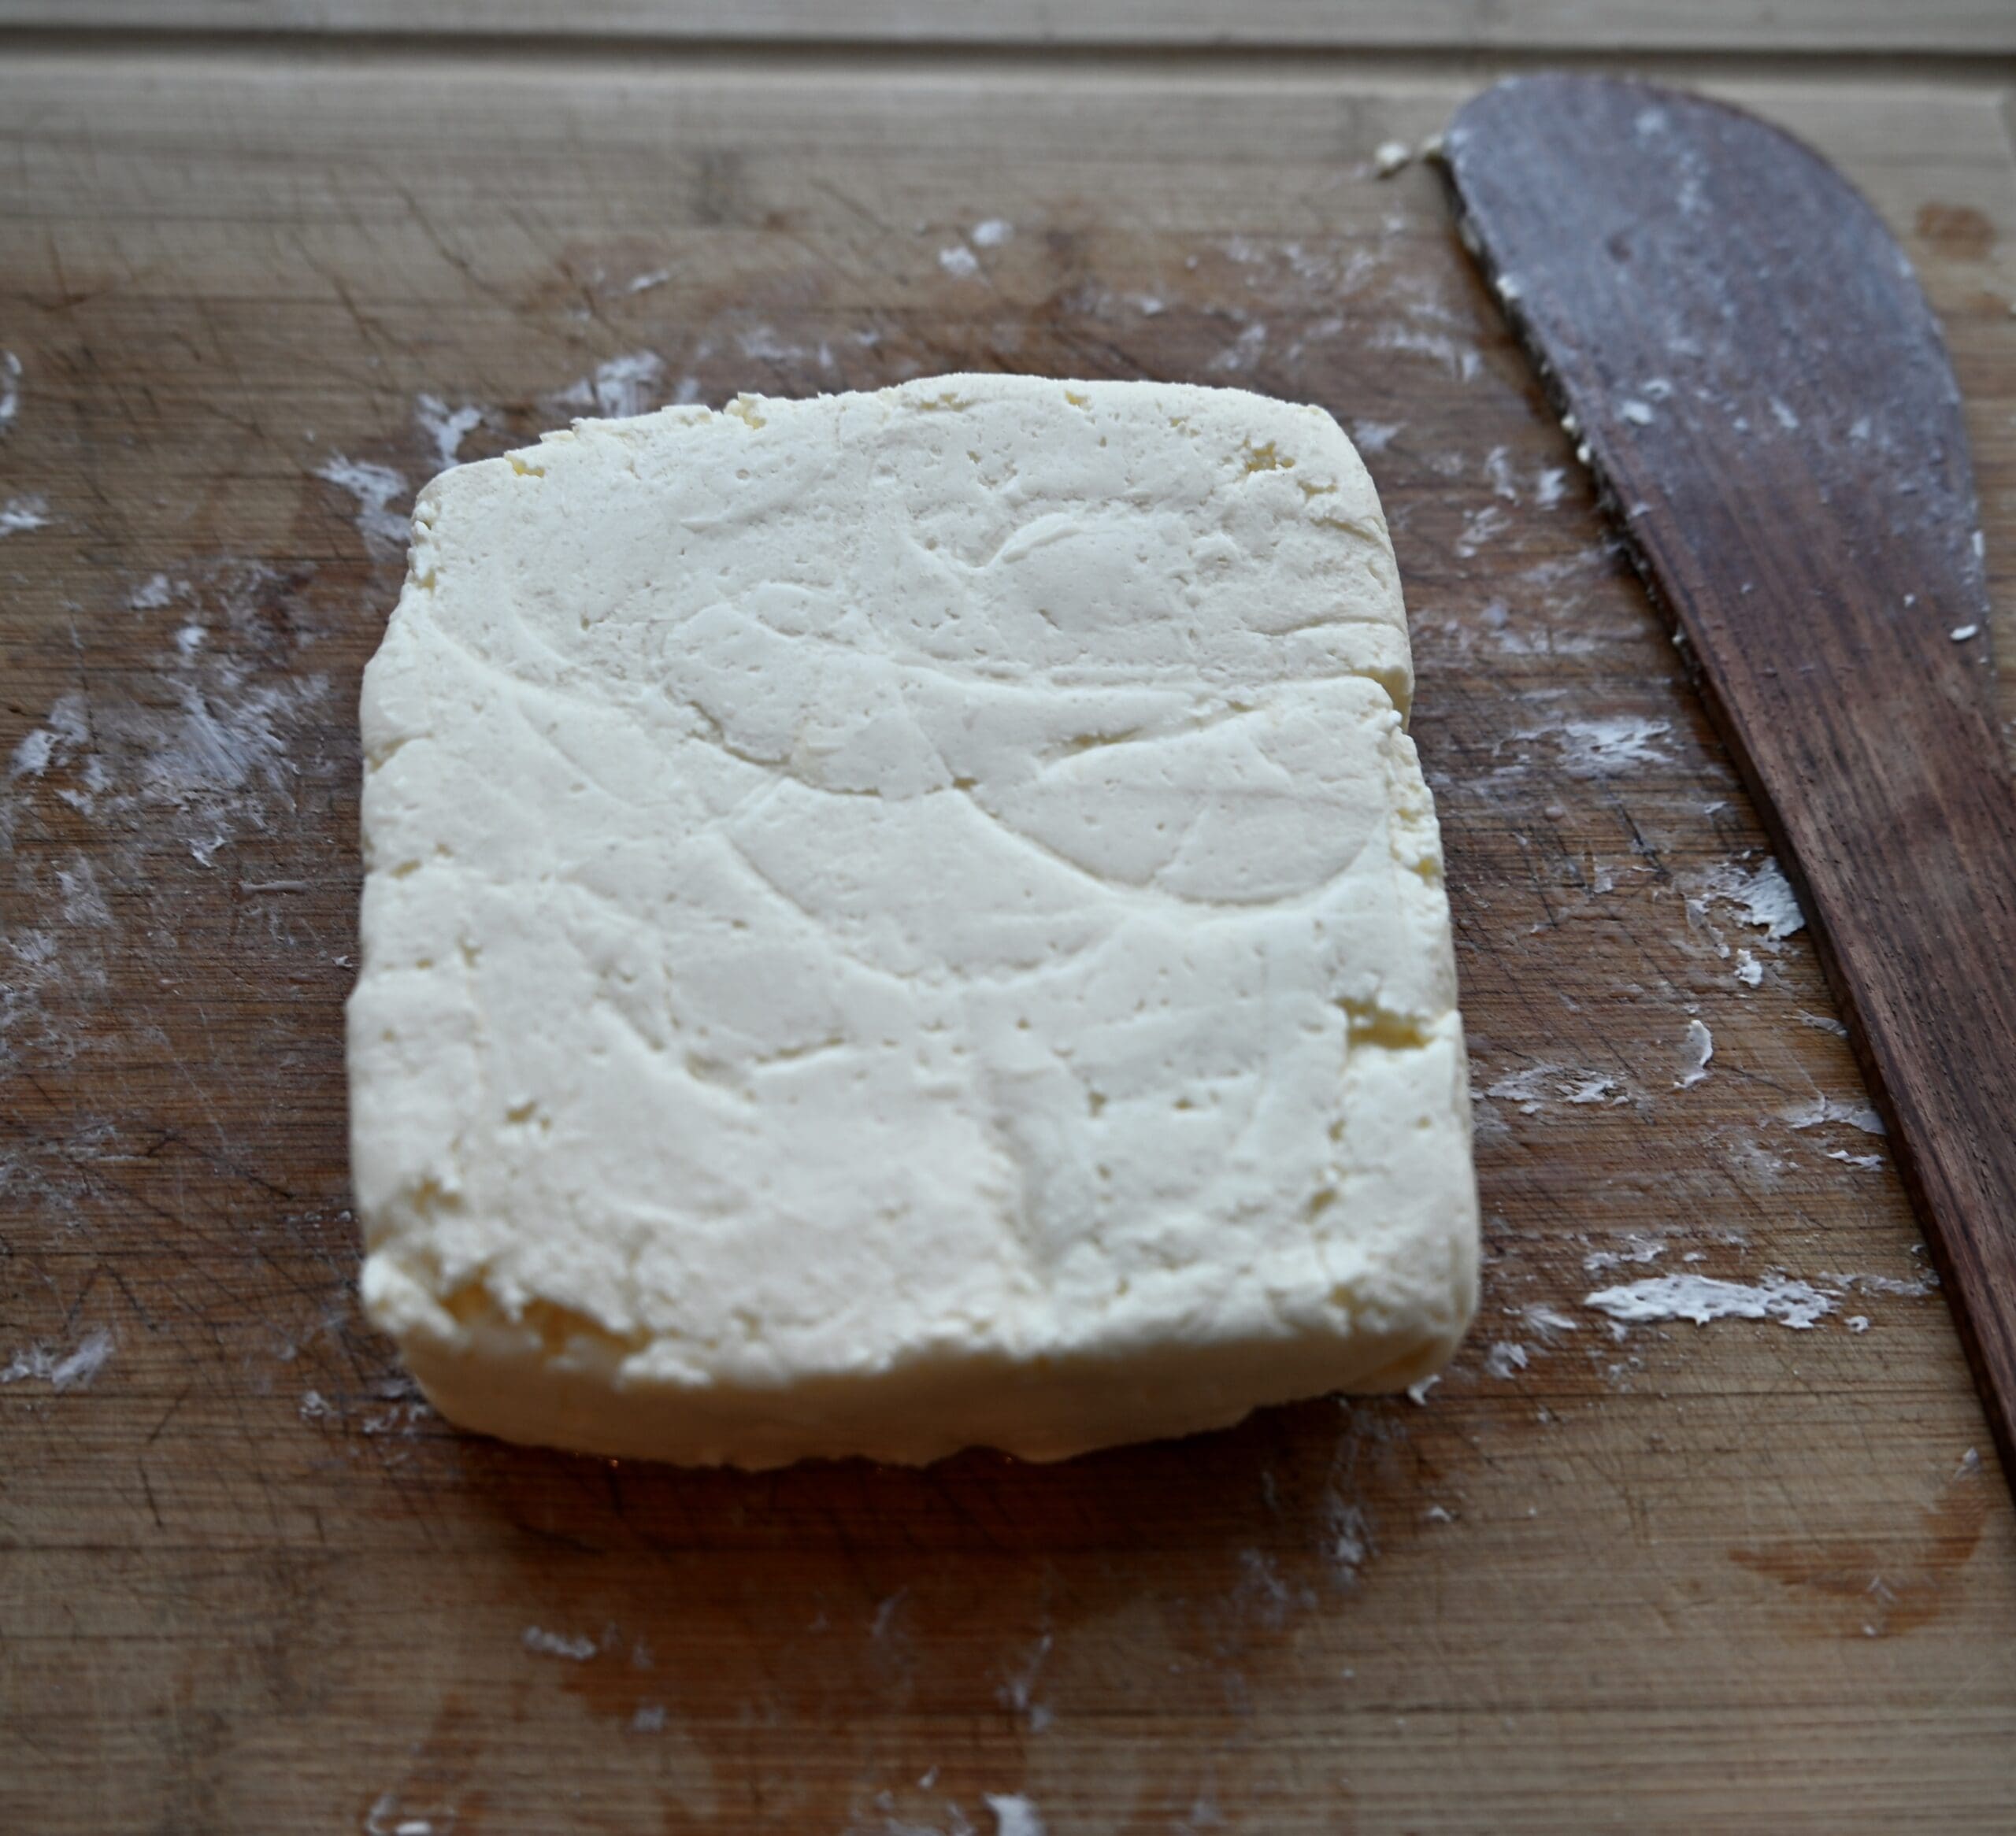
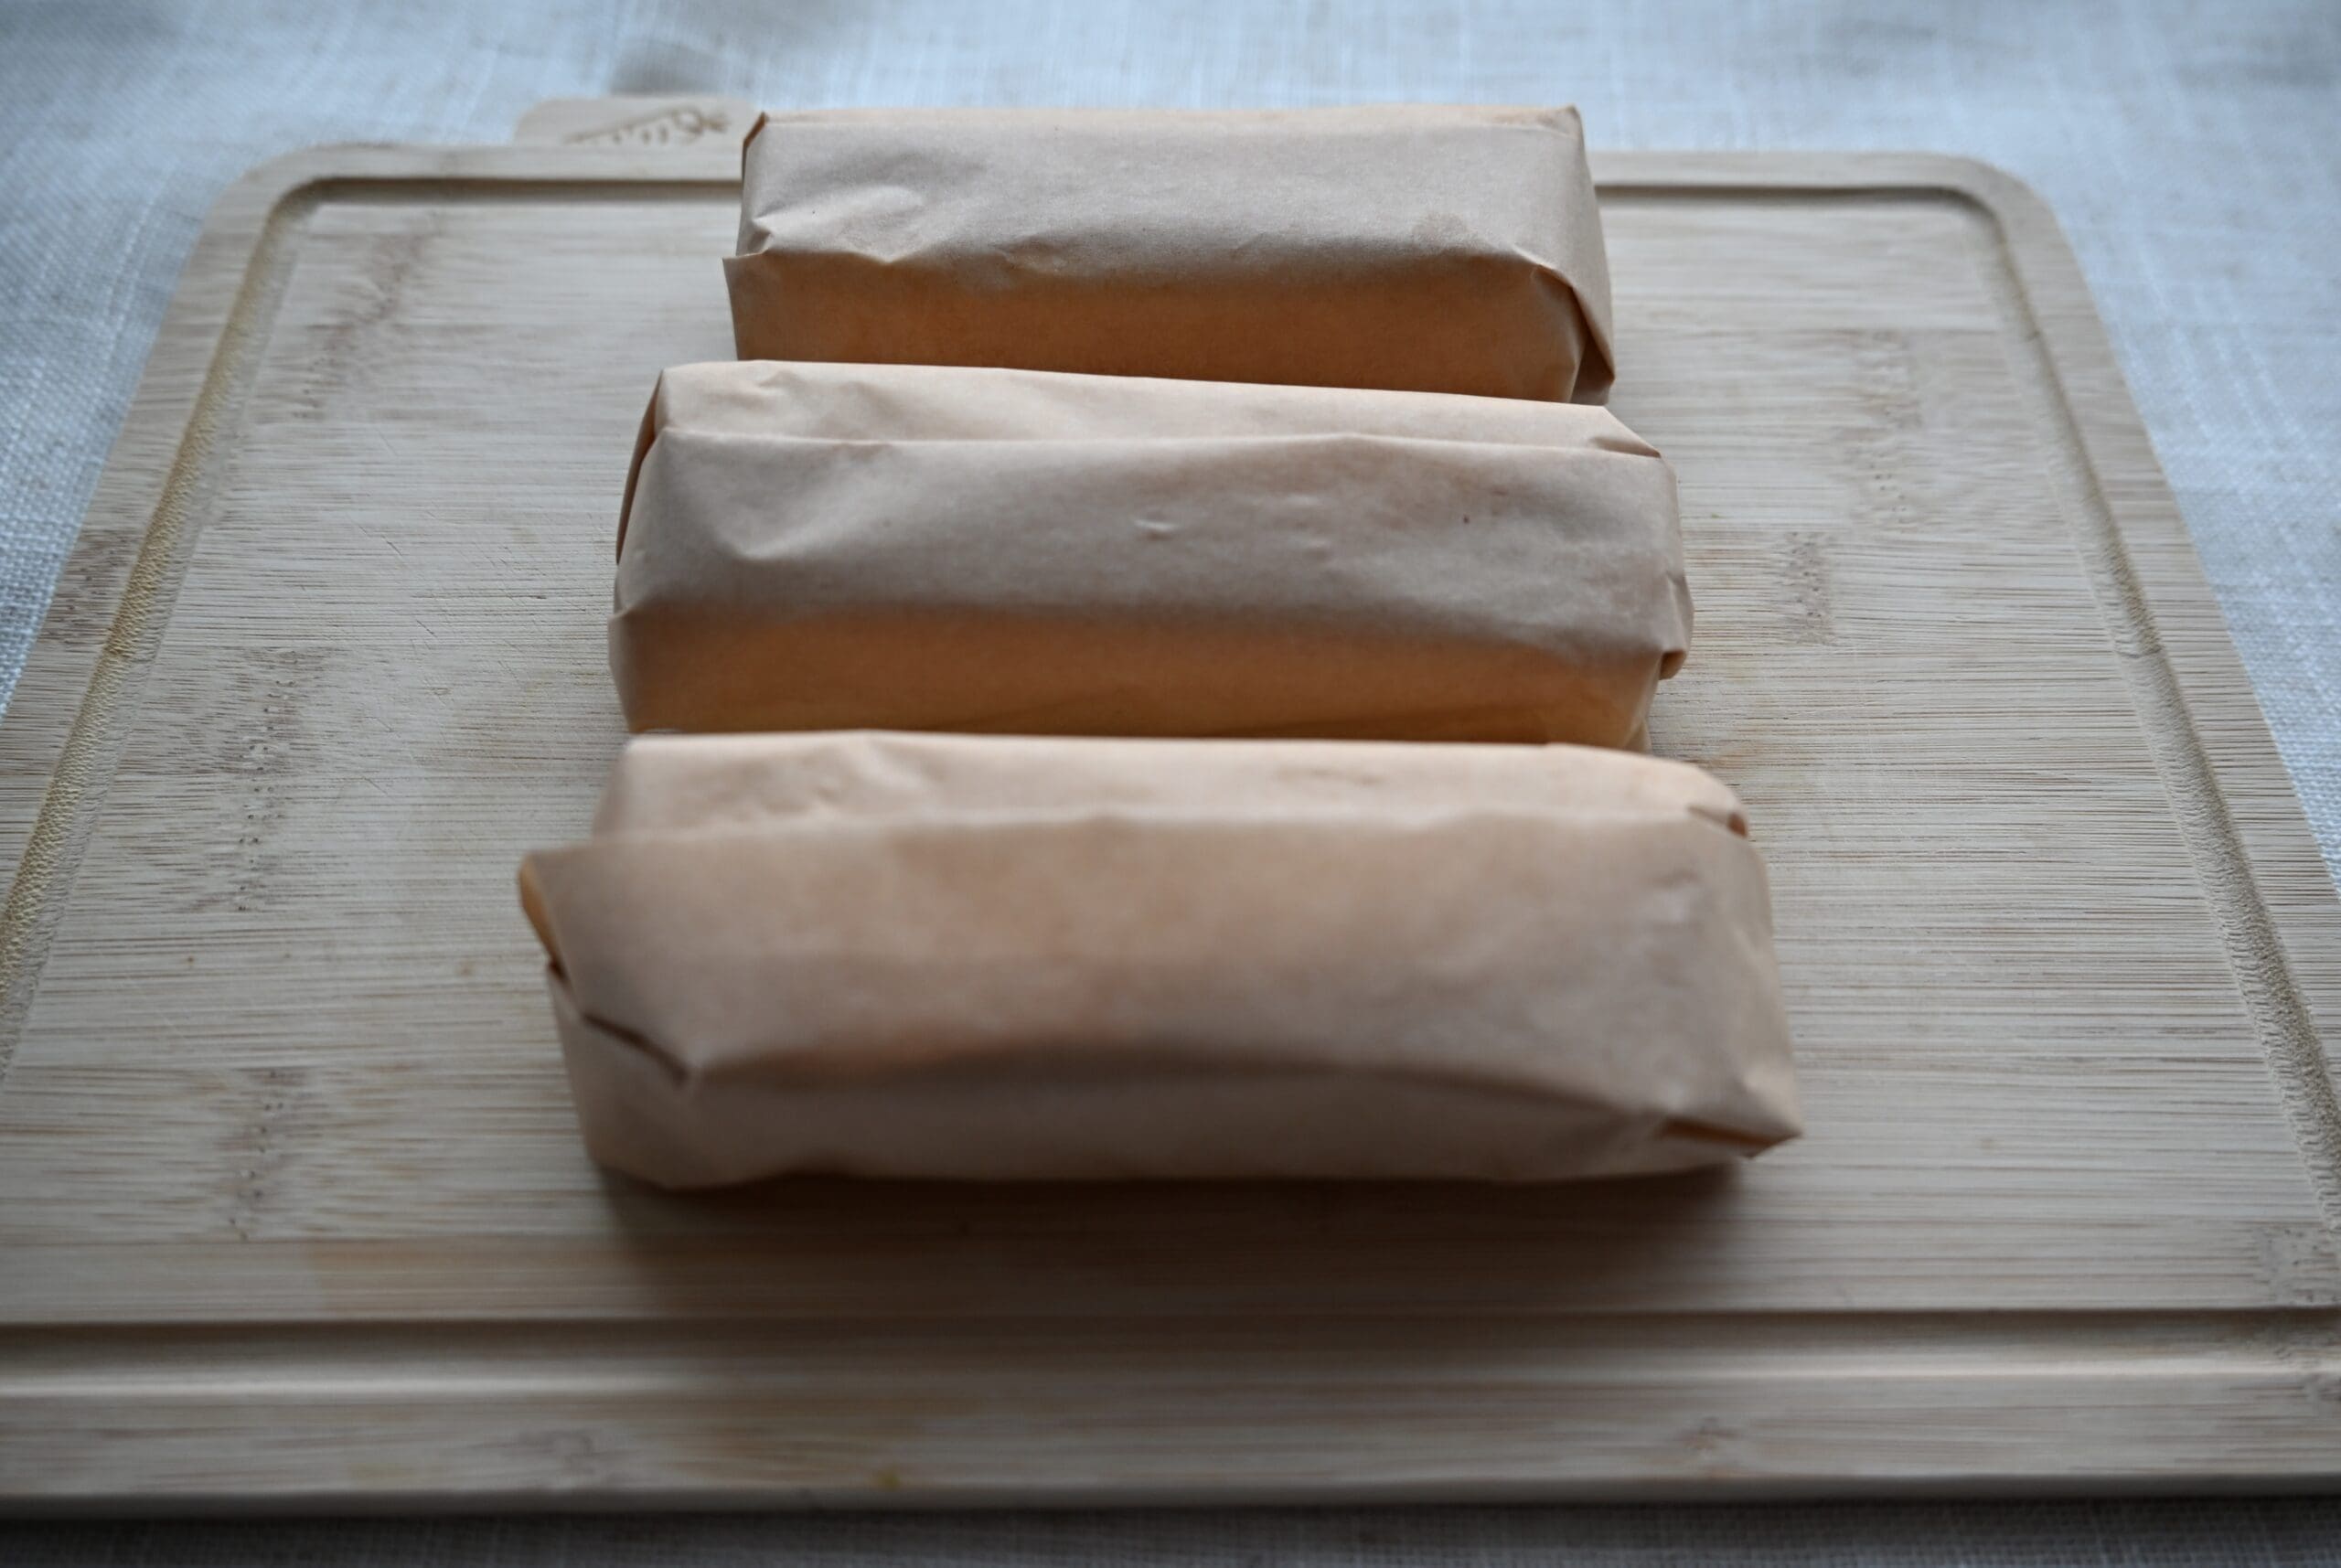
- Place the cleaned butter onto a cutting board. With a flat paddle or wooden spoon, flatten the ball by pressing down on it. Use a paper towel to absorb any remaining liquid. While flat, sprinkle salt on your butter. With the paddle, fold the butter onto itself a few times to mix the salt in well. With your paddle or spatula, shape the butter into a rectangle. If not eating the butter immediately, wrap it with parchment paper and keep it in the fridge.
Notes
- I have had luck making french butter using many types of heavy cream. Ultra-pasteurized heavy cream took a few more hours to thicken but thickened well nonetheless. It took 40 hours to ferment and 2 cups of cream yielded about 190 grams of butter.
- With pasteurized heavy cream, fermenting was done after about 28 hours. 2 cups of cream yielded about 277 grams of butter and 160 grams of buttermilk.
- The amount of buttermilk varies due to your mixer speed and how much splashing occurred. Always wrap a towel around your mixing bowl while whipping the cream/butter because there will be lots of splatter! Save the buttermilk for making pancakes or baking bread. Use it instead of water in your bread recipes.
- If you don’t have a mixer, you can place the cream mixture in a mason jar and shake it until your arm falls off. Then find a friend and have them shake it too until their arms fall off. Then, between the both of you, decide who should drive to the store and get a mixer. Or just buy French Butter from the store.
- I prefer to make this recipe with 2 cups of cream at a time instead of 4 cups (1 quart). With 4 cups of cream, while mixing, the cream and buttermilk will reach the brim of the mixing bowl and make more of a mess. You will also lose more buttermilk during the mixing process. You can double the recipe if you are a masochist.
❓ FAQ’s for Homemade French Butter
Full-fat Greek yogurt is great. It’s thick, tangy, and loaded with live cultures — exactly what you need to properly ferment the cream. The tangier the yogurt, the tangier your butter. The tang in your yogurt helps bring out more tang in the butter — the thick Greek kind, will deliver!
Anywhere from 24 to 48 hours. Cover the bowl and let it sit at room temperature for 24 to 48 hours to allow the cultures to work their magic. The longer it sits (within that window), the more complex and tangy the flavor. Don’t rush it — this is the most important step and requires zero effort from you.
Technically yes, but then you’re just making regular butter. If you skip culturing, you’ll still get homemade butter — but it will be sweet cream butter, not French butter. The culturing is literally what makes it French butter. So: don’t skip it.
Yes! The live cultures in the yogurt acidify the cream, which naturally protects it during fermentation — this is a centuries-old technique. Just keep it covered, at a stable room temperature, and away from direct heat or sunlight.
You don’t need one, but you’ll want one. Making French butter by hand is a genuine arm workout and gets messy fast. A stand mixer with the whisk attachment does the work for you — just shield it, because the buttermilk loves to splash.
Completely normal and actually a sign you’re doing it right! The moment the cream breaks into butter and buttermilk, buttermilk starts splashing. Wrap your mixer with a towel and use clips to keep it tight and in place — this will help when the buttermilk starts splashing in your mixing bowl. A mixer shield is even better because it also lets you catch and save the buttermilk.
Rinsing removes leftover buttermilk from the butter. Any buttermilk left behind will cause your butter to spoil faster and affect the taste. Knead and press the butter to remove any remaining buttermilk. Continue rinsing and kneading until the water runs clear. Three bowls of ice water, and you’re golden.
Wrap your butter in parchment paper or keep it in an airtight container. The lower water content means it lasts longer than regular butter. Refrigerate for up to 2–3 weeks, or freeze it for longer storage. (Though honestly, it won’t last that long once your family discovers it.)
Yes, and you absolutely should. It works well in different baked good recipes, including croissants, cookies, and pie crusts. Substituting French butter into these recipes increases flakiness and crispiness!
Save it! It is real buttermilk, so save it for other recipes. Use it in pancakes, biscuits, bread, salad dressing, or marinades. When a bread recipe calls for water, and I have buttermilk on hand, this is what I use. It’s cultured, fresh, and genuinely good — a free bonus from your butter-making adventure.
Yes! Simply skip the salt for a classic unsalted French butter, perfect for baking. Or adjust the salt to taste — a flaky finishing salt on top is never a bad idea.
SHOP FOR THIS RECIPE


 Purple Ube Chia Pudding
 Matcha Chia Seed Pudding
 Balthazar Inspired Salad with Lemon Truffle Dressing
 Homemade French Onion Dip
 Chewy, Fudgy Black Cocoa Brownies
 Coconut Cream Buns | Lai Yau Bao
 Crispy and Chewy Shanghai UBE Mochi Tots
 Shanghai Butter Mochi Tots
 Real Ice Cream Might Be Good for You